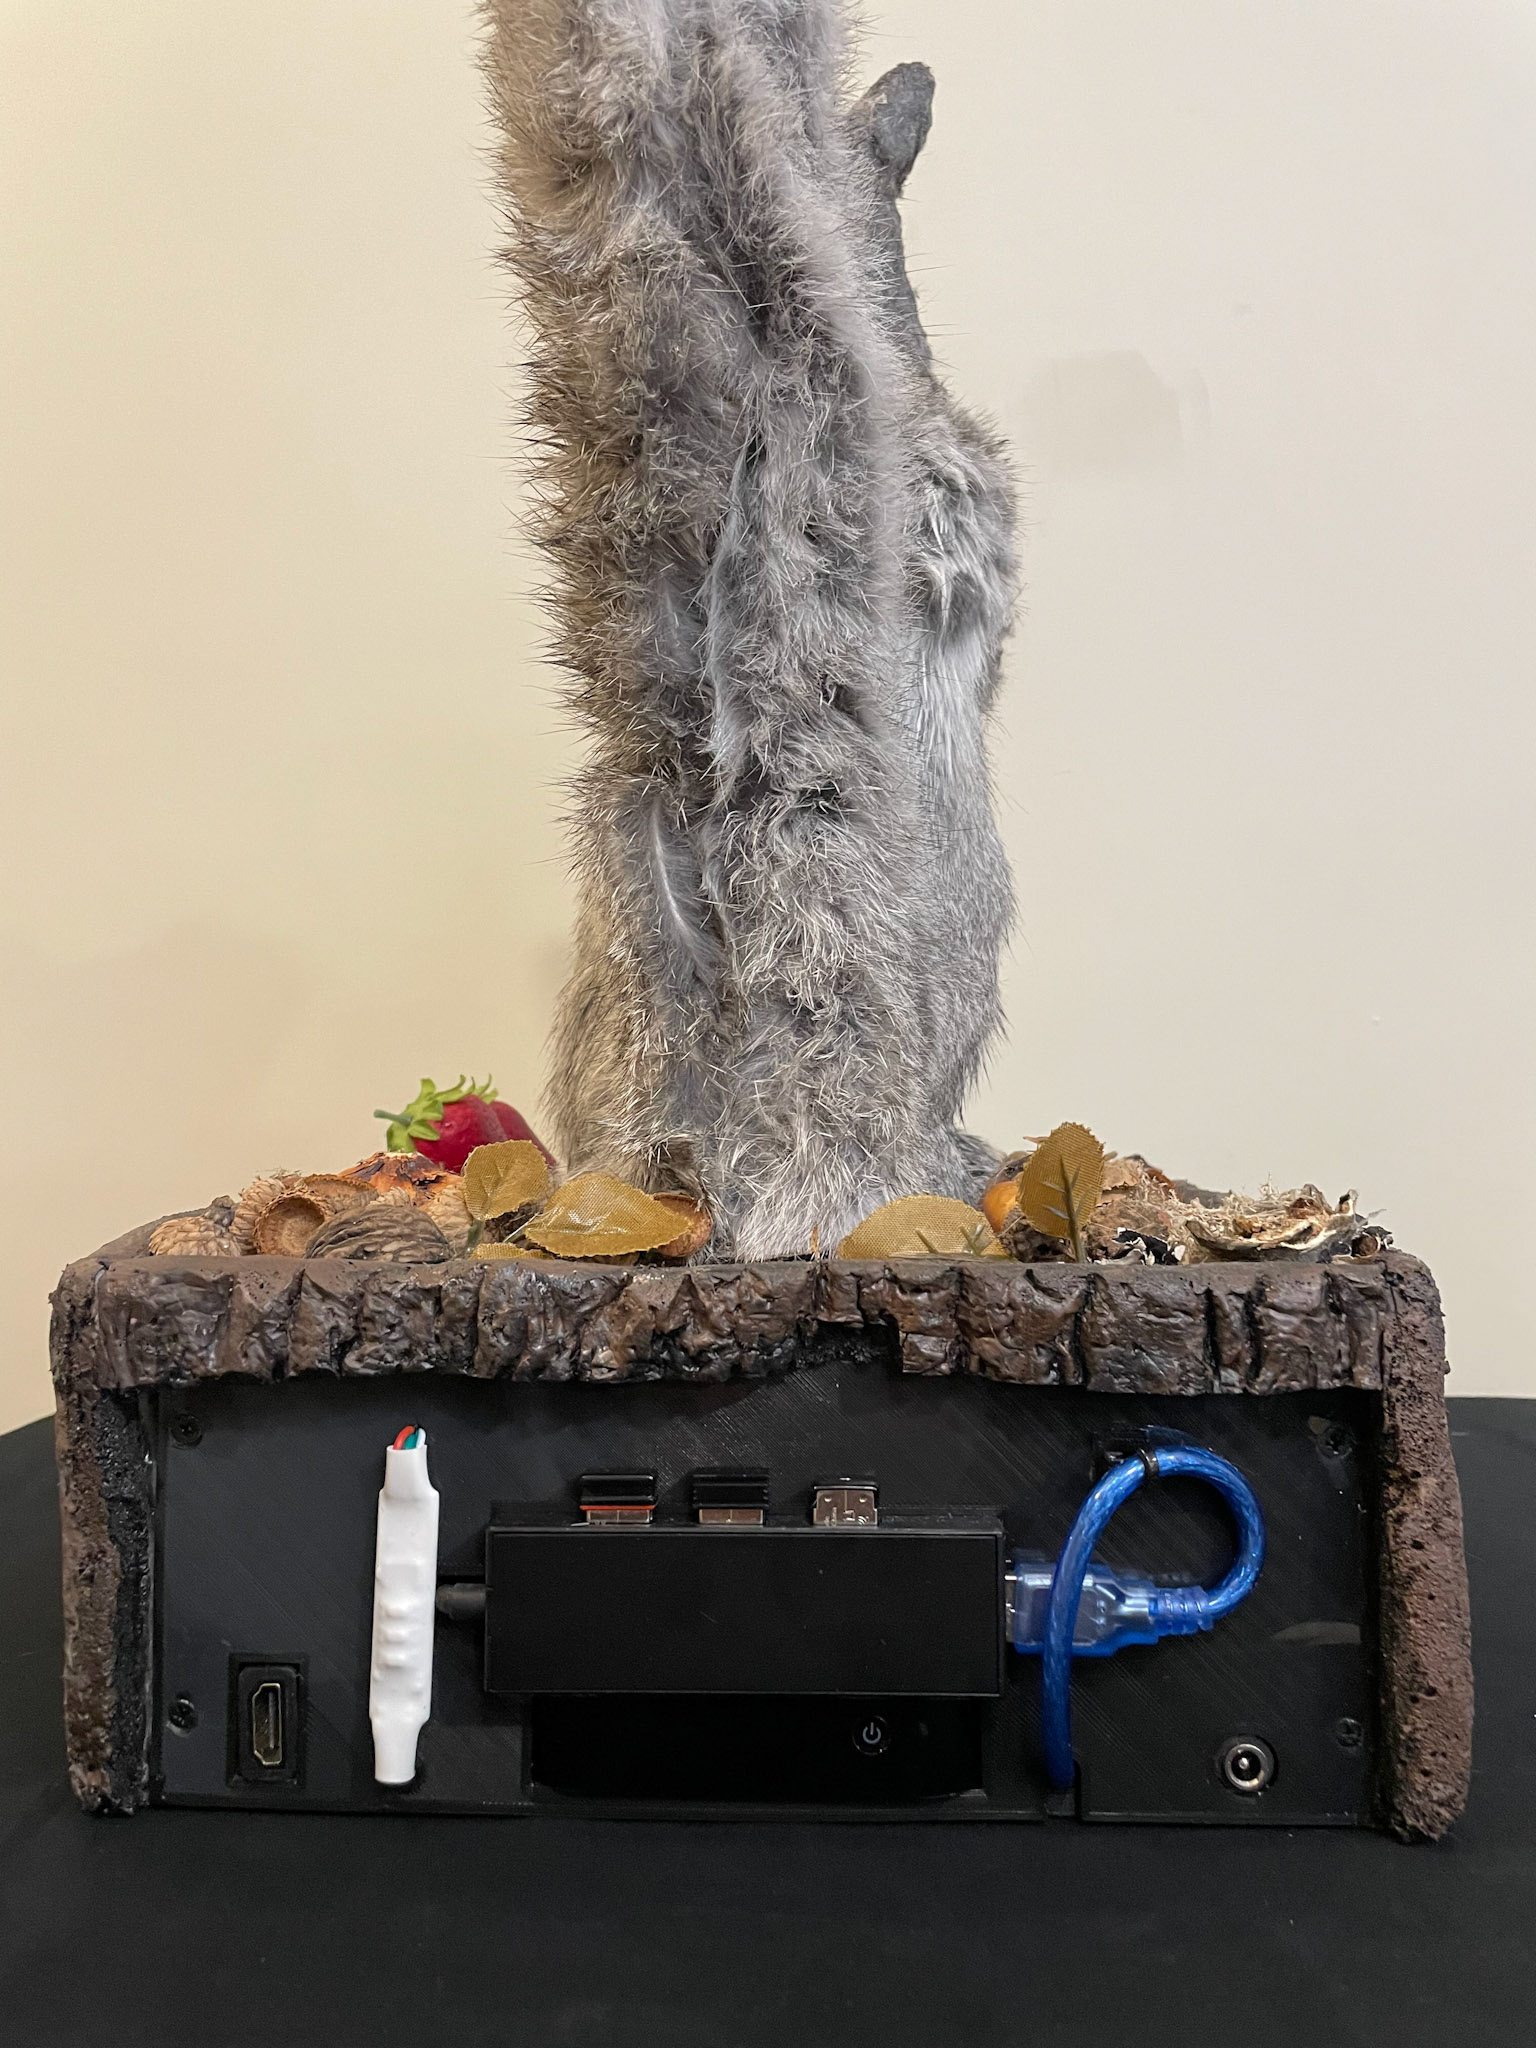
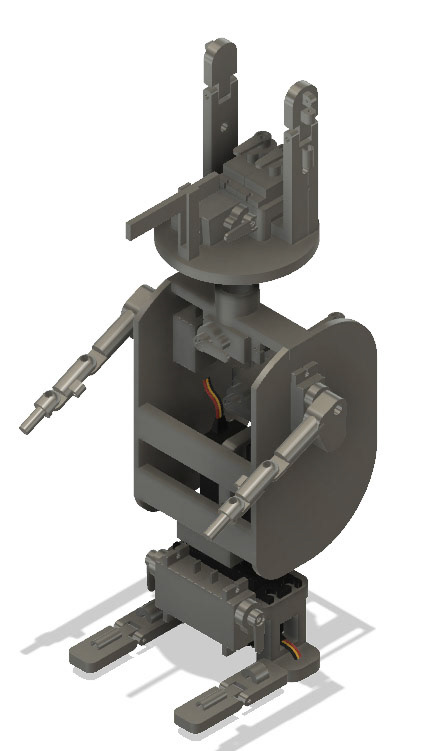
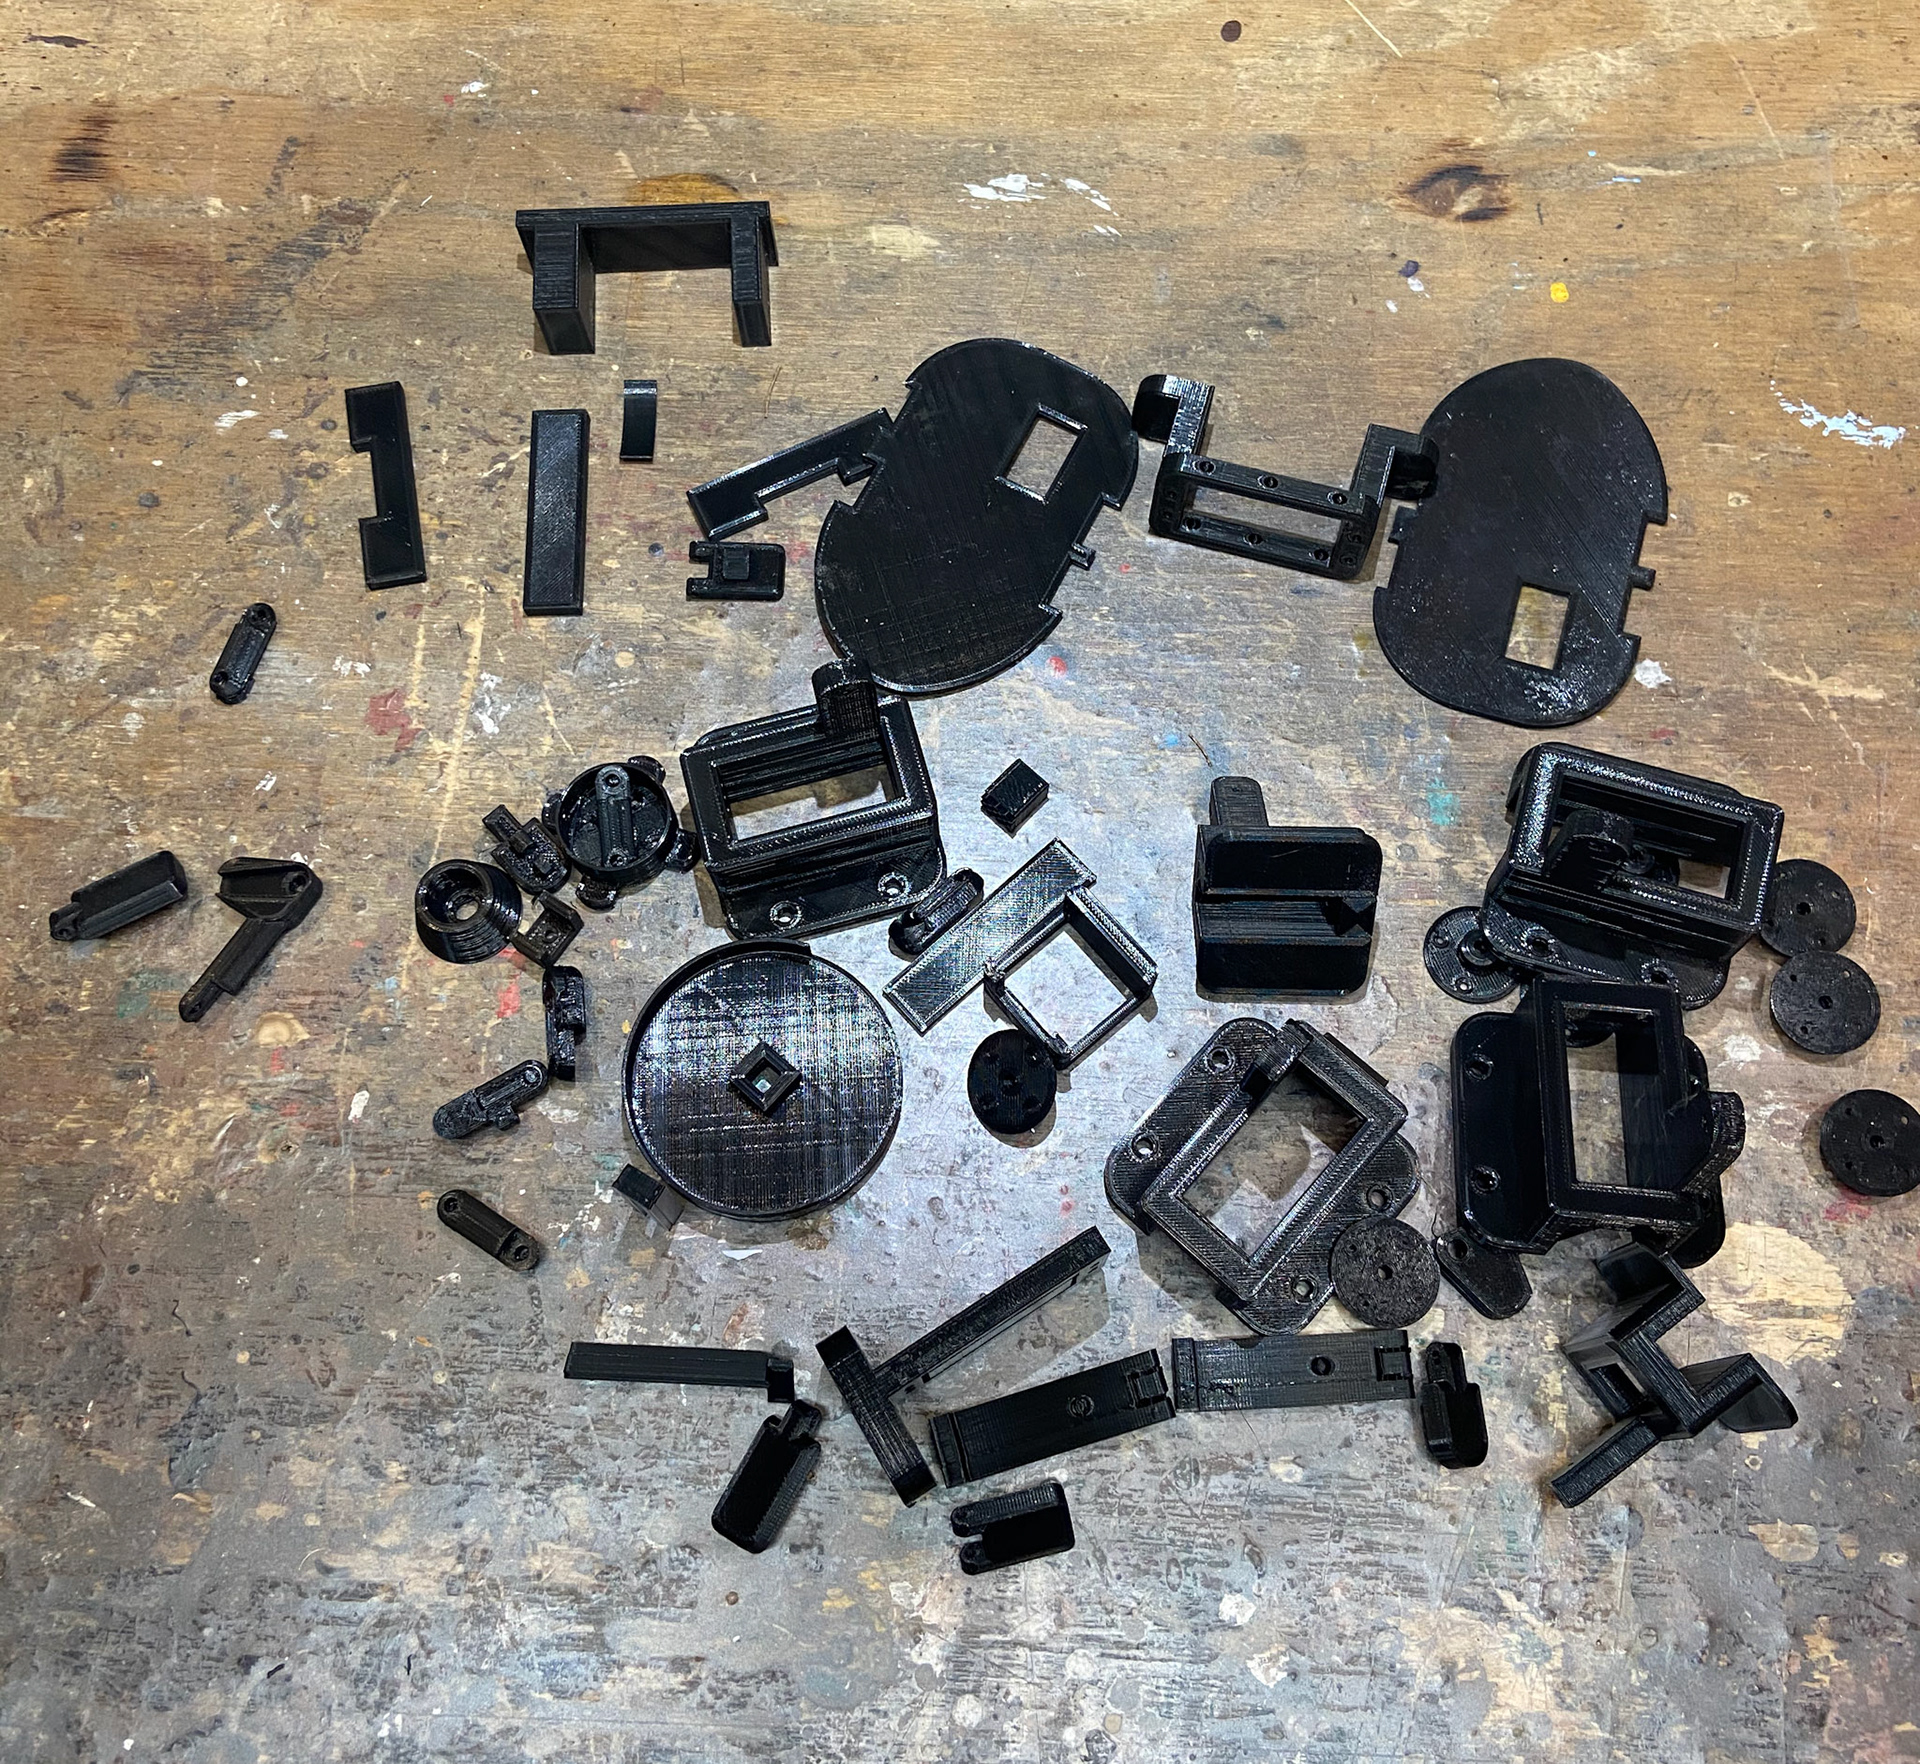
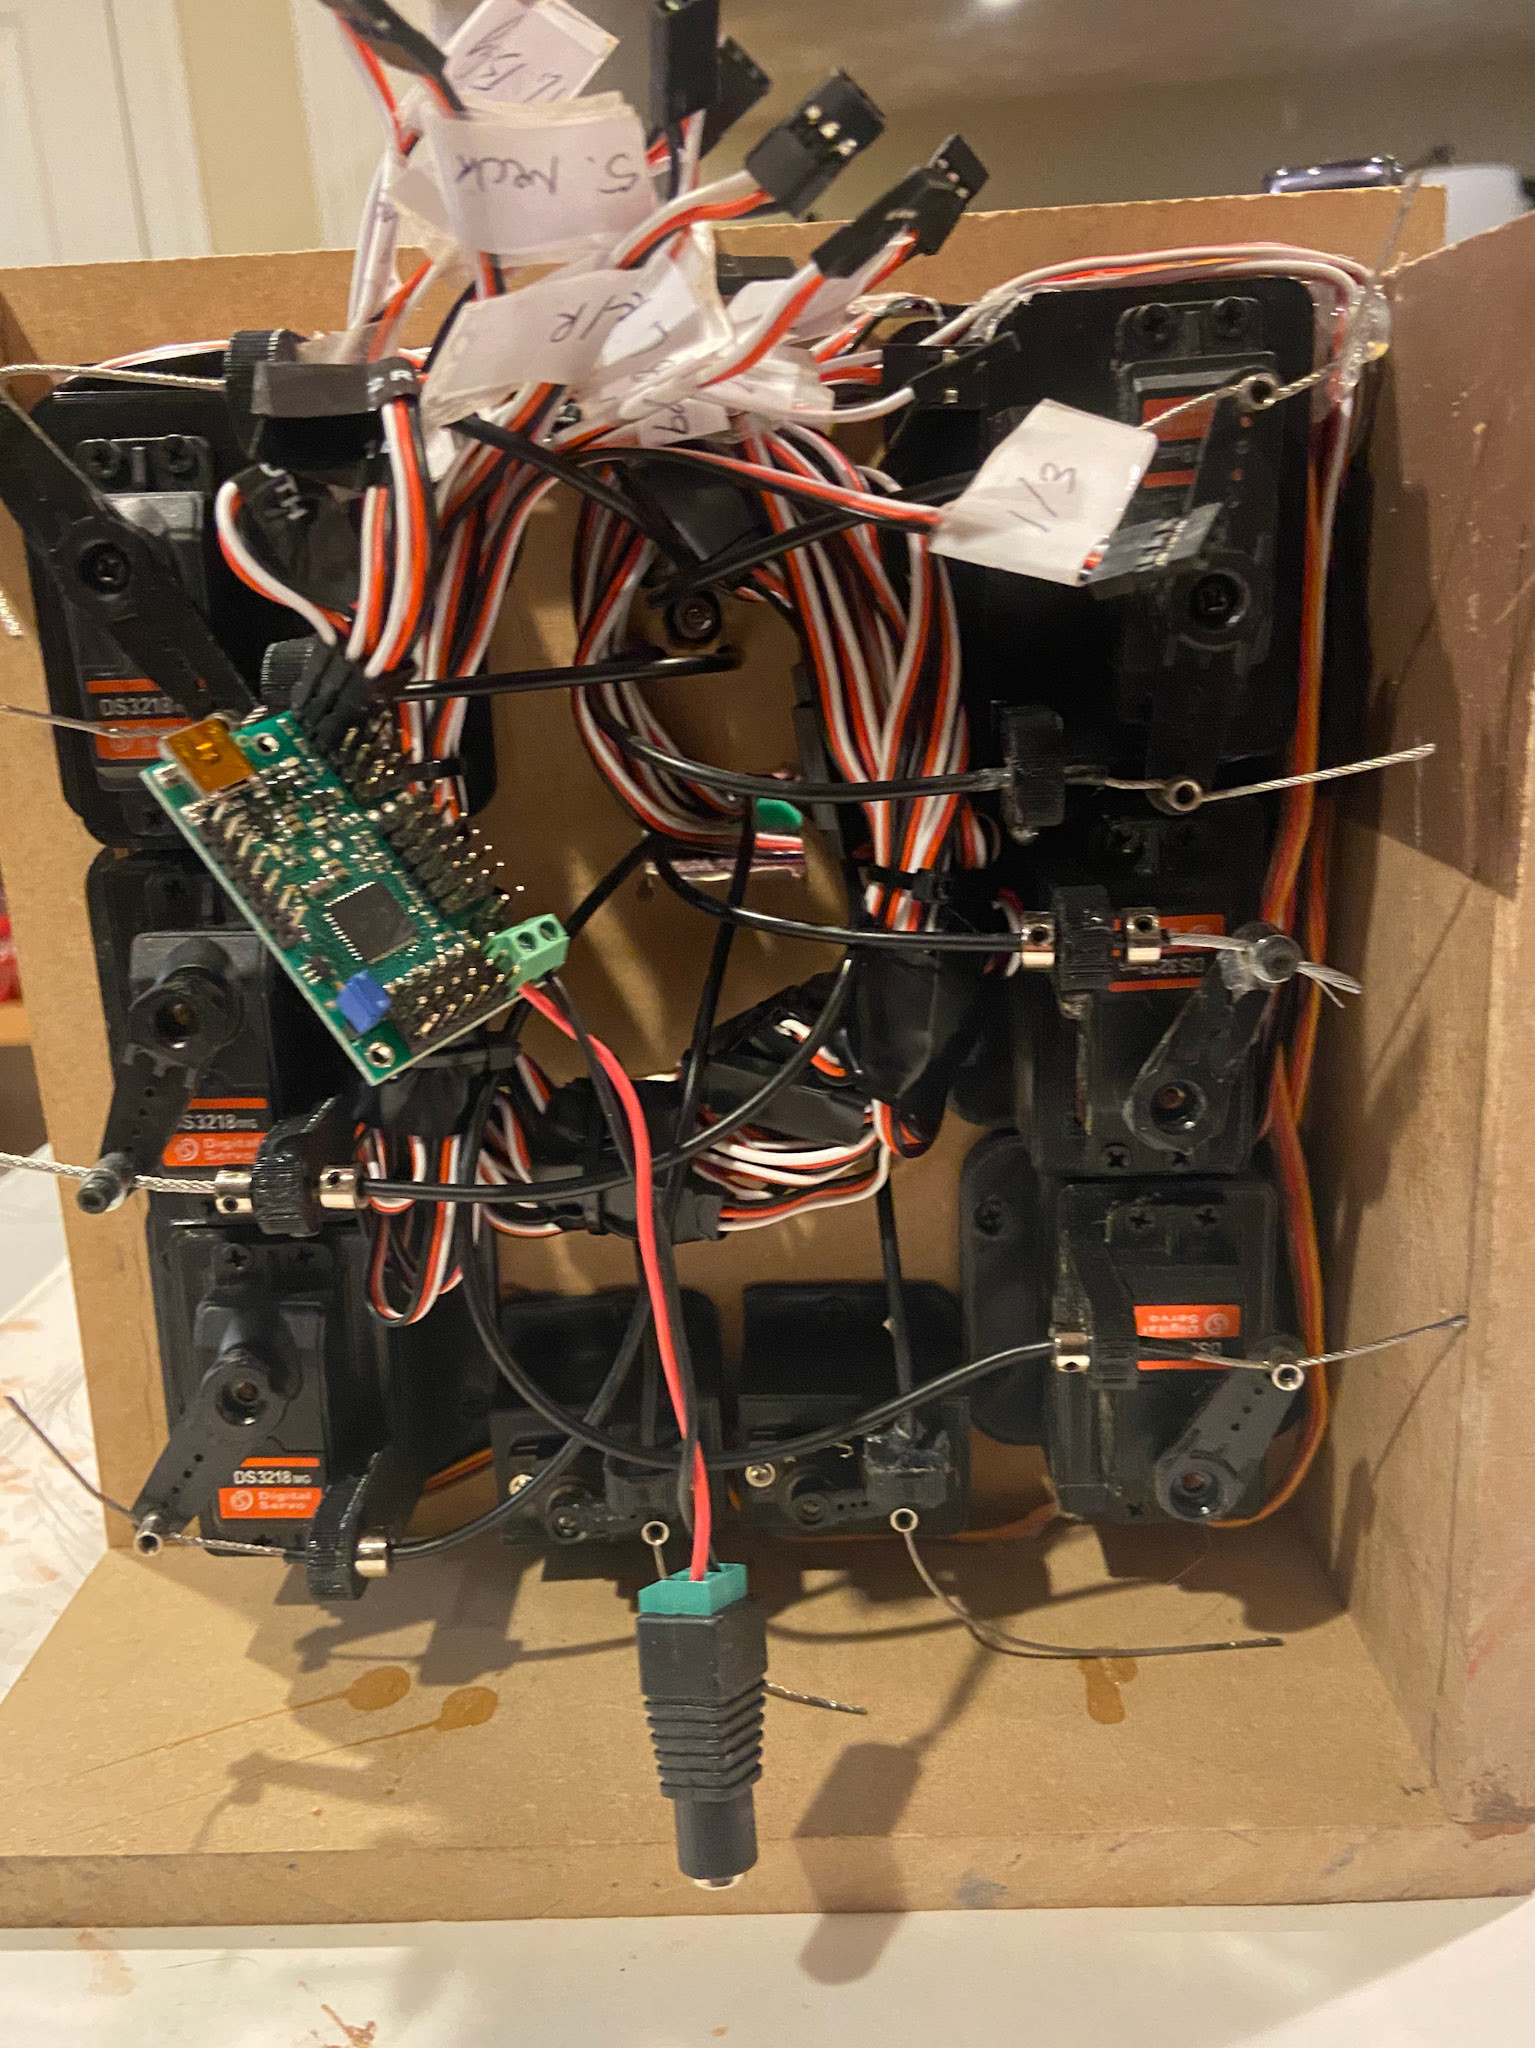
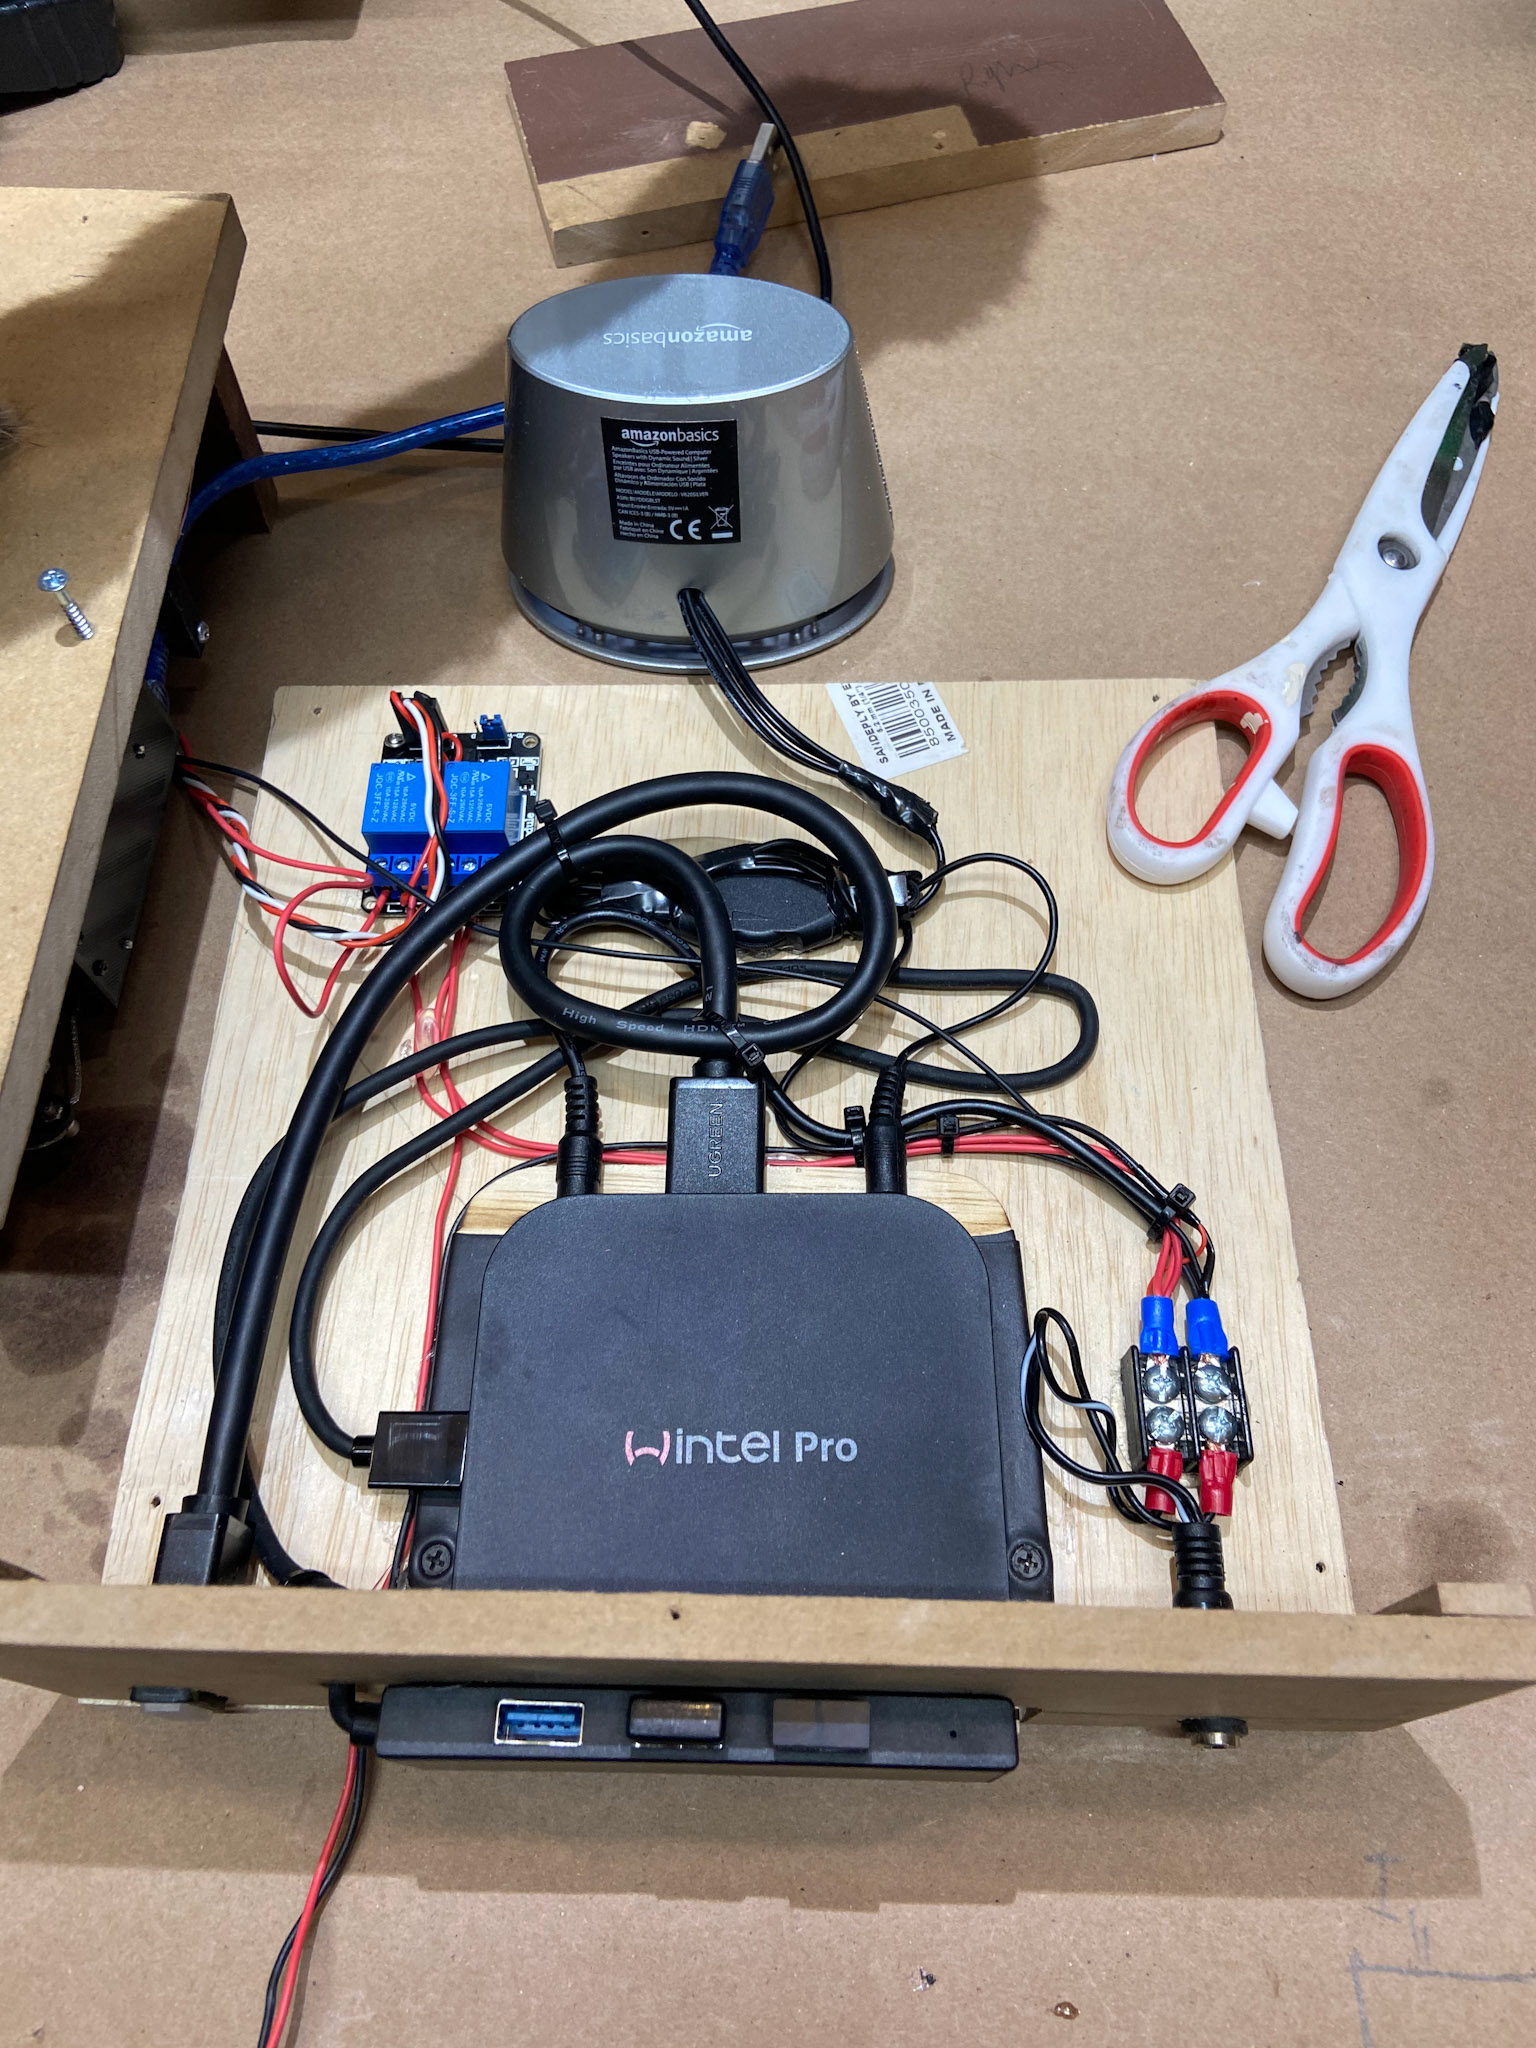
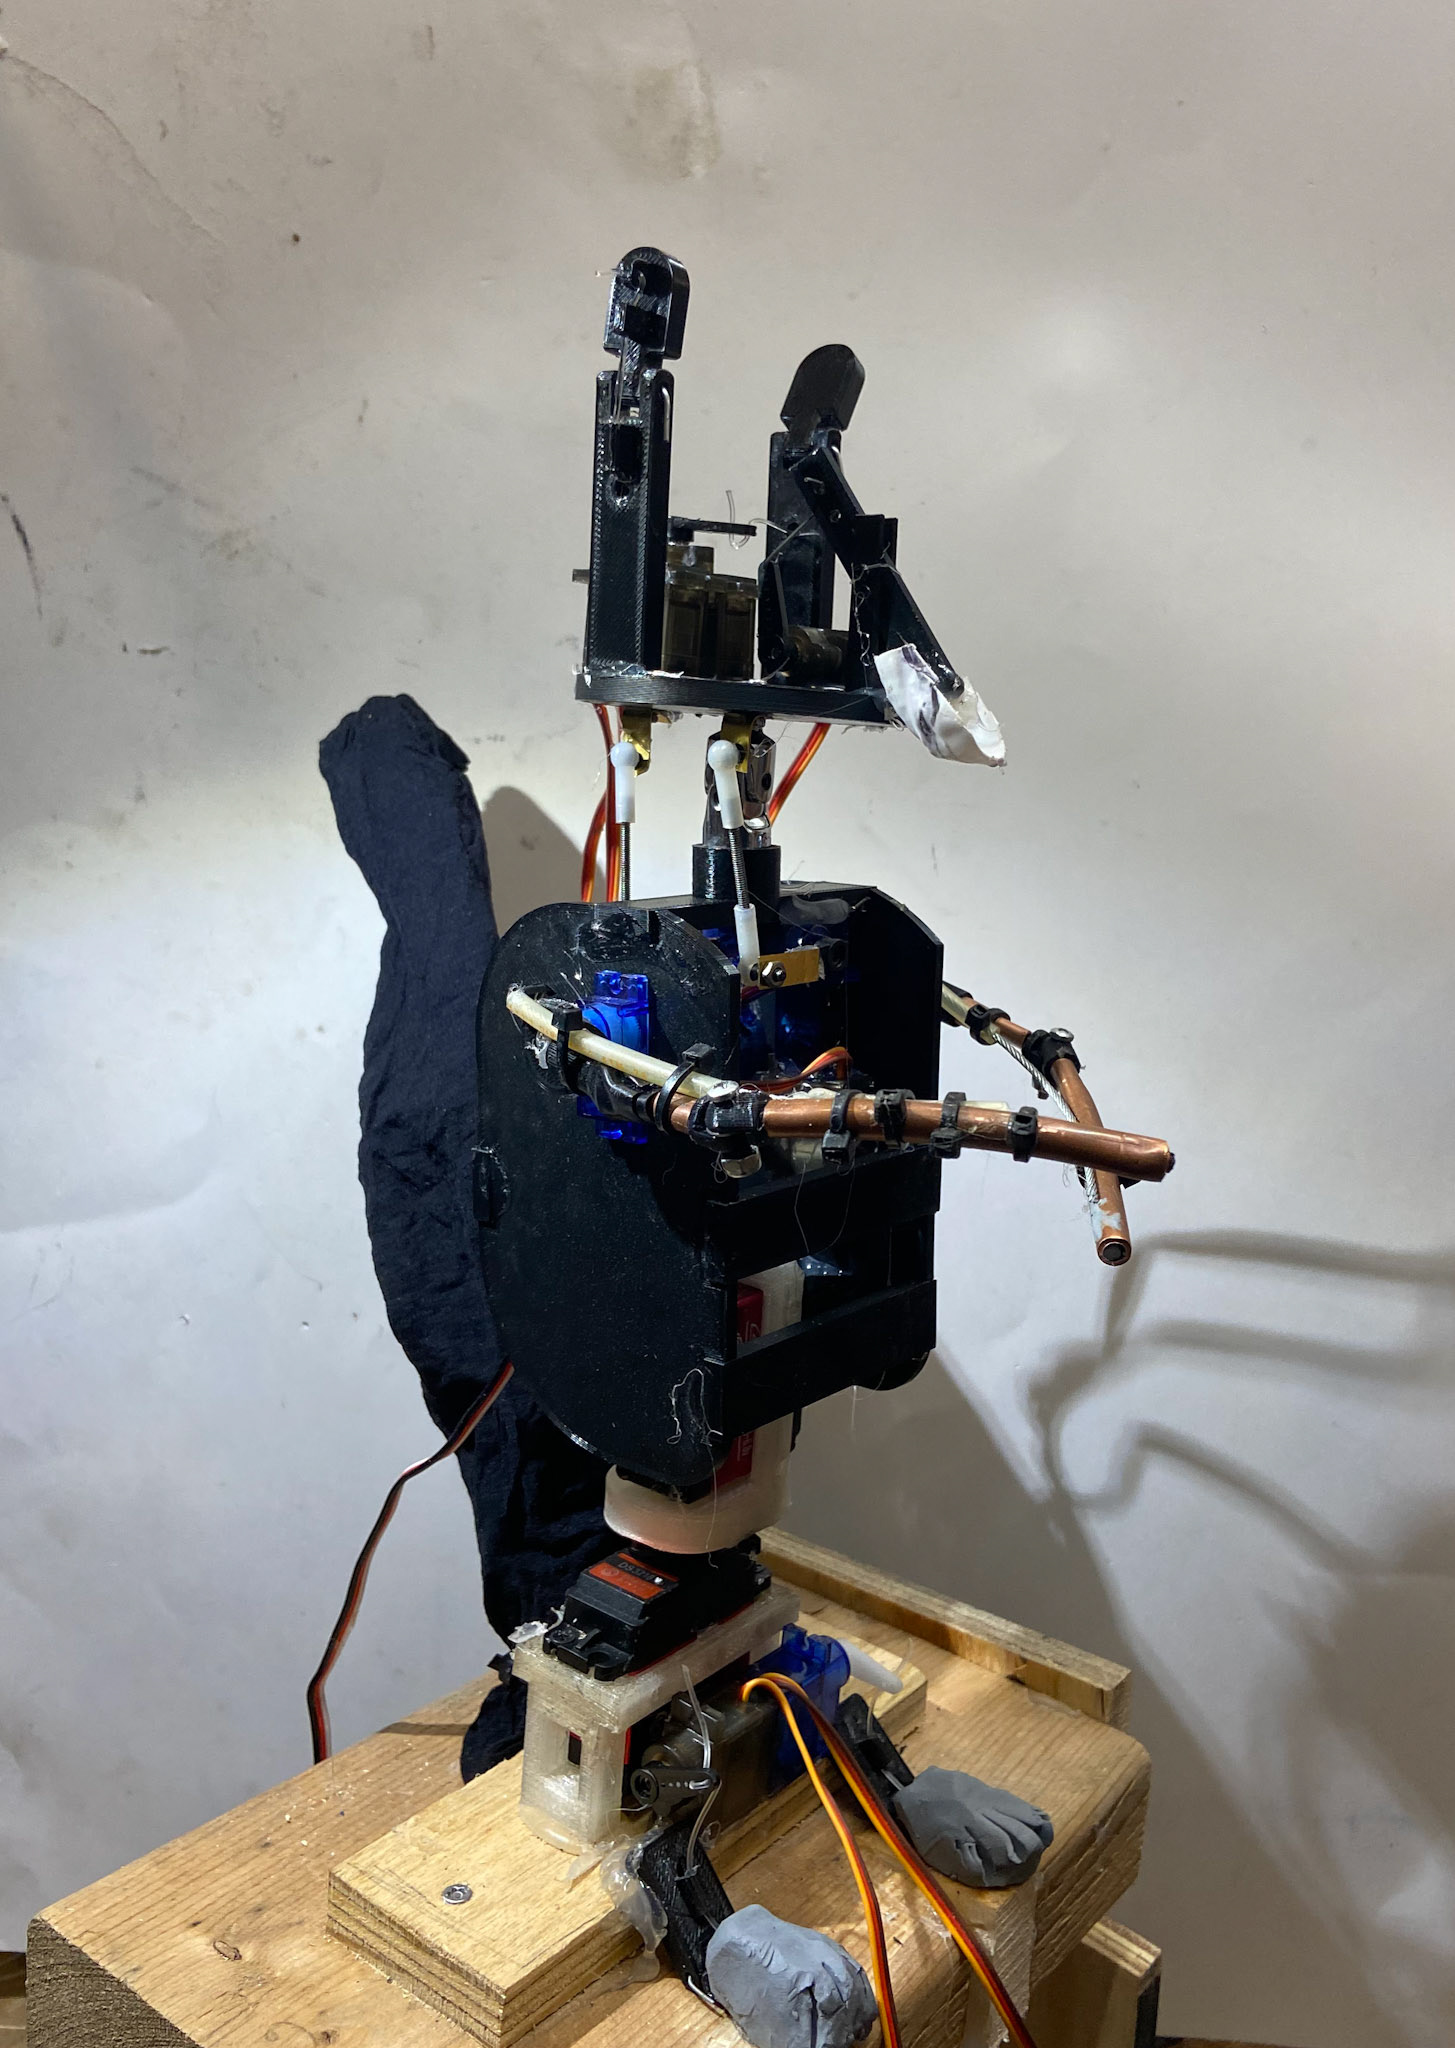
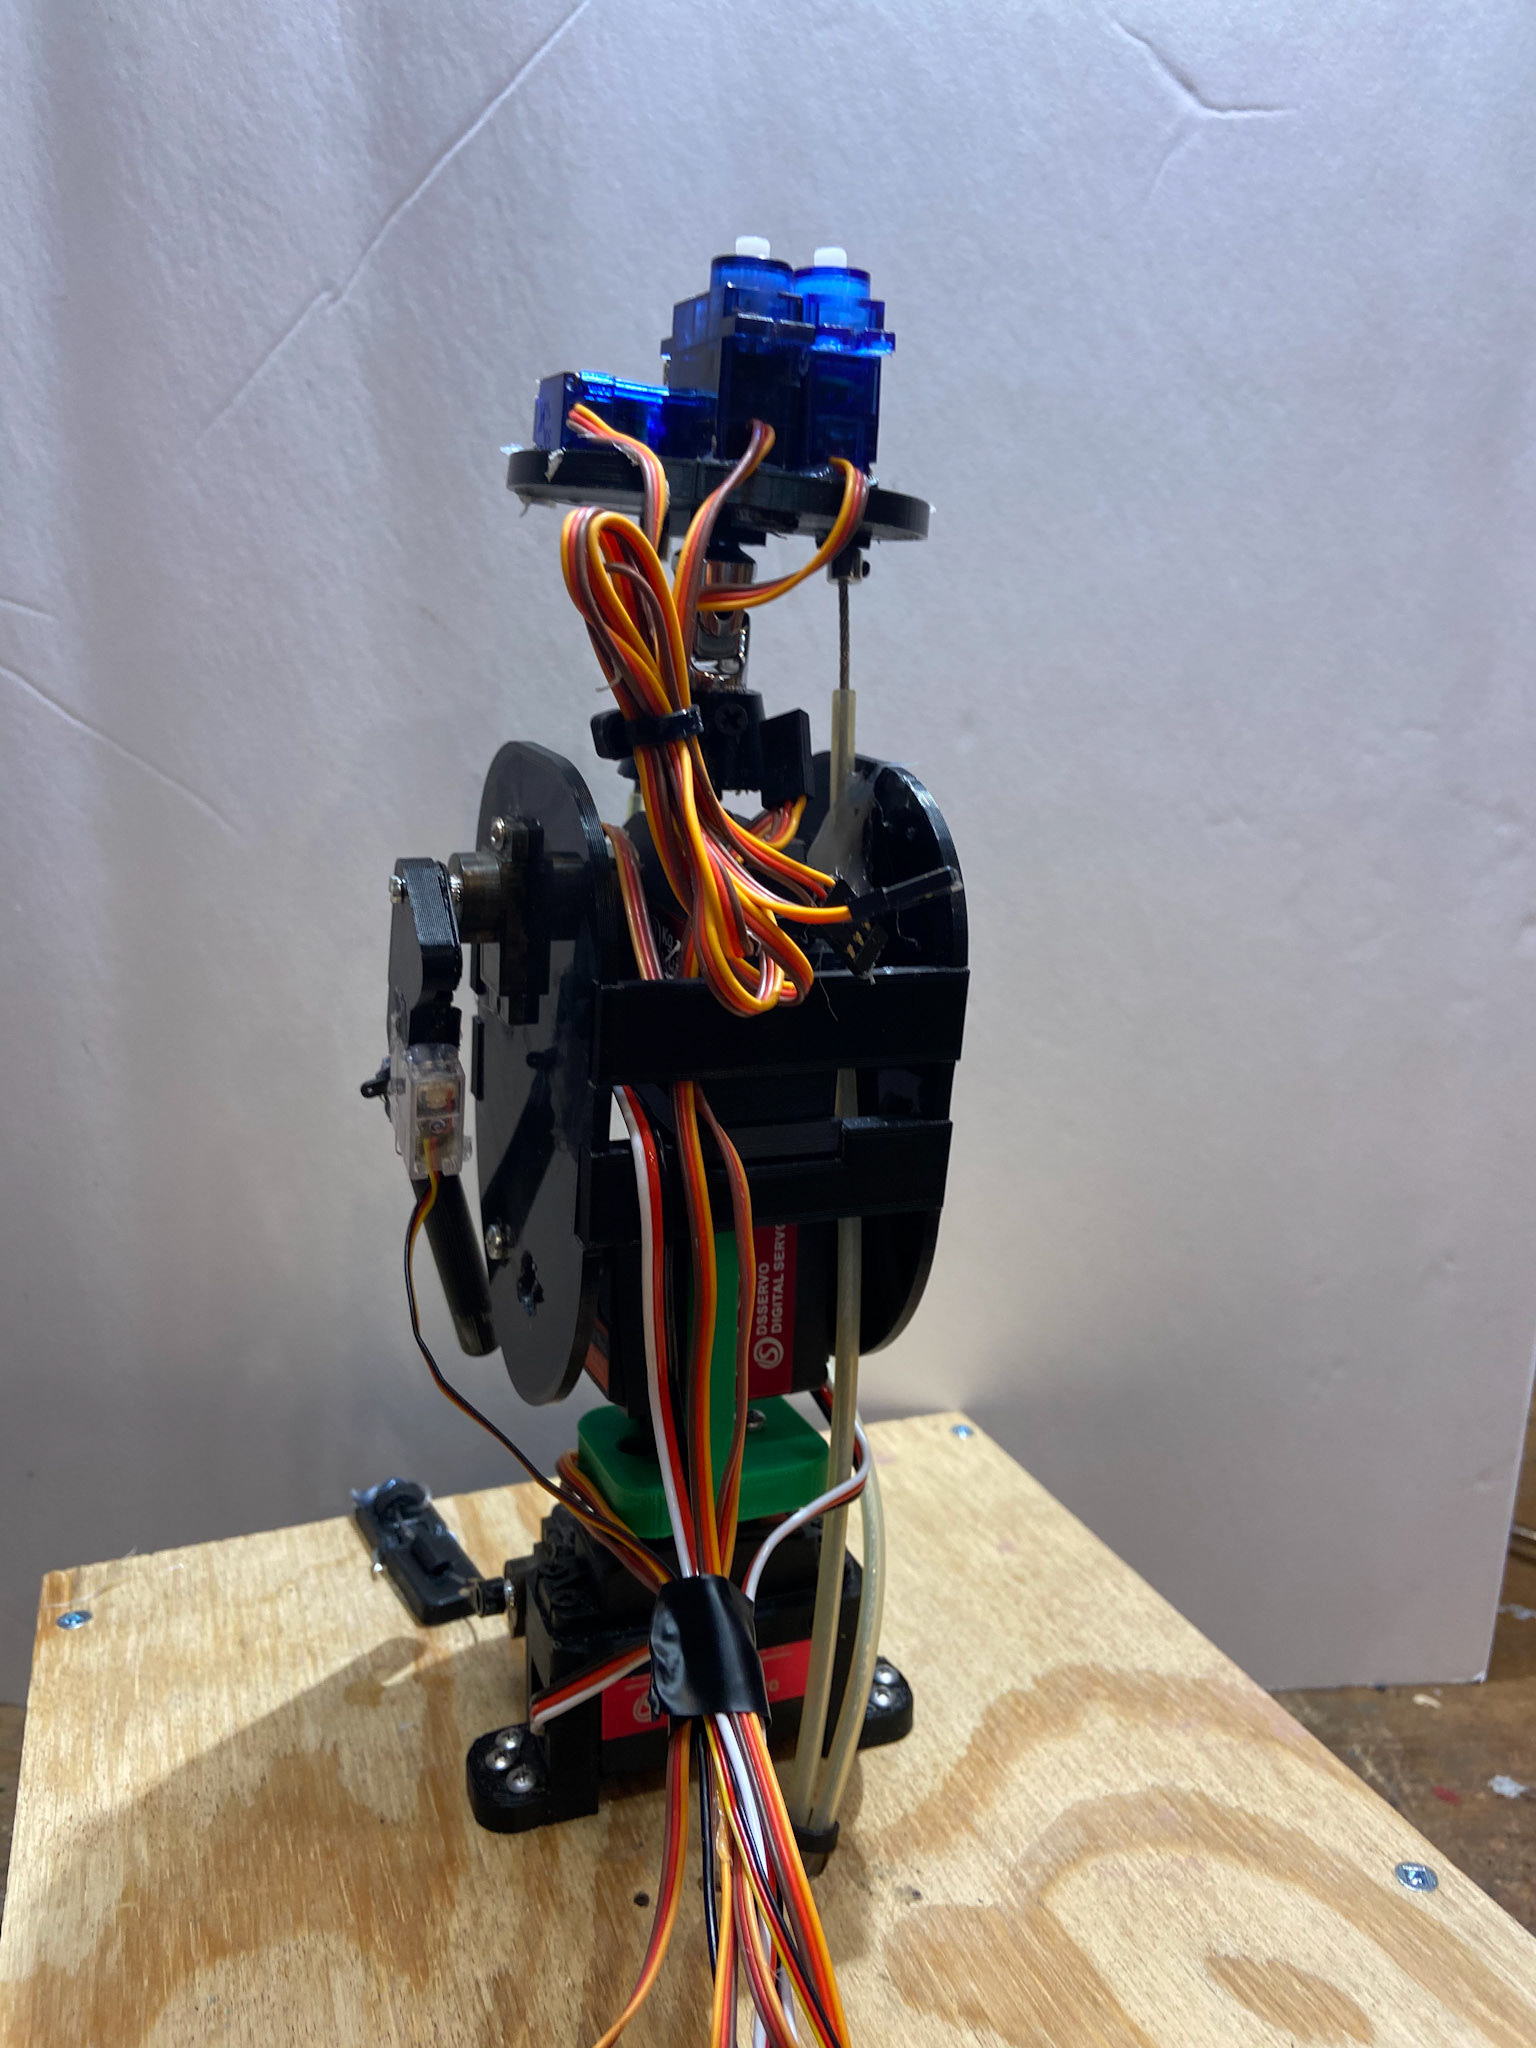
The animatronic squirrel uses 9 standard size servos and 7 micro servos with a combination of direct drive movements and cable mechanisms. The base houses the computer, wires, cables, LEDs, relays, speaker, and 8 of 16 servos. The skeleton of the squirrel was designed in Fusion 360 and 3D printed.
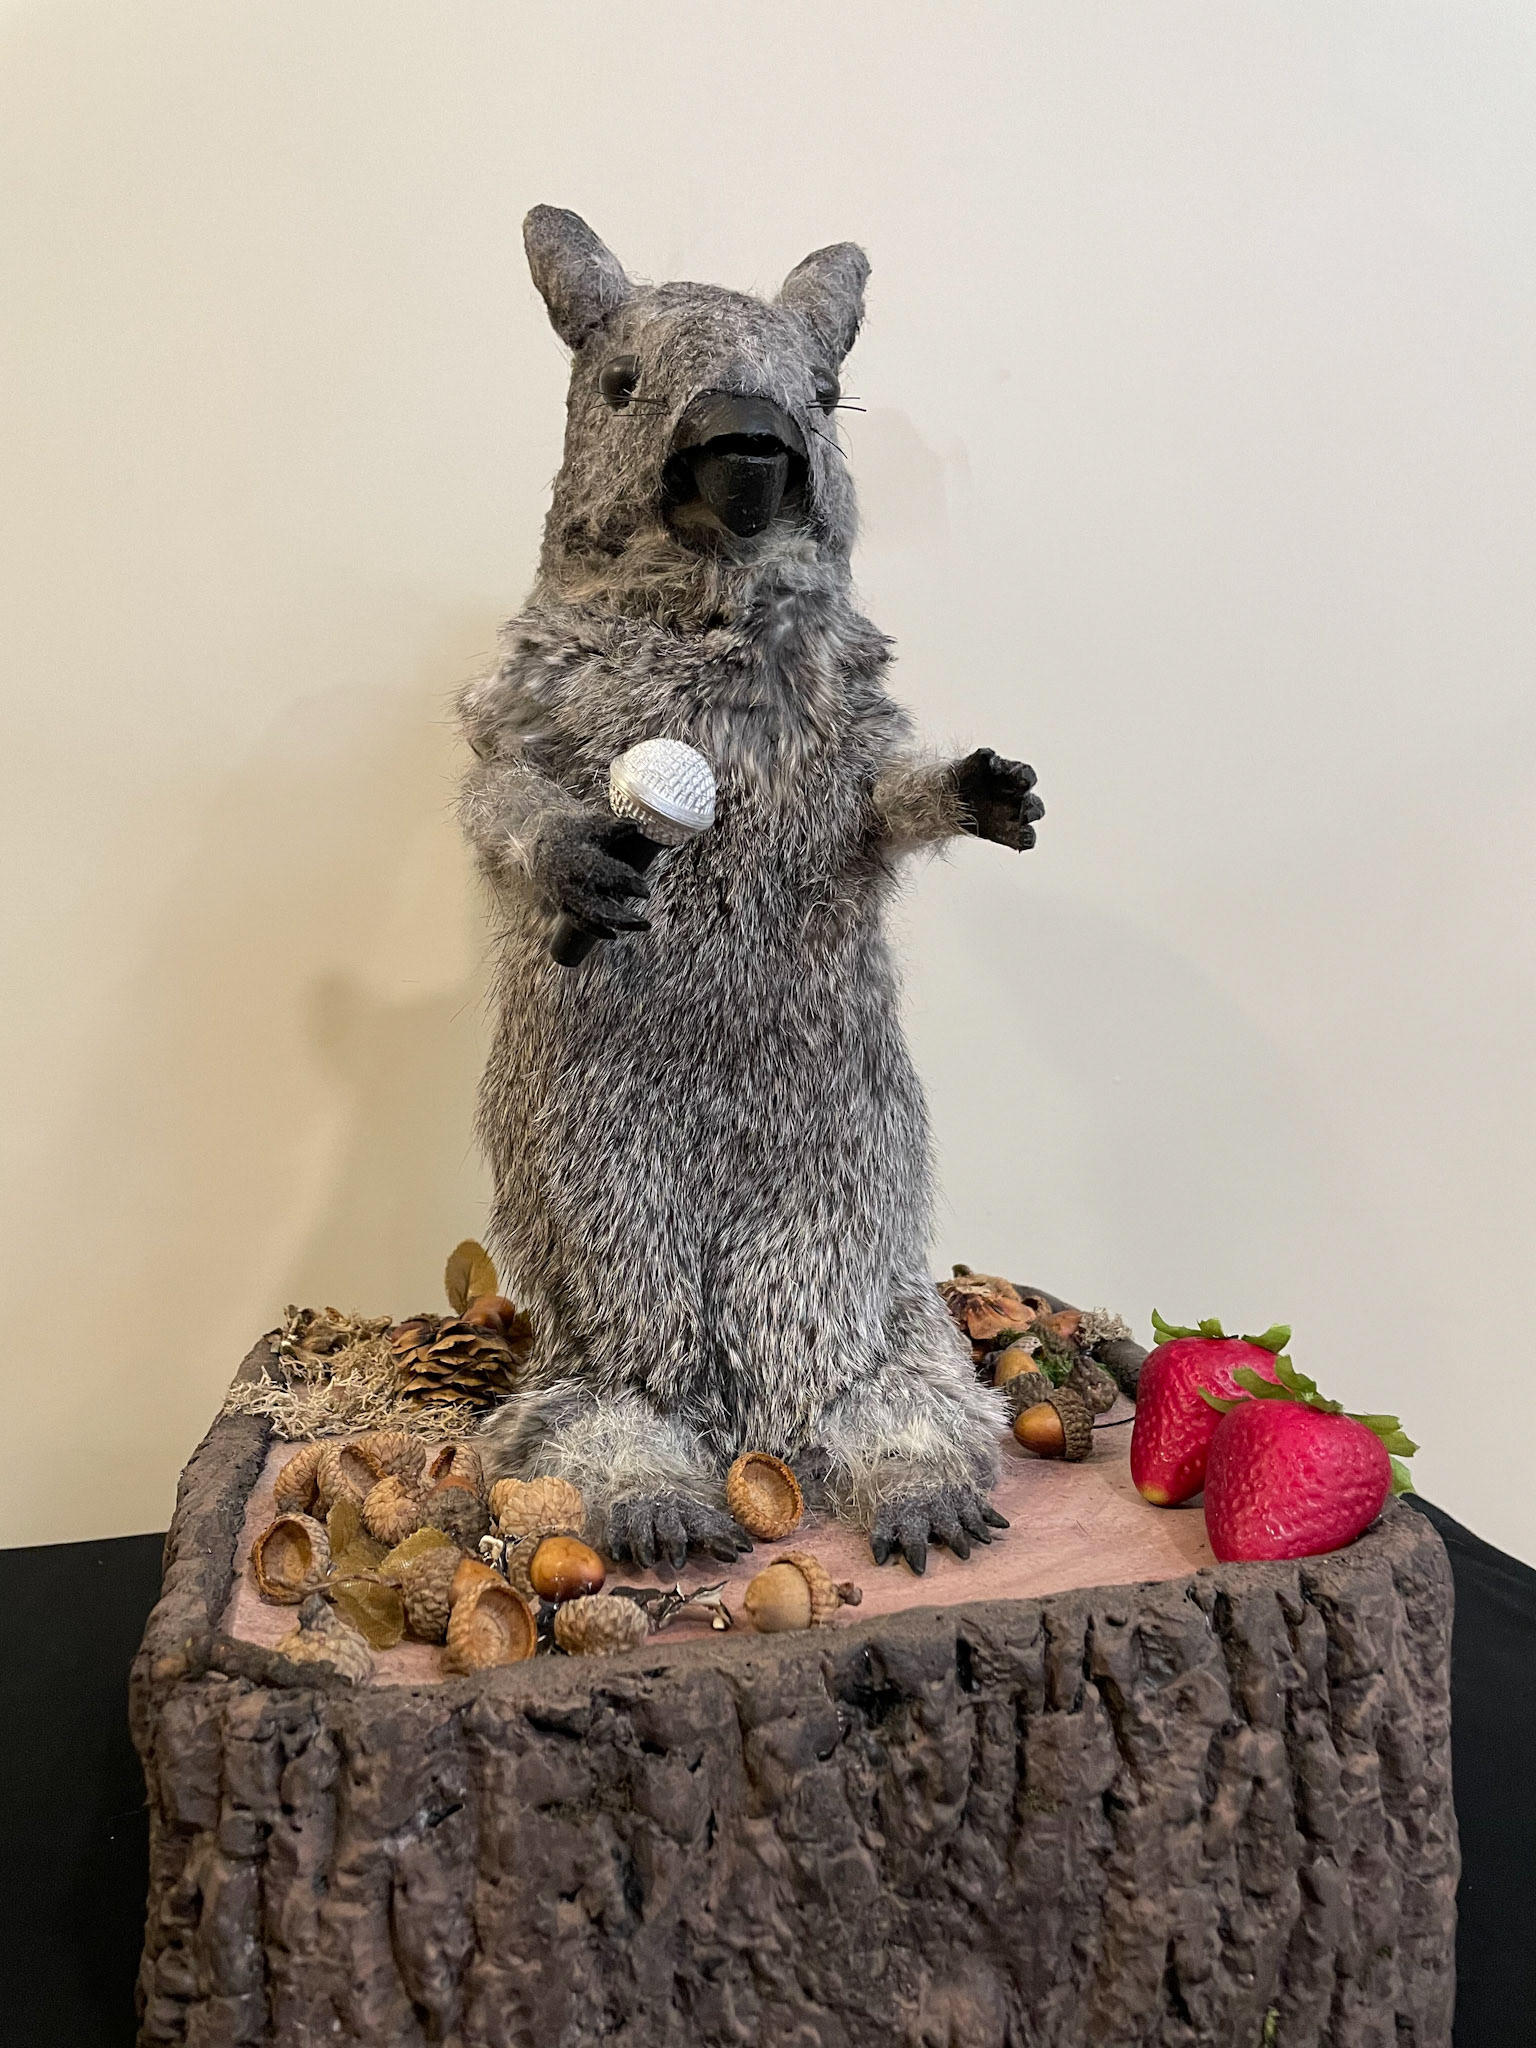
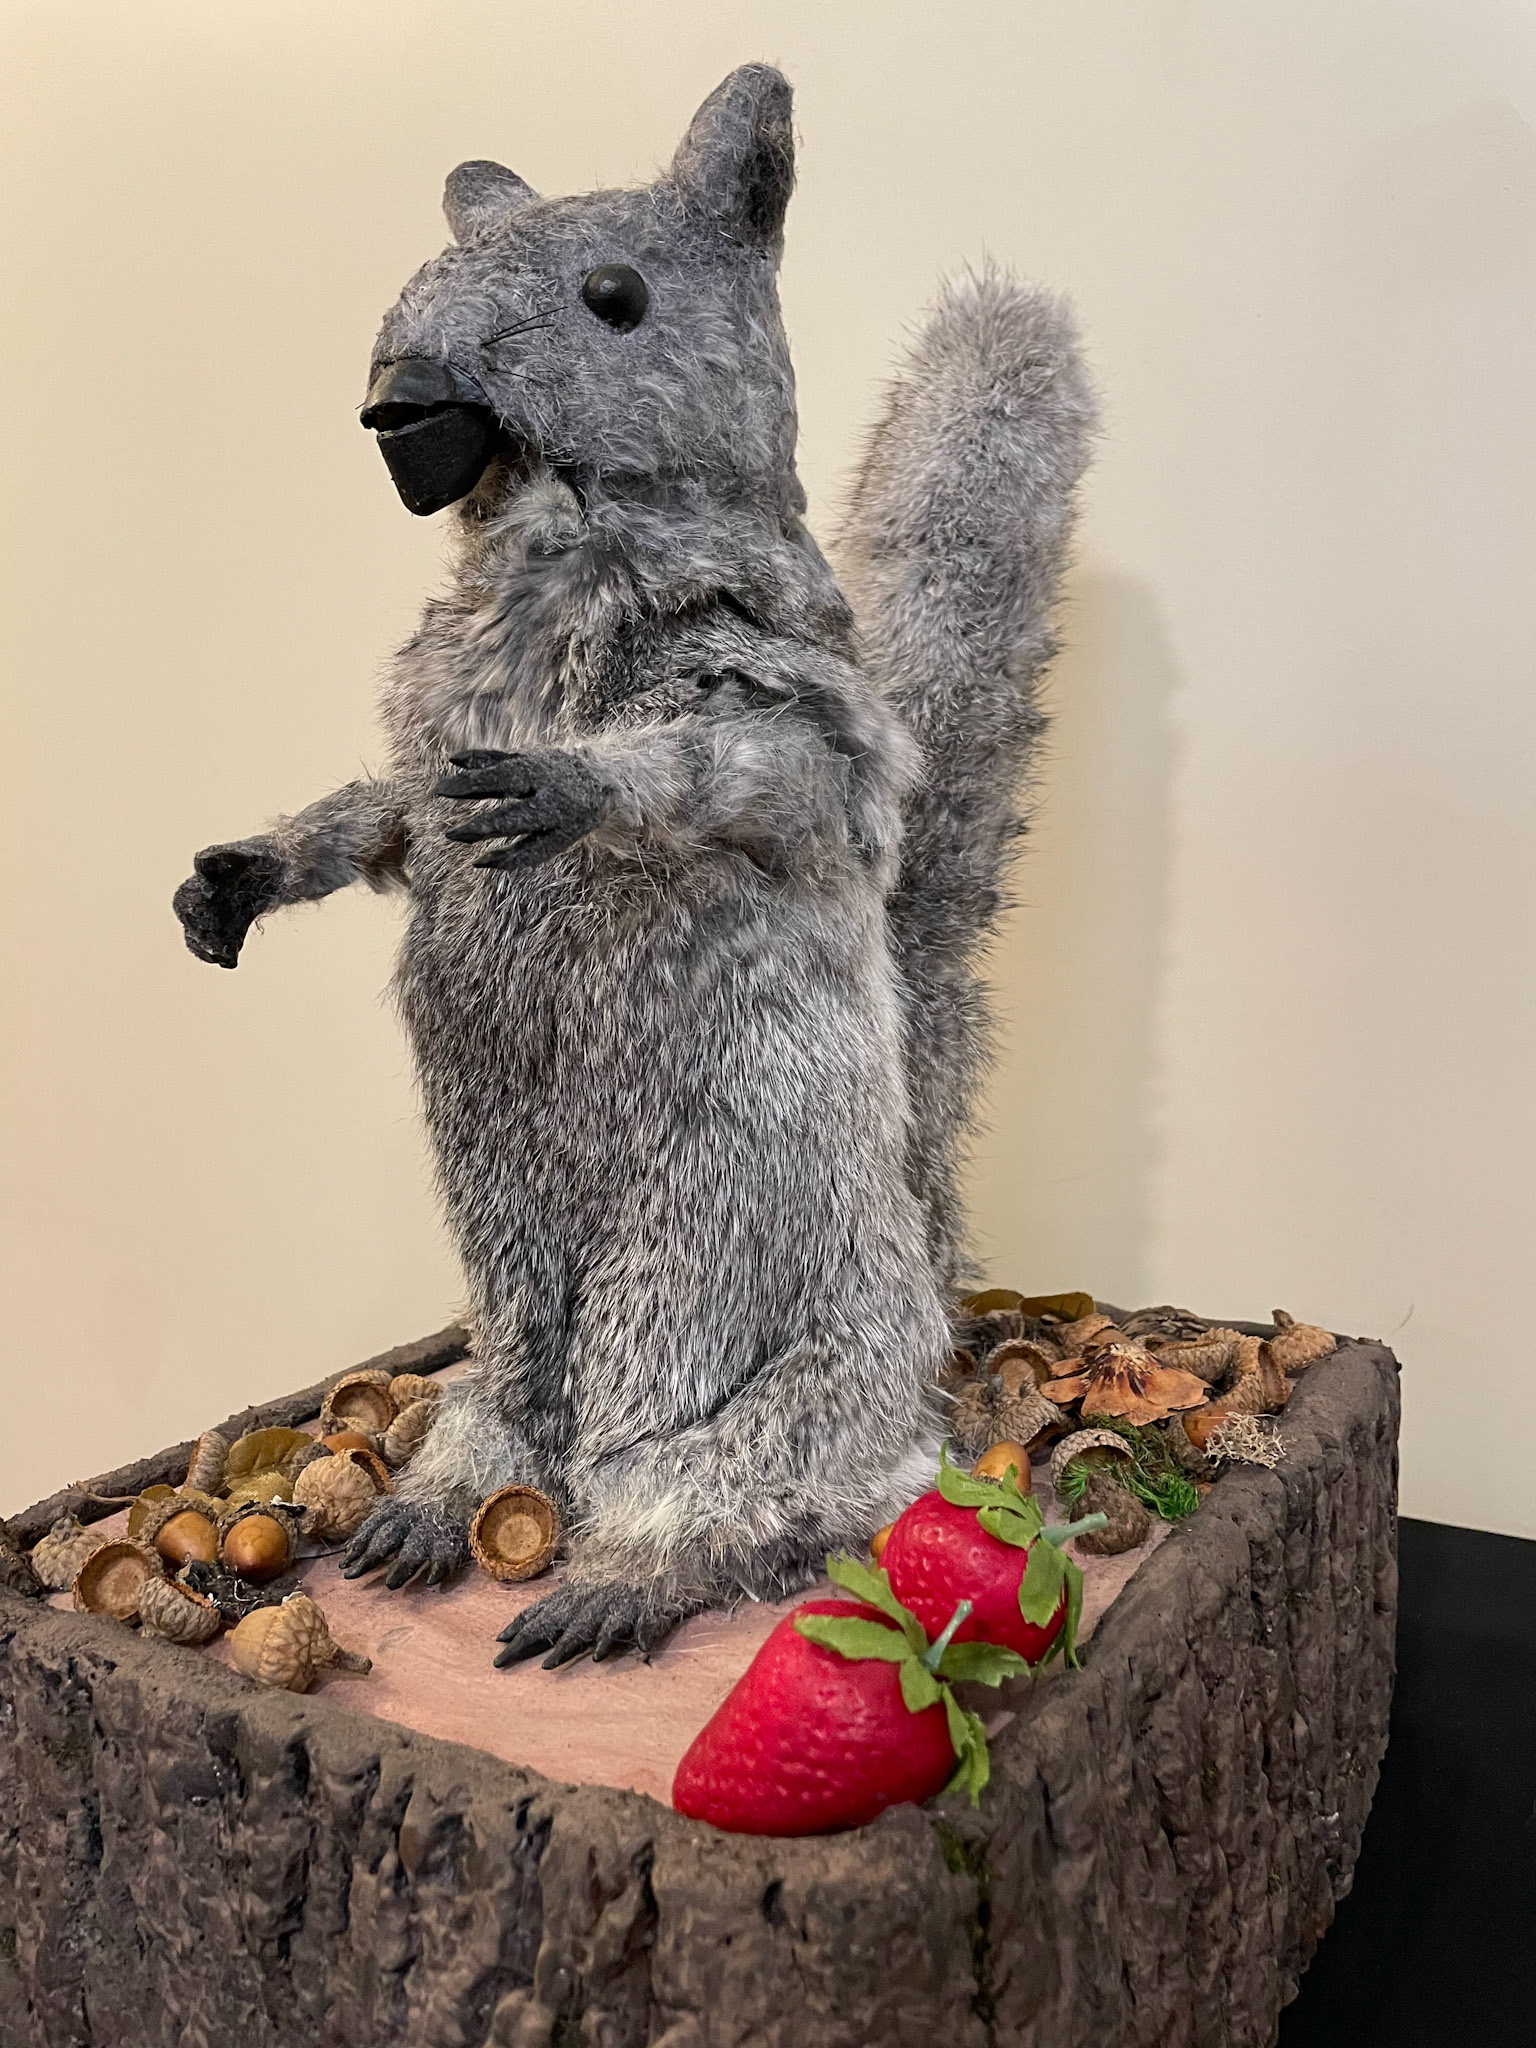
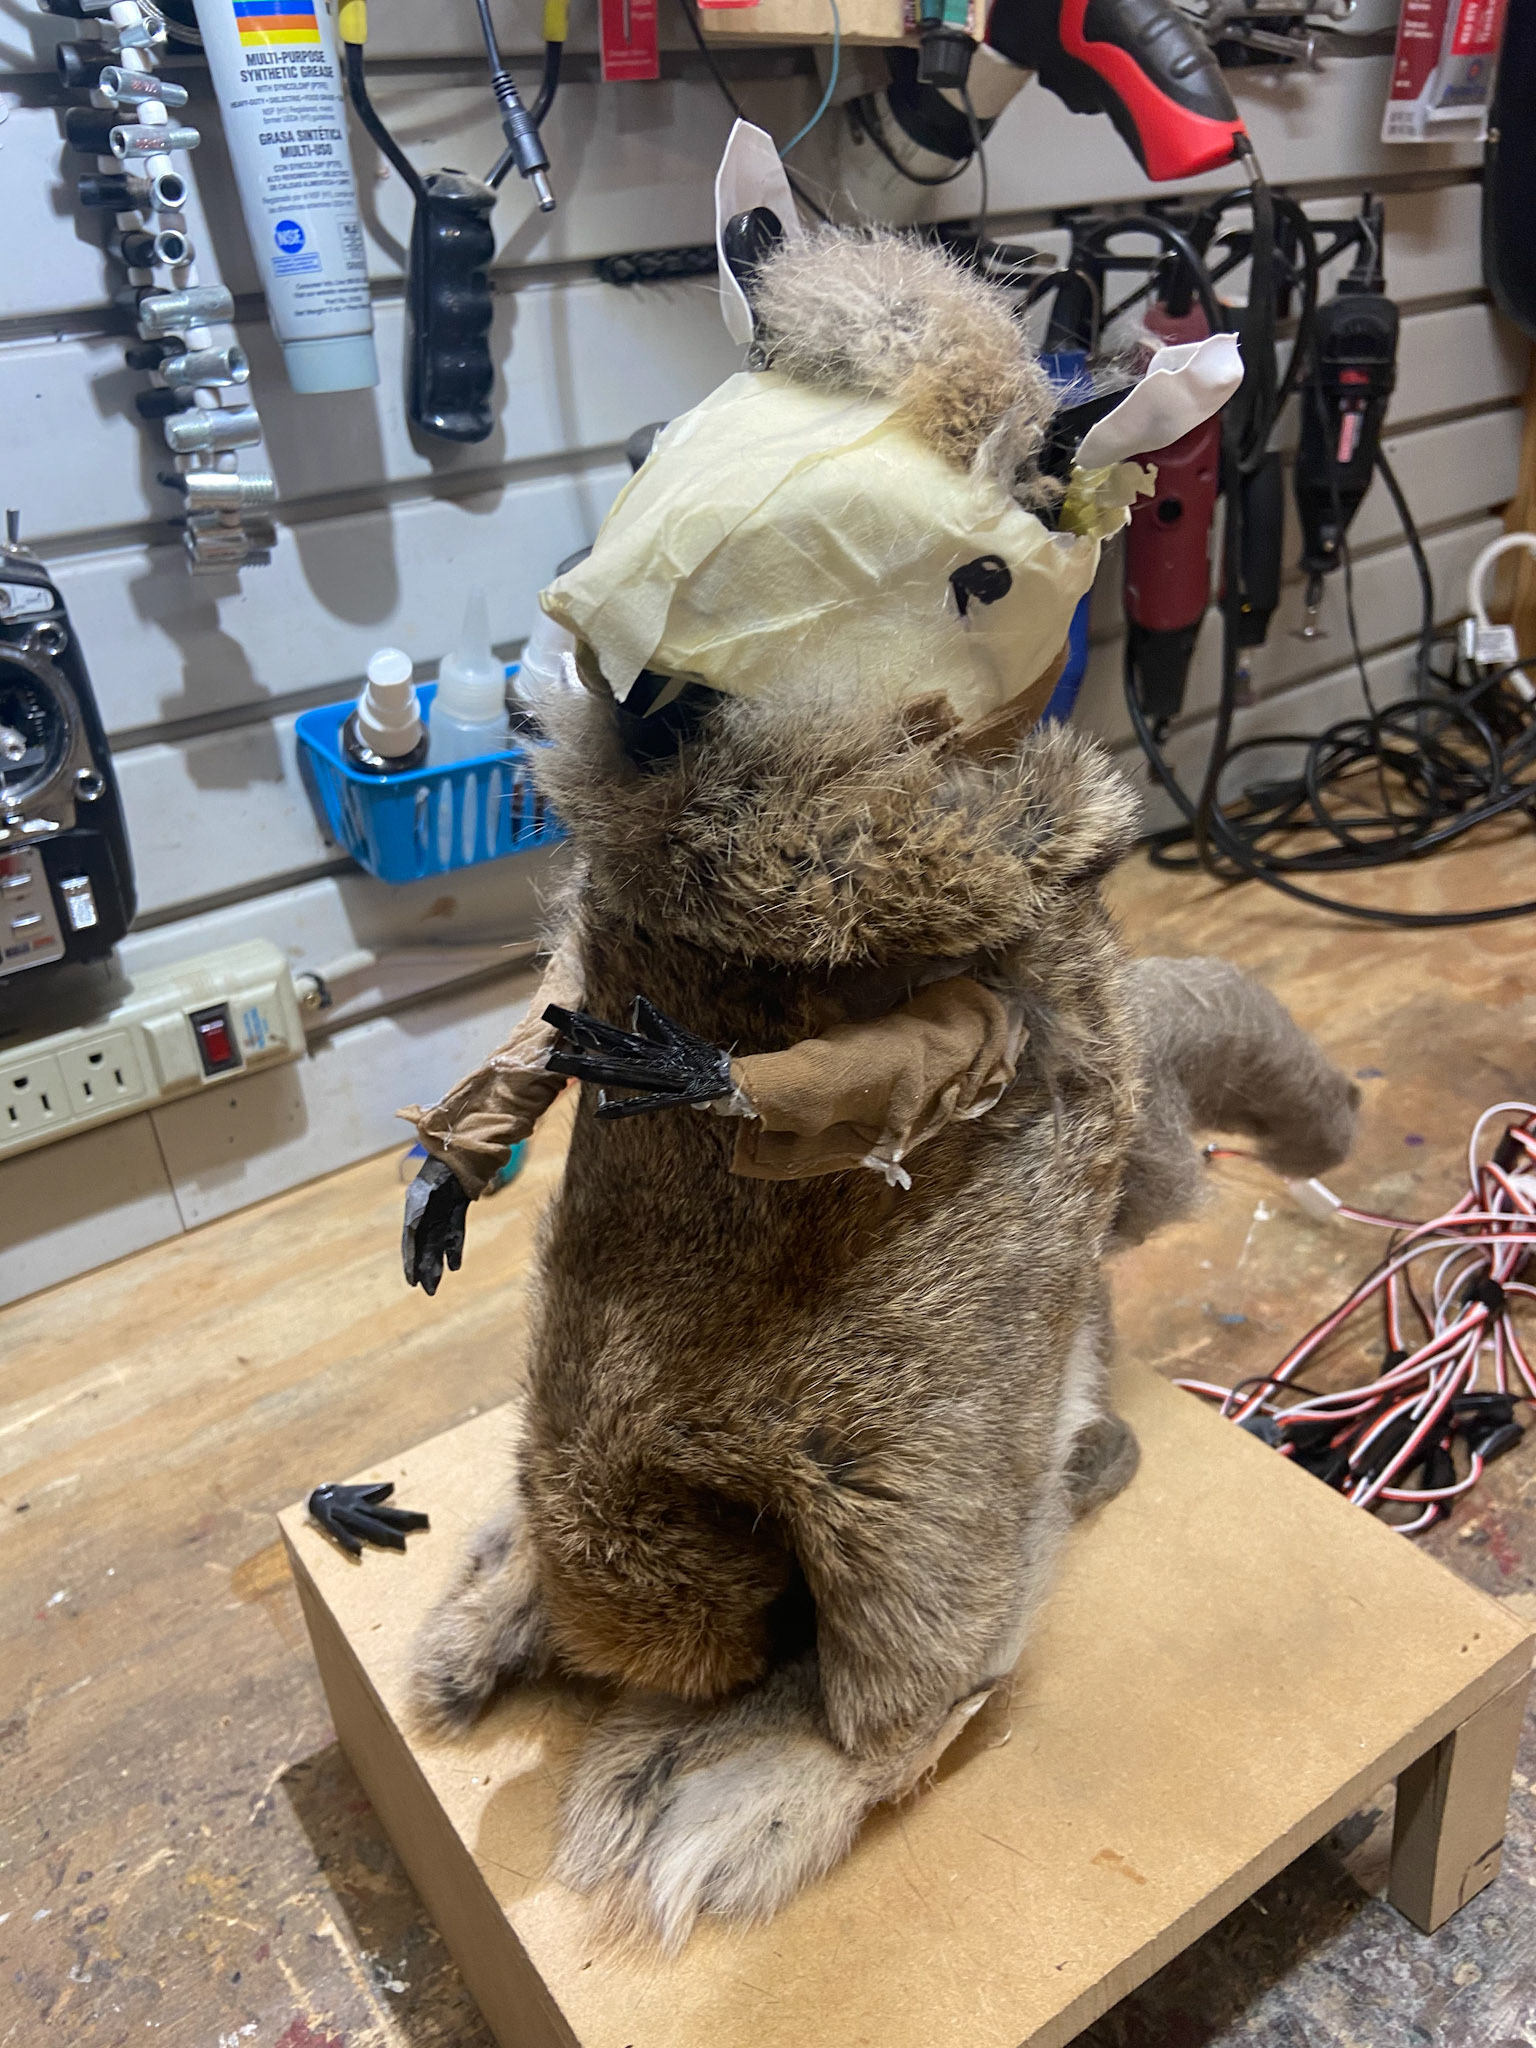
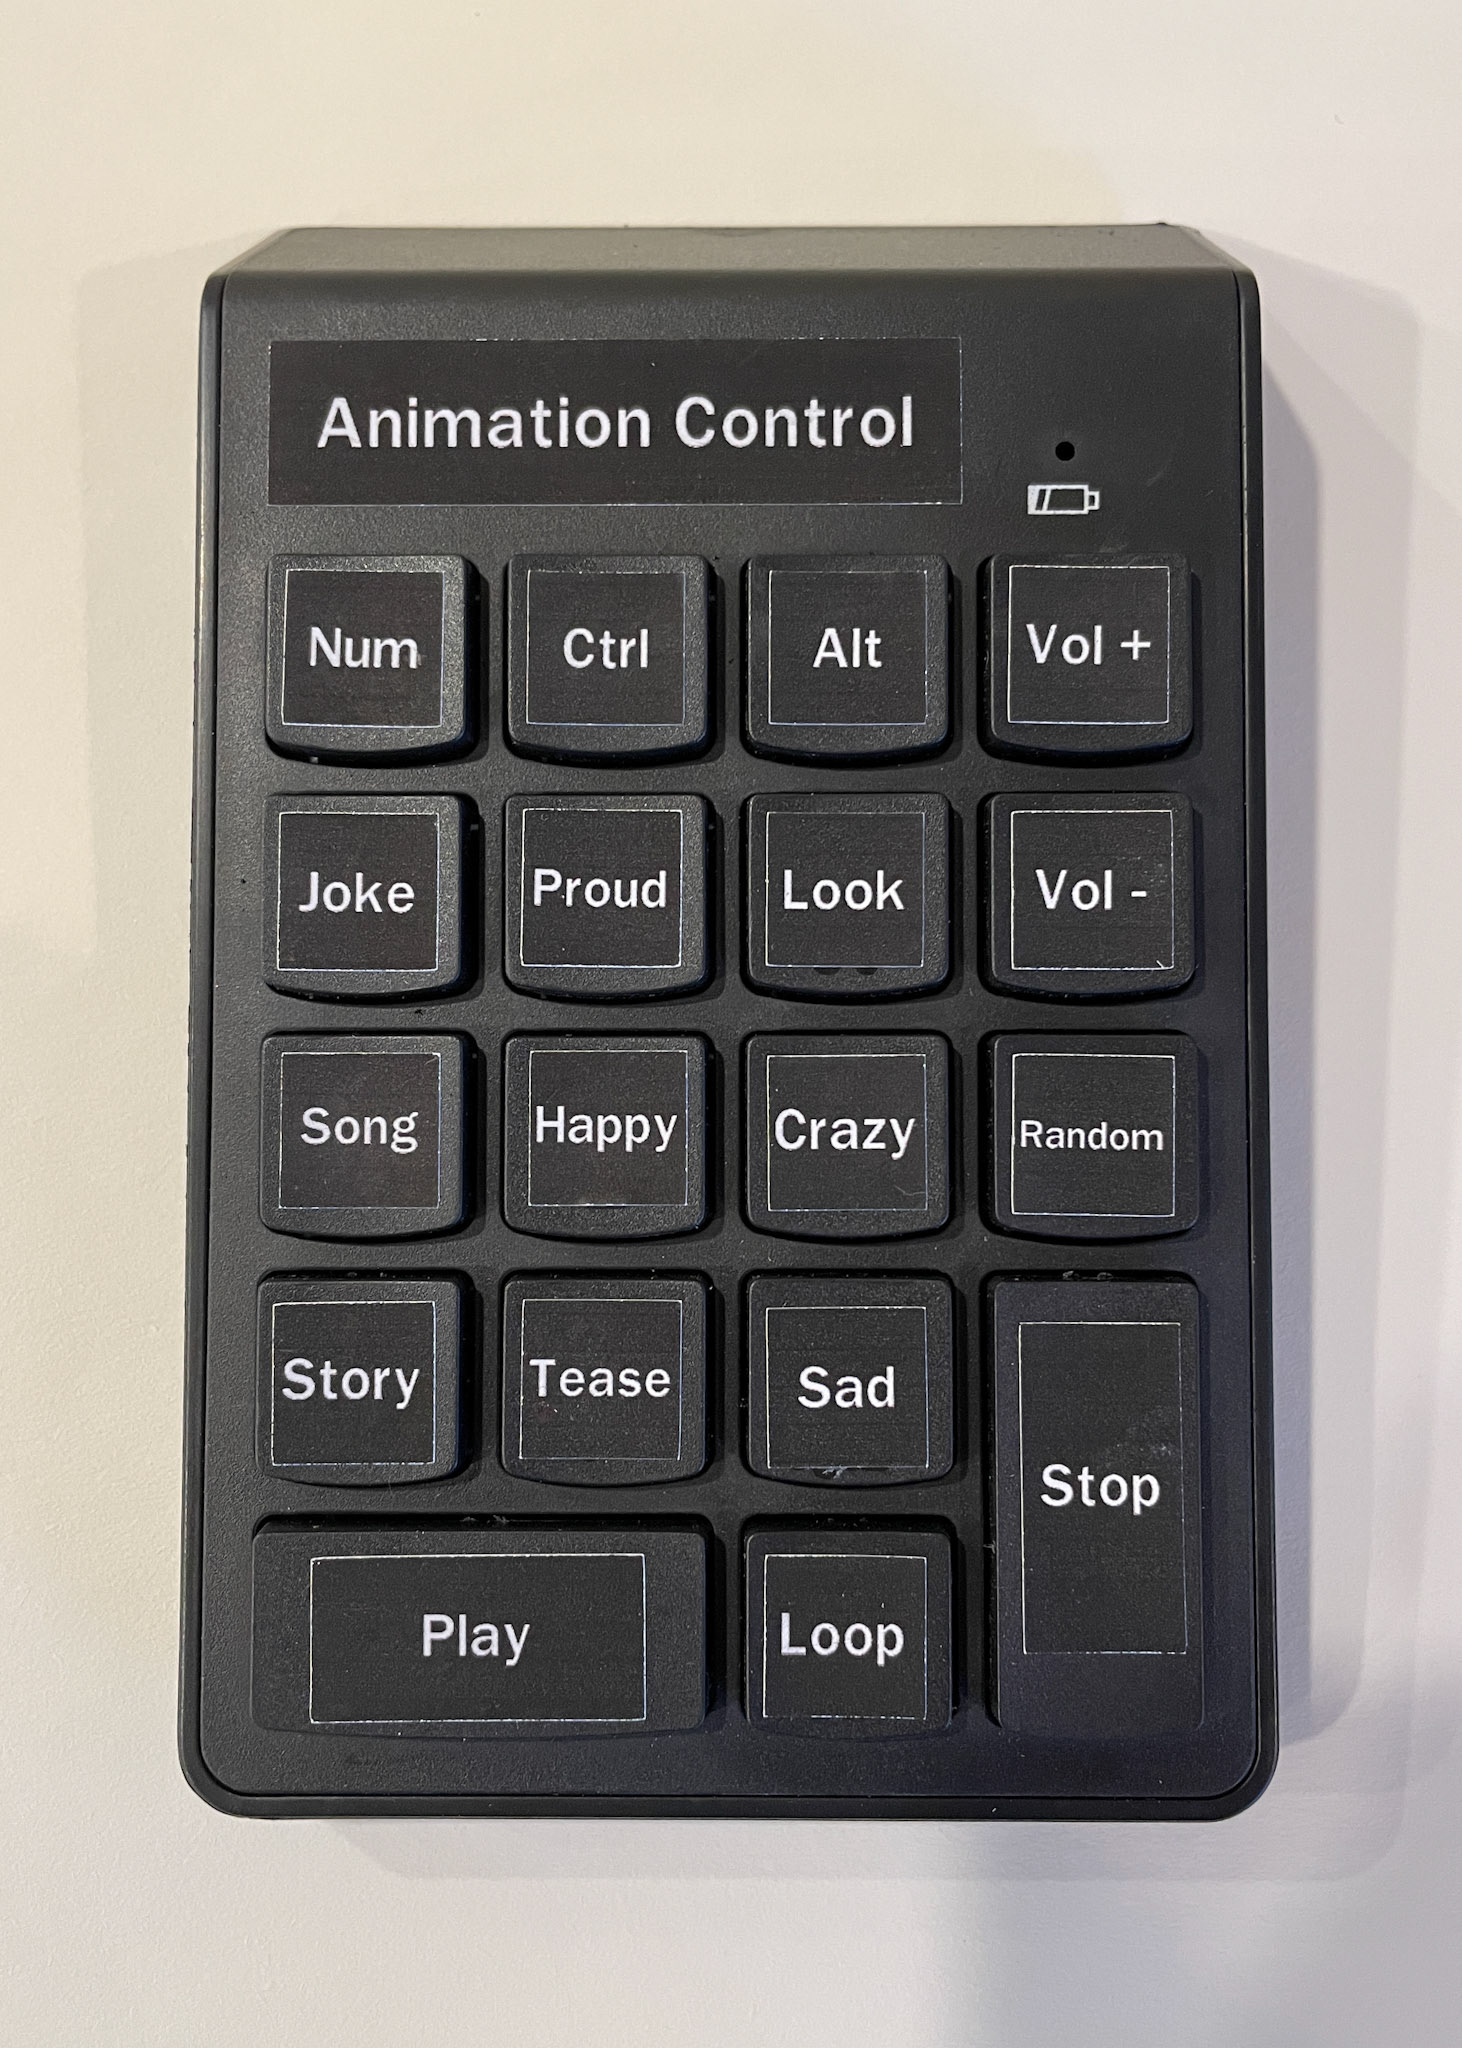
The mouth, hands, and feet were hand sculpted and flocked with fiber, and the body was covered with rabbit pelt. The fur on the head and arms was carefully applied by hand. With 8 preprogrammed tracks the squirrel can display a wide range of emotions by pressing one of the buttons on the 'Animation Controller.' He can sing, he can crack jokes, and he can even hold different items utilizing the magnets embedded in his hands.
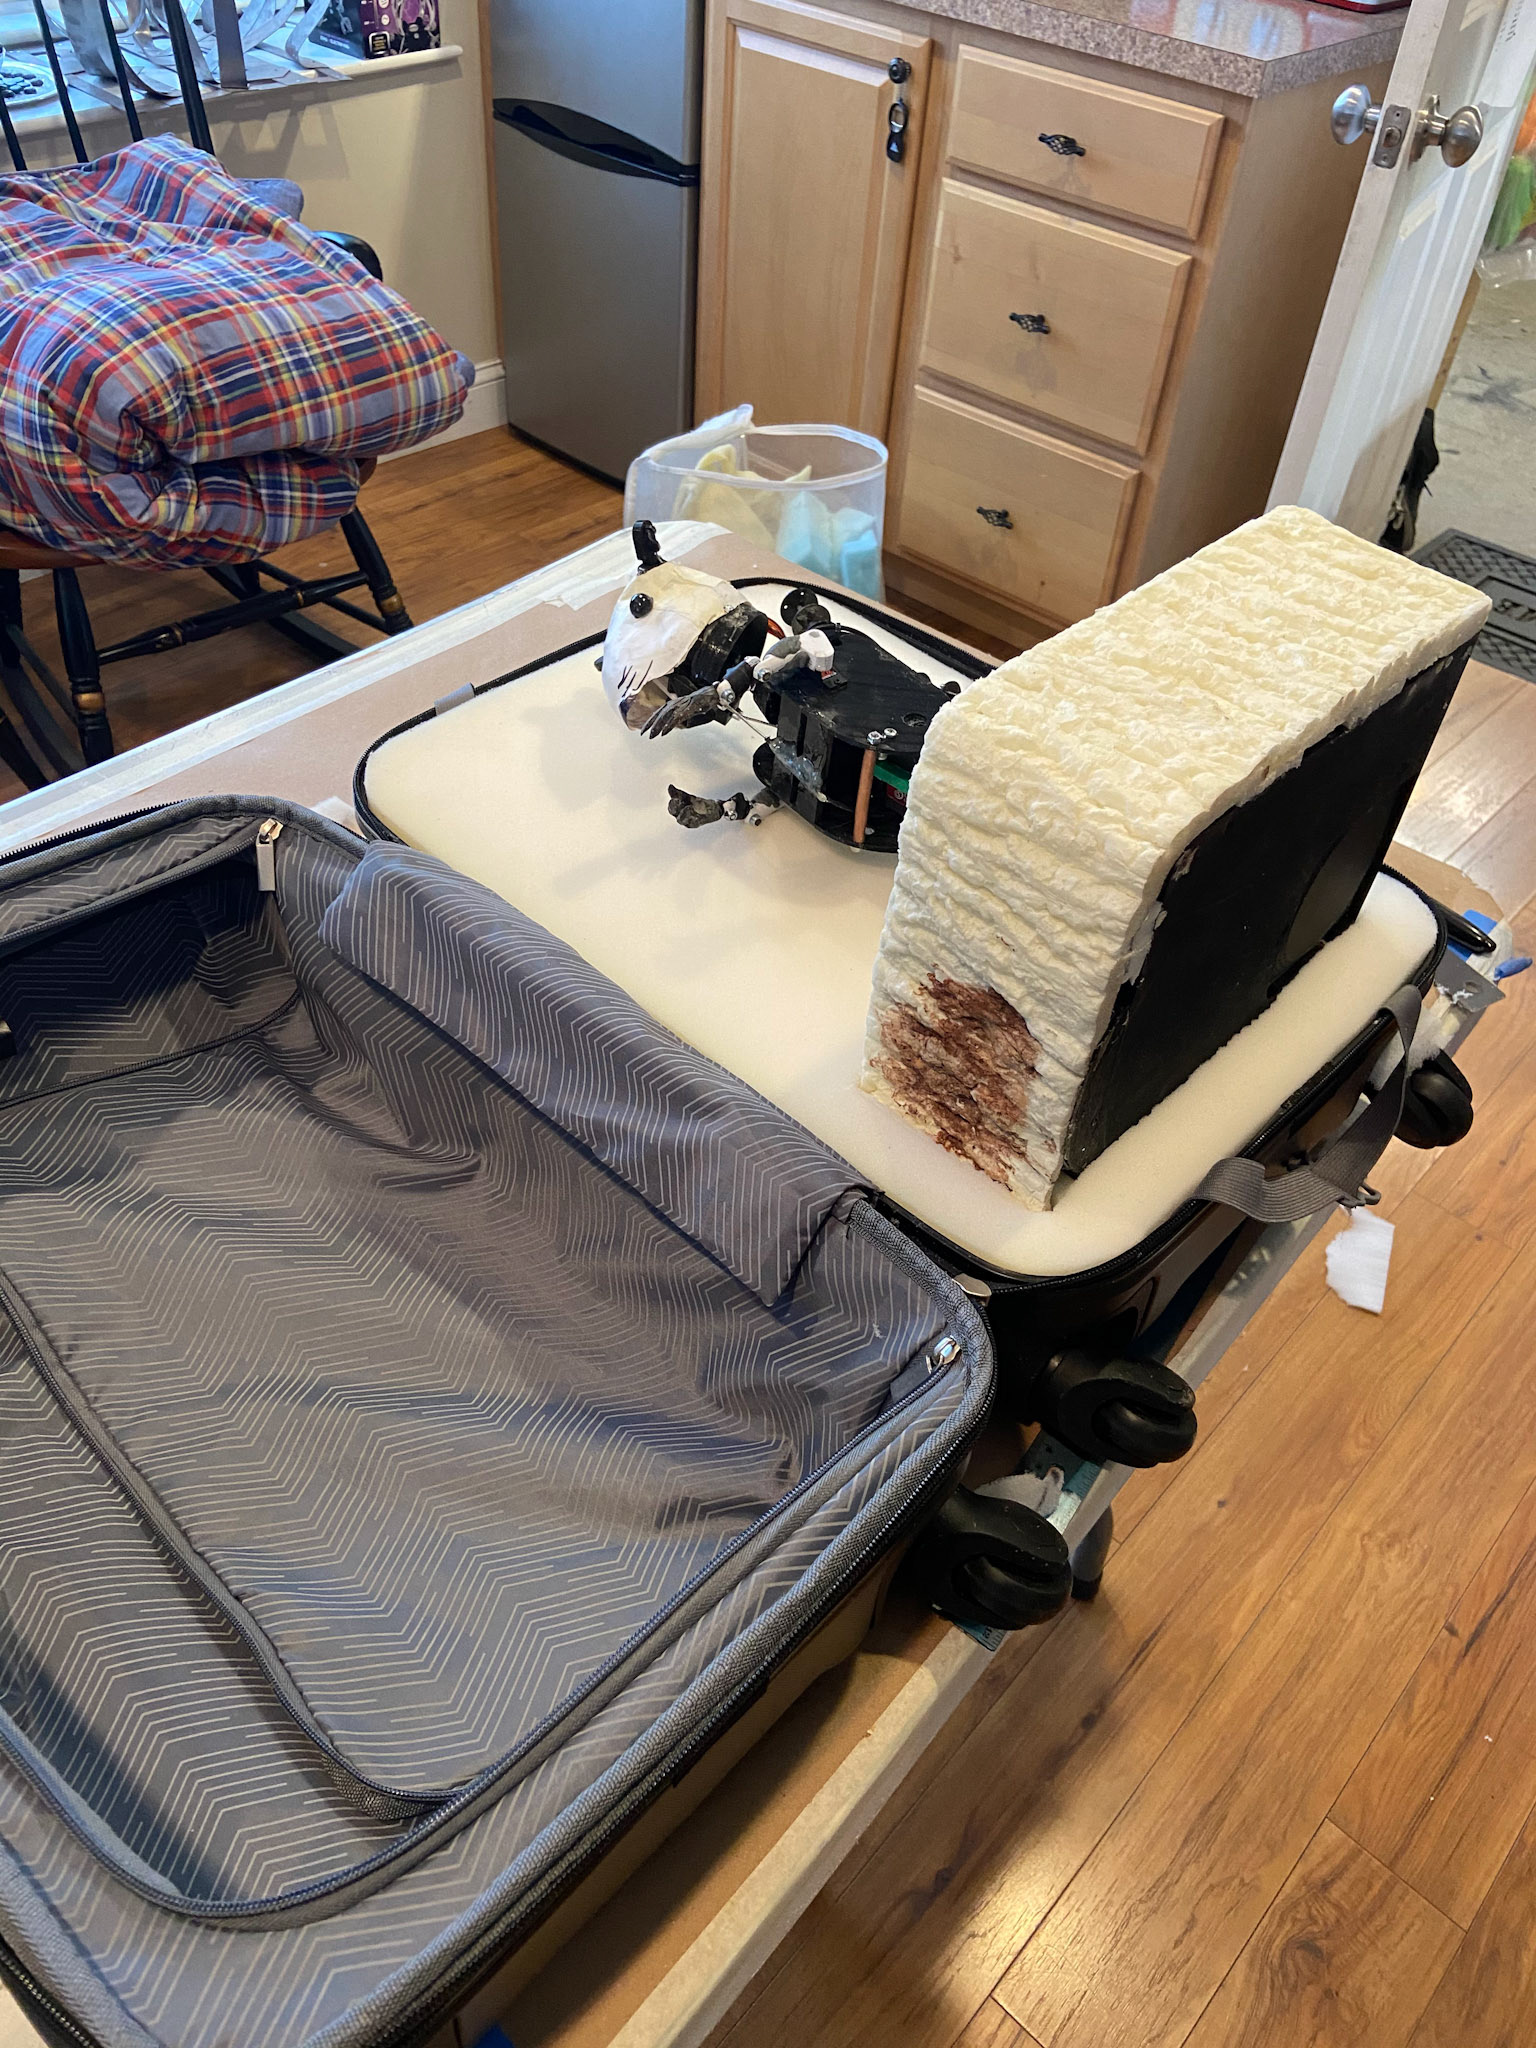
The squirrel was designed to be able to fit in a carry-on suitcase so that travel would be easy. The suitcase makes it easy to pack up and bring to shows, schools, and interviews.
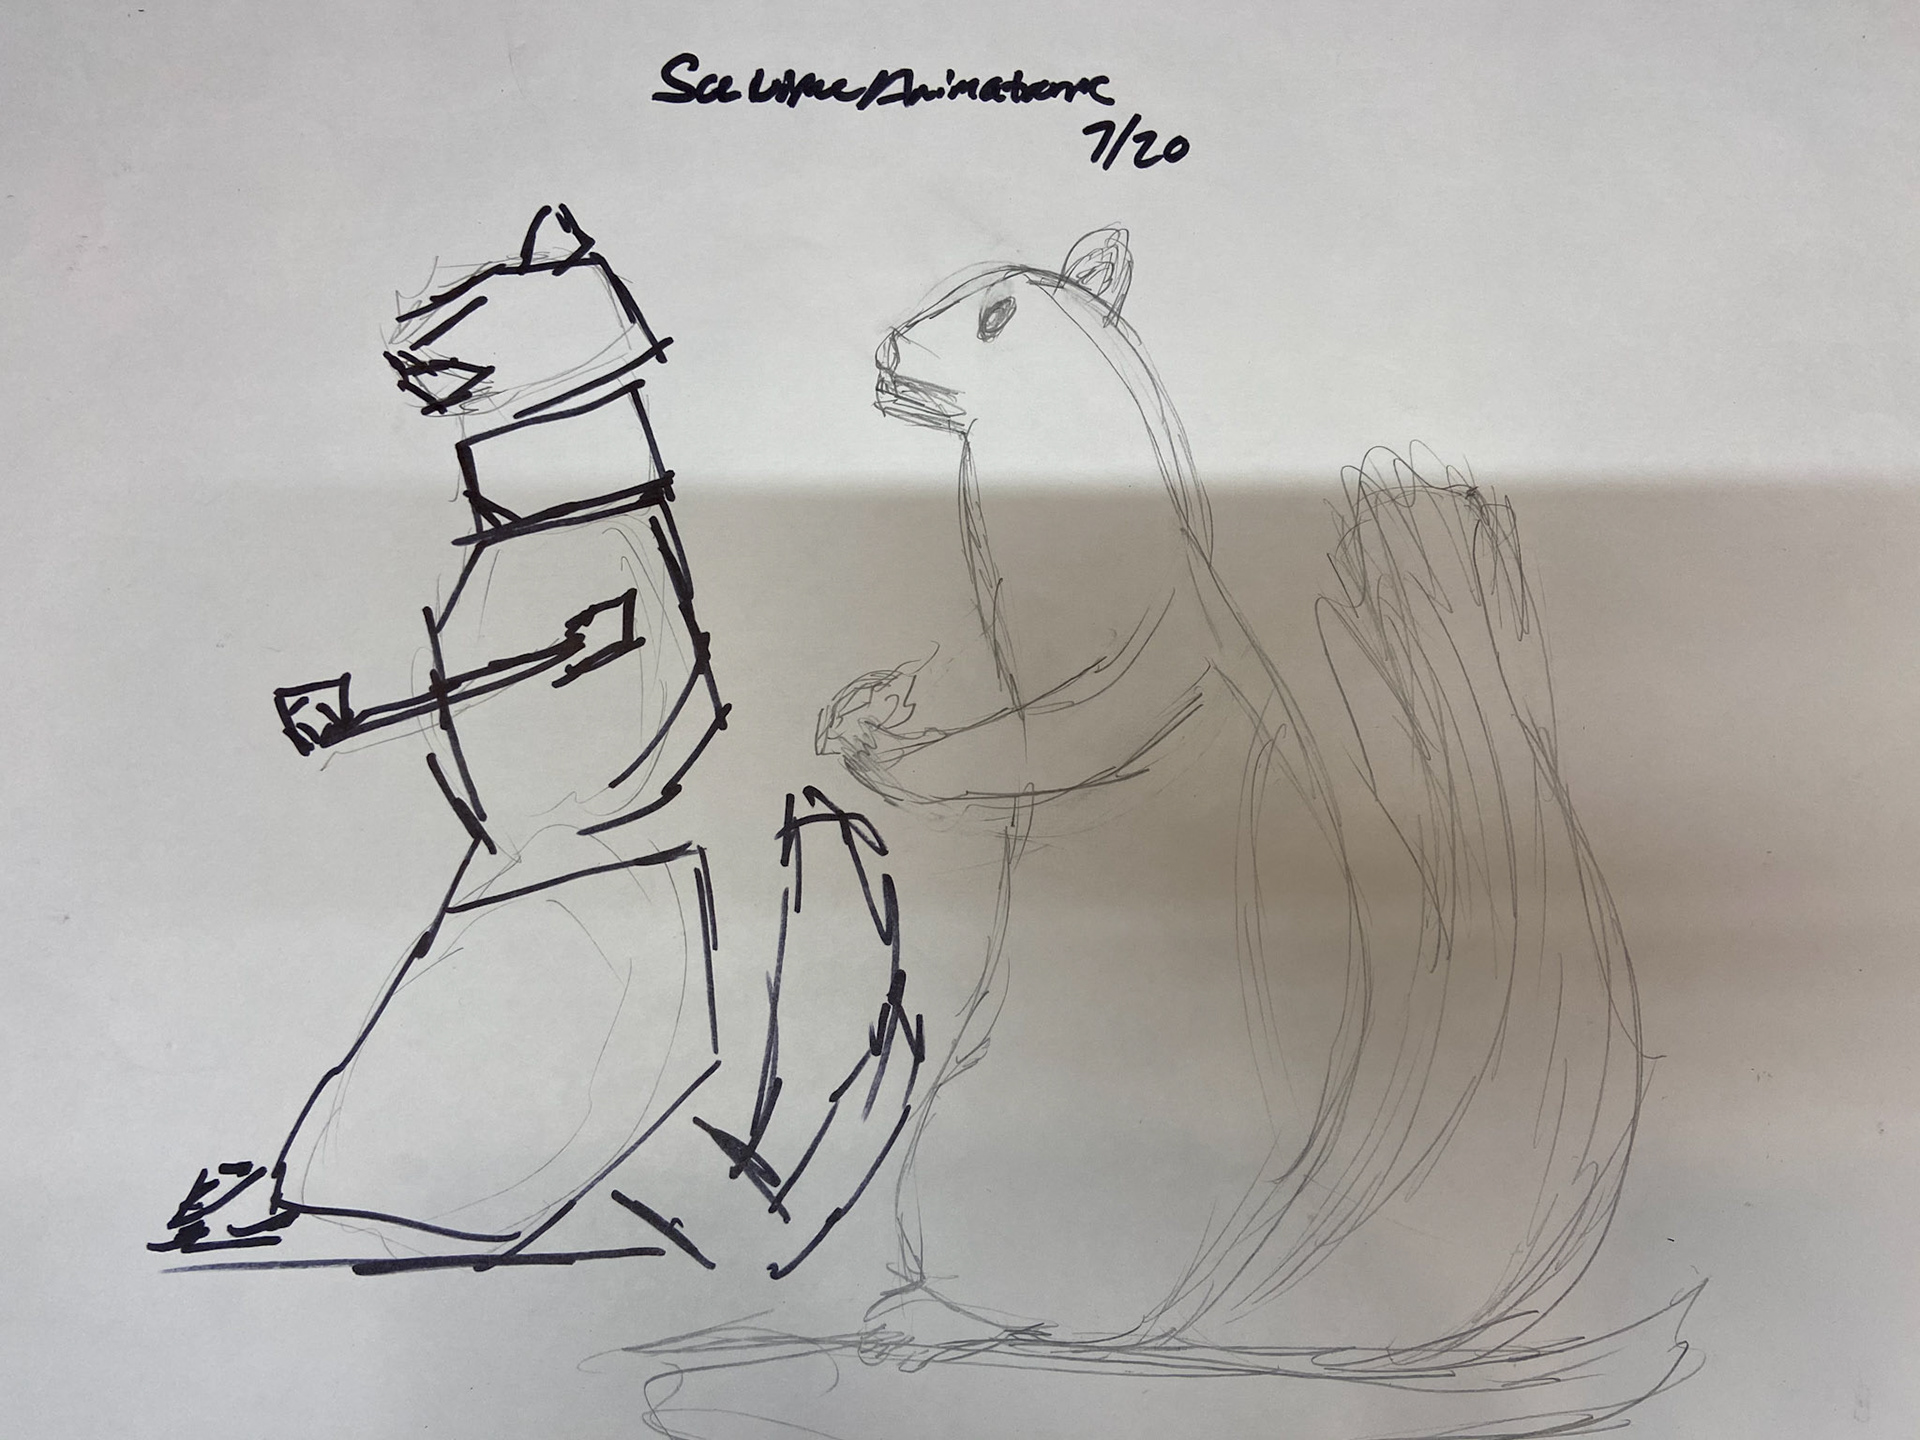
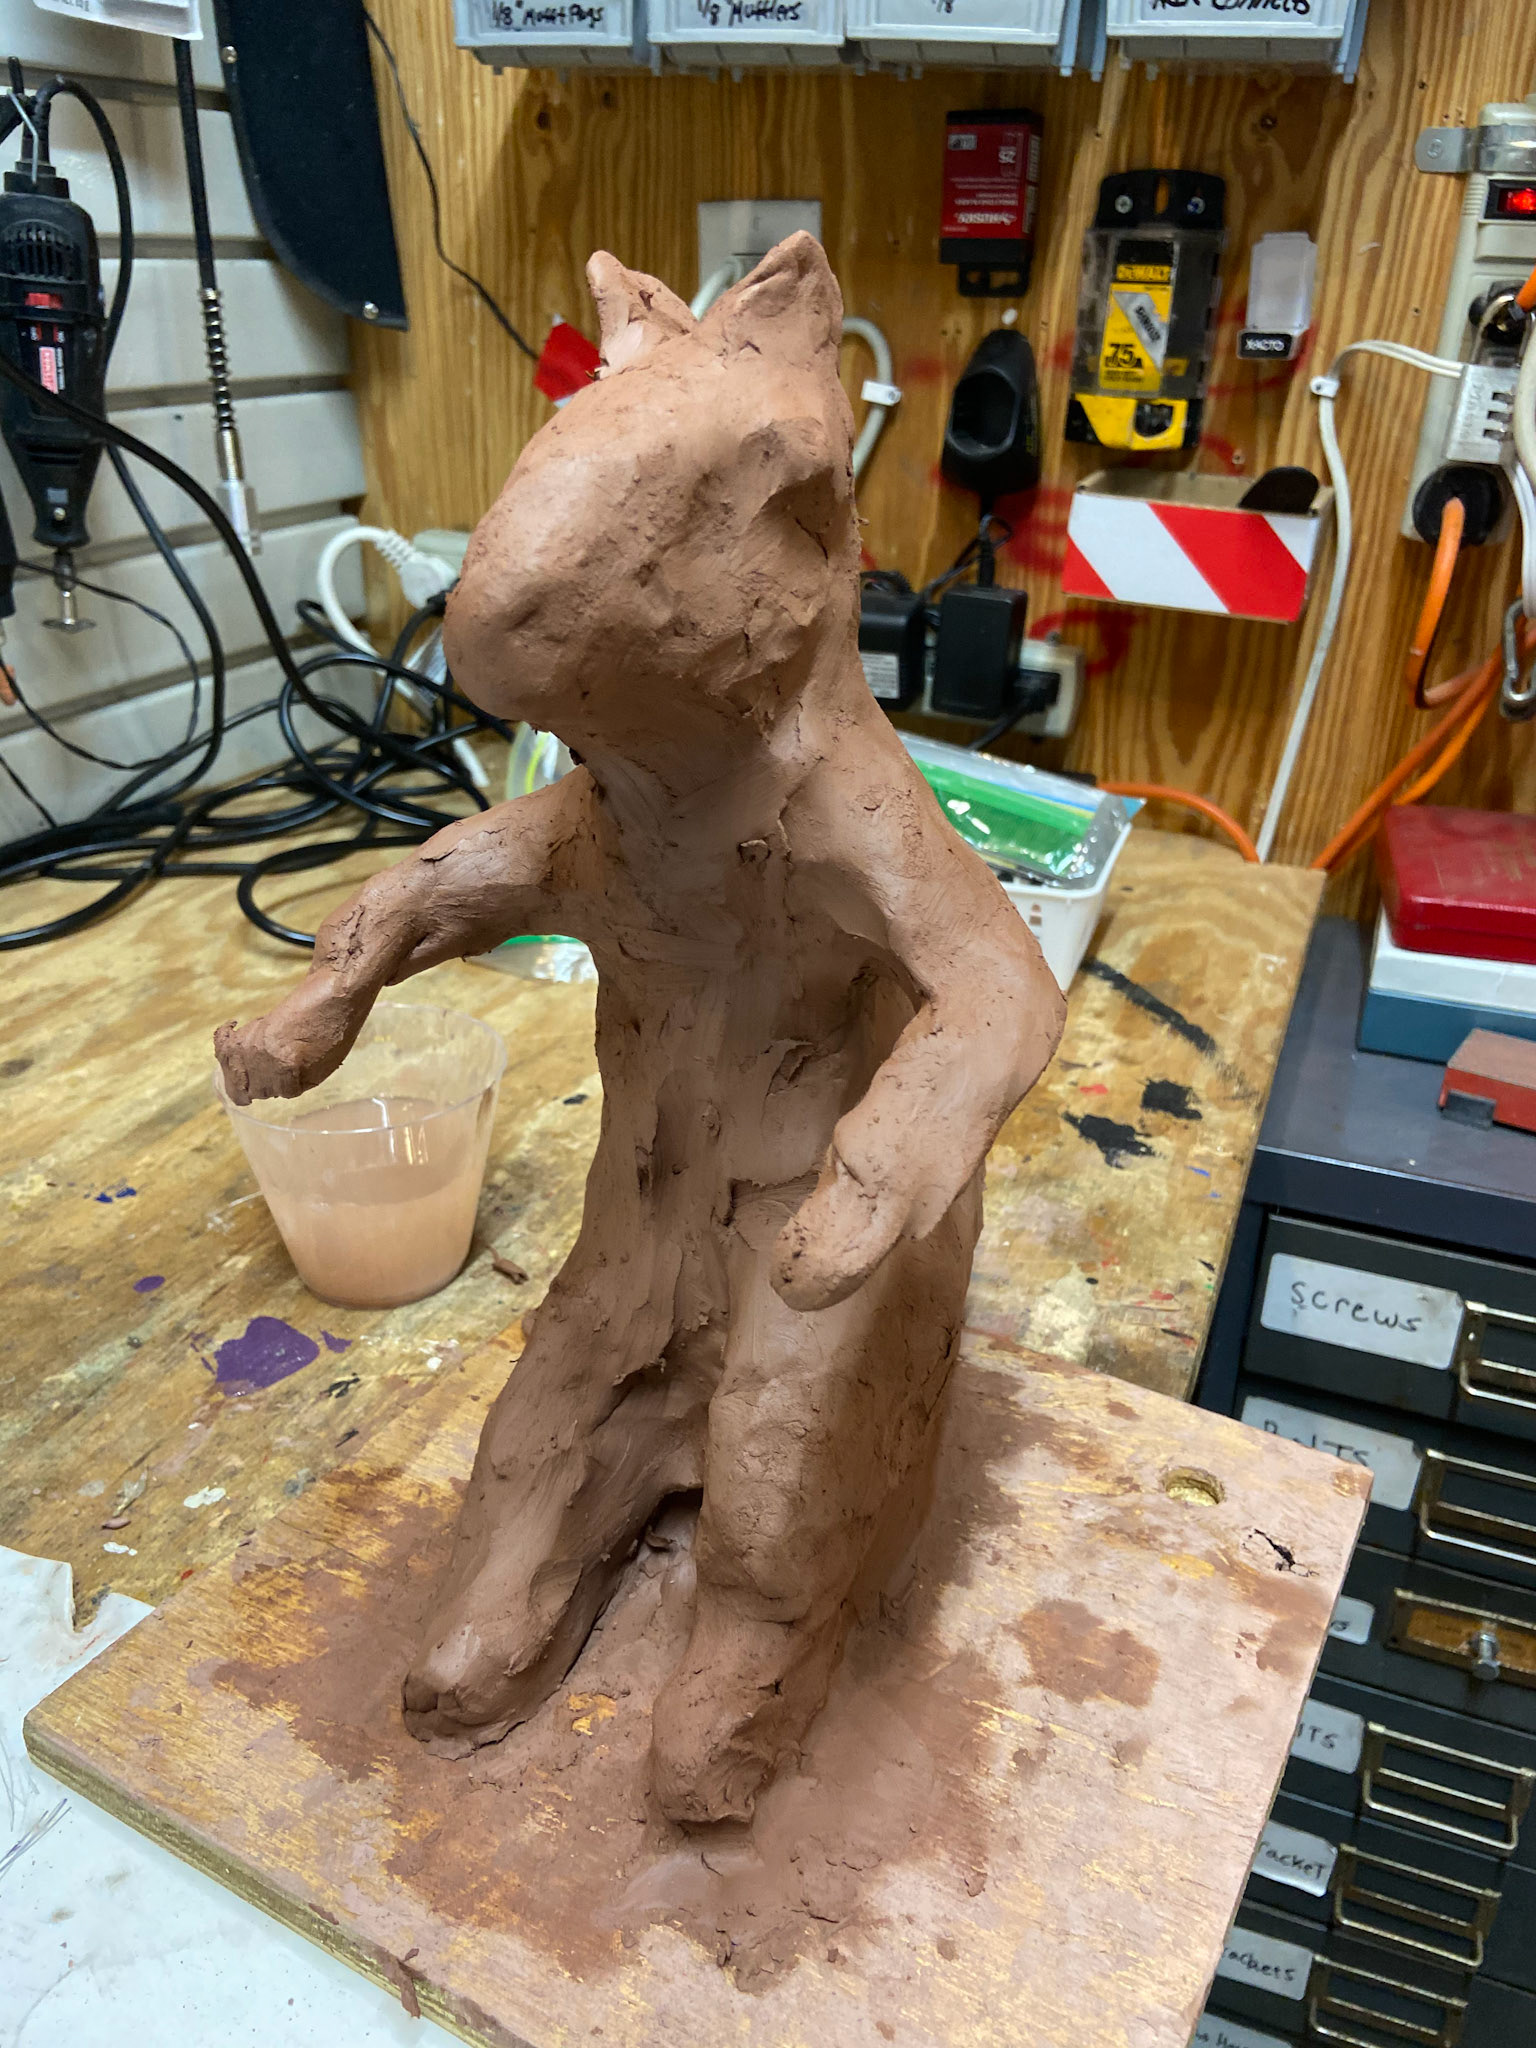
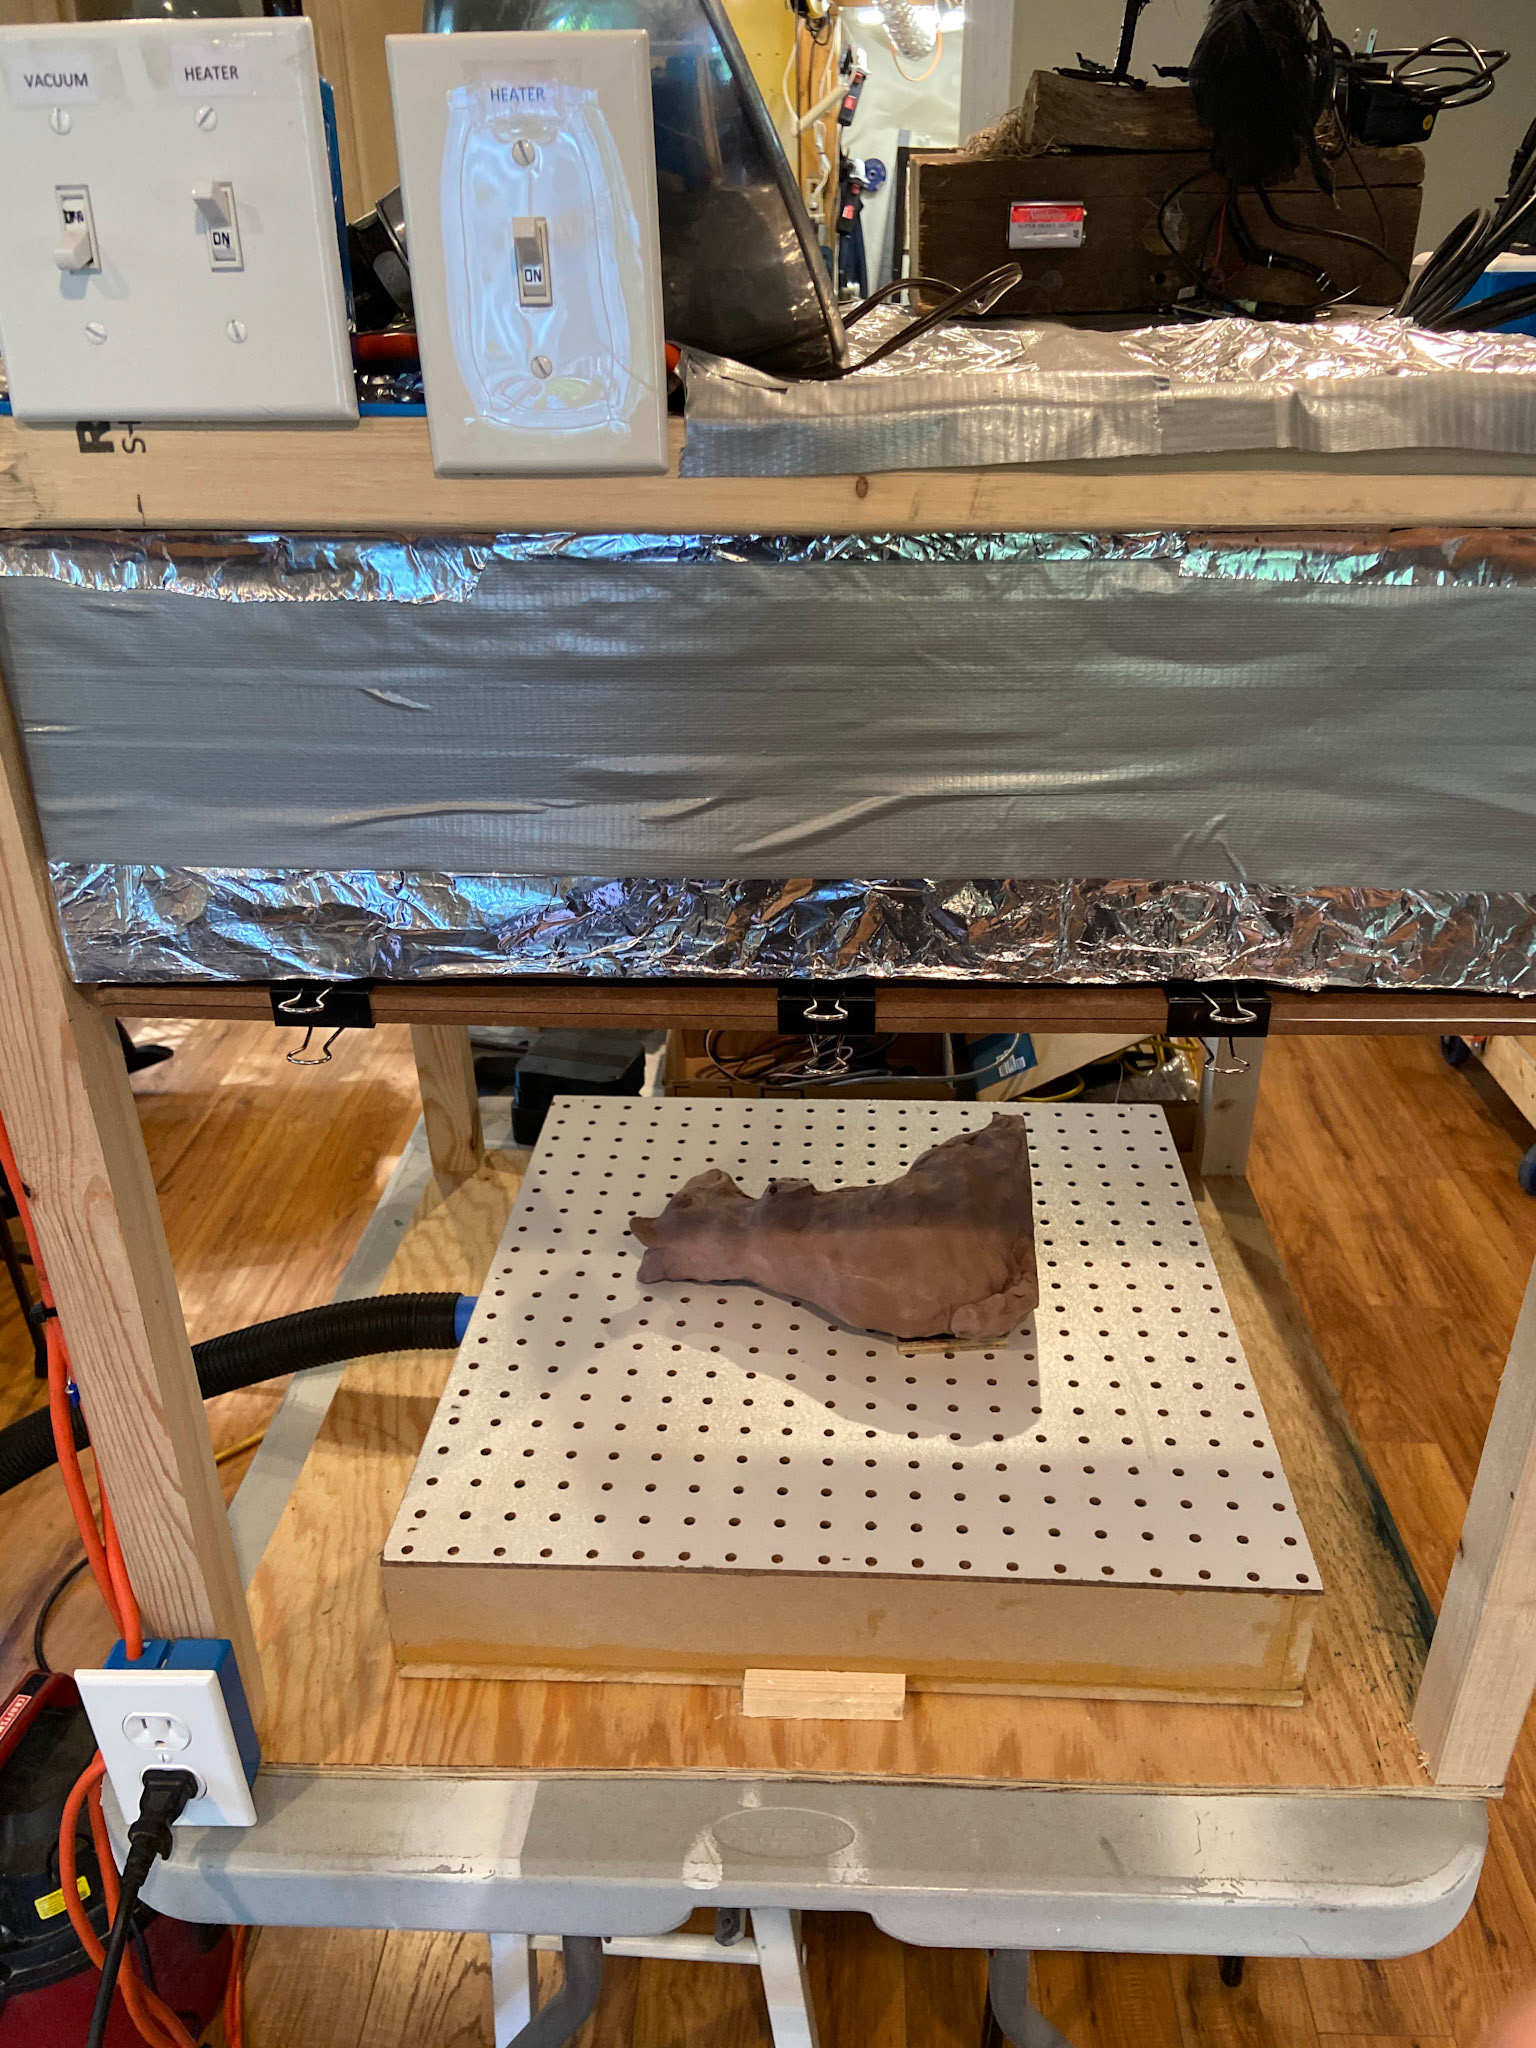
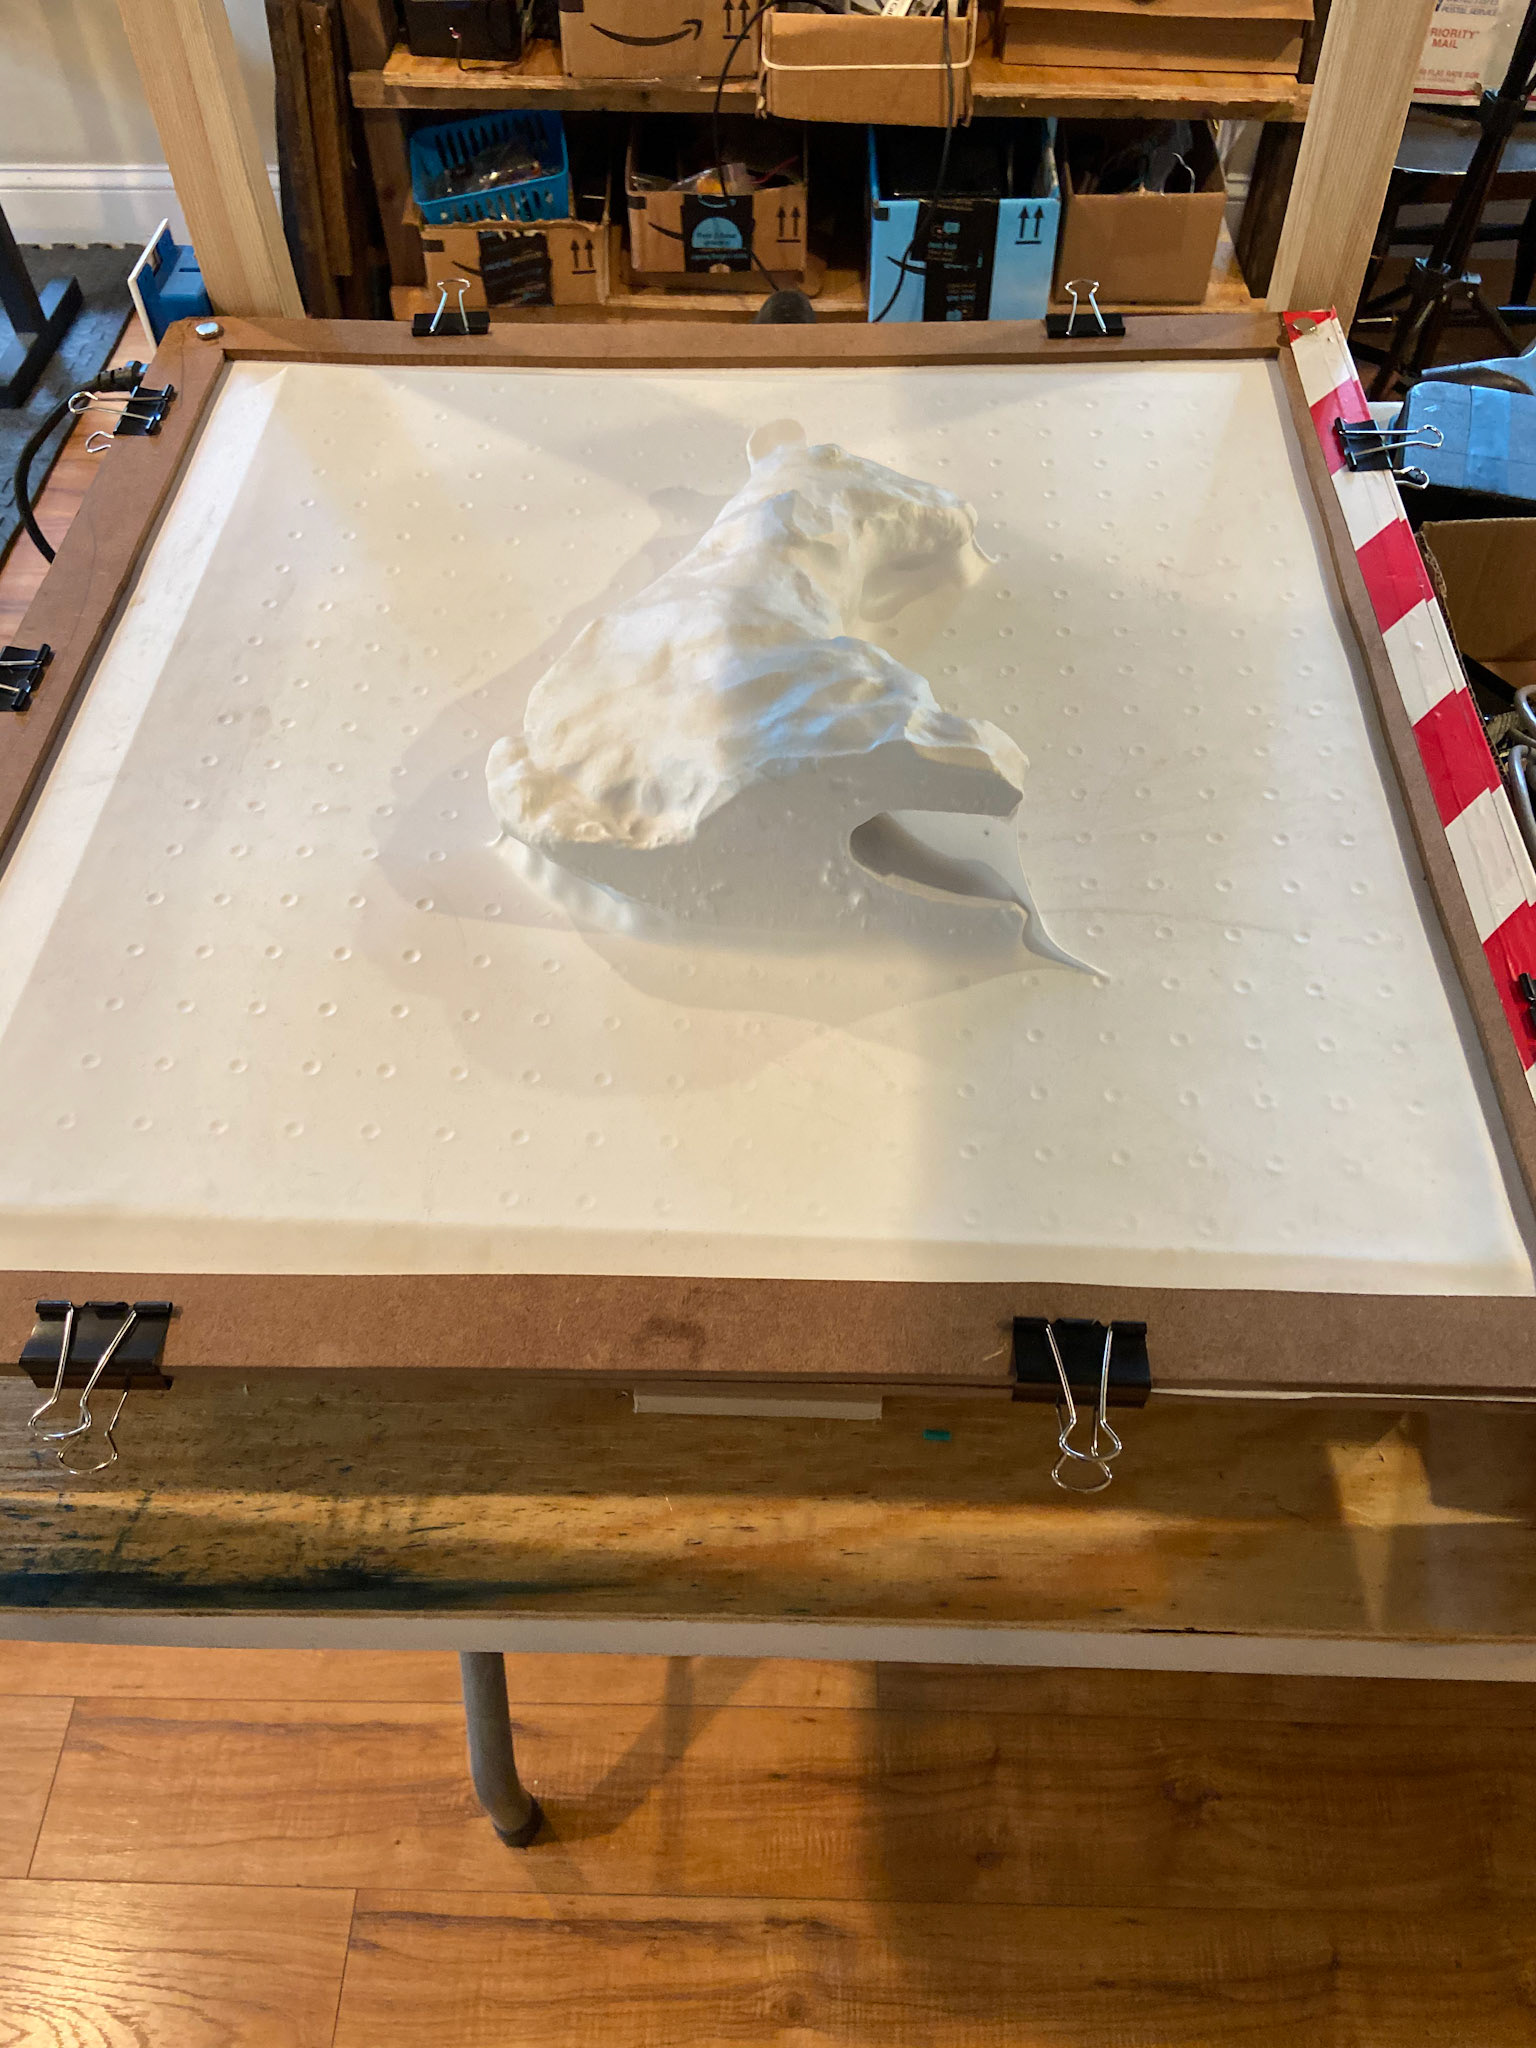
Left: Initial sketch with body divided into sections showing where the movements will be. Next, a model was sculpted to get the general proportions. The model was then taken to the vacuformer to produce a shell of the model so parts can start to be designed to fit within the body.
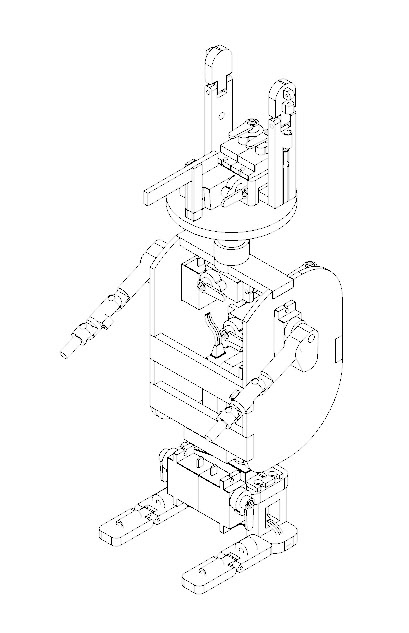
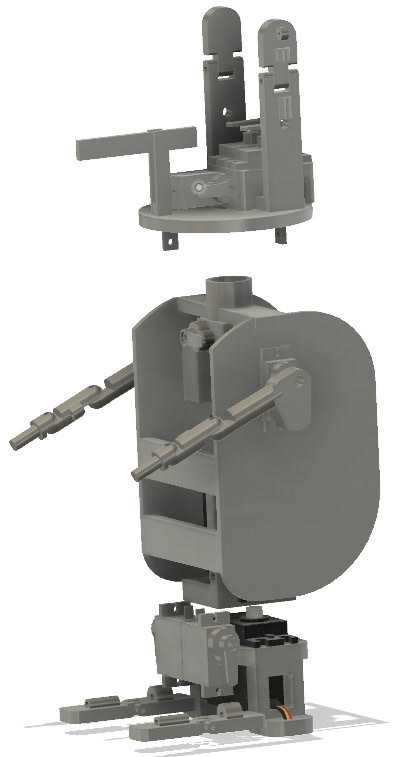
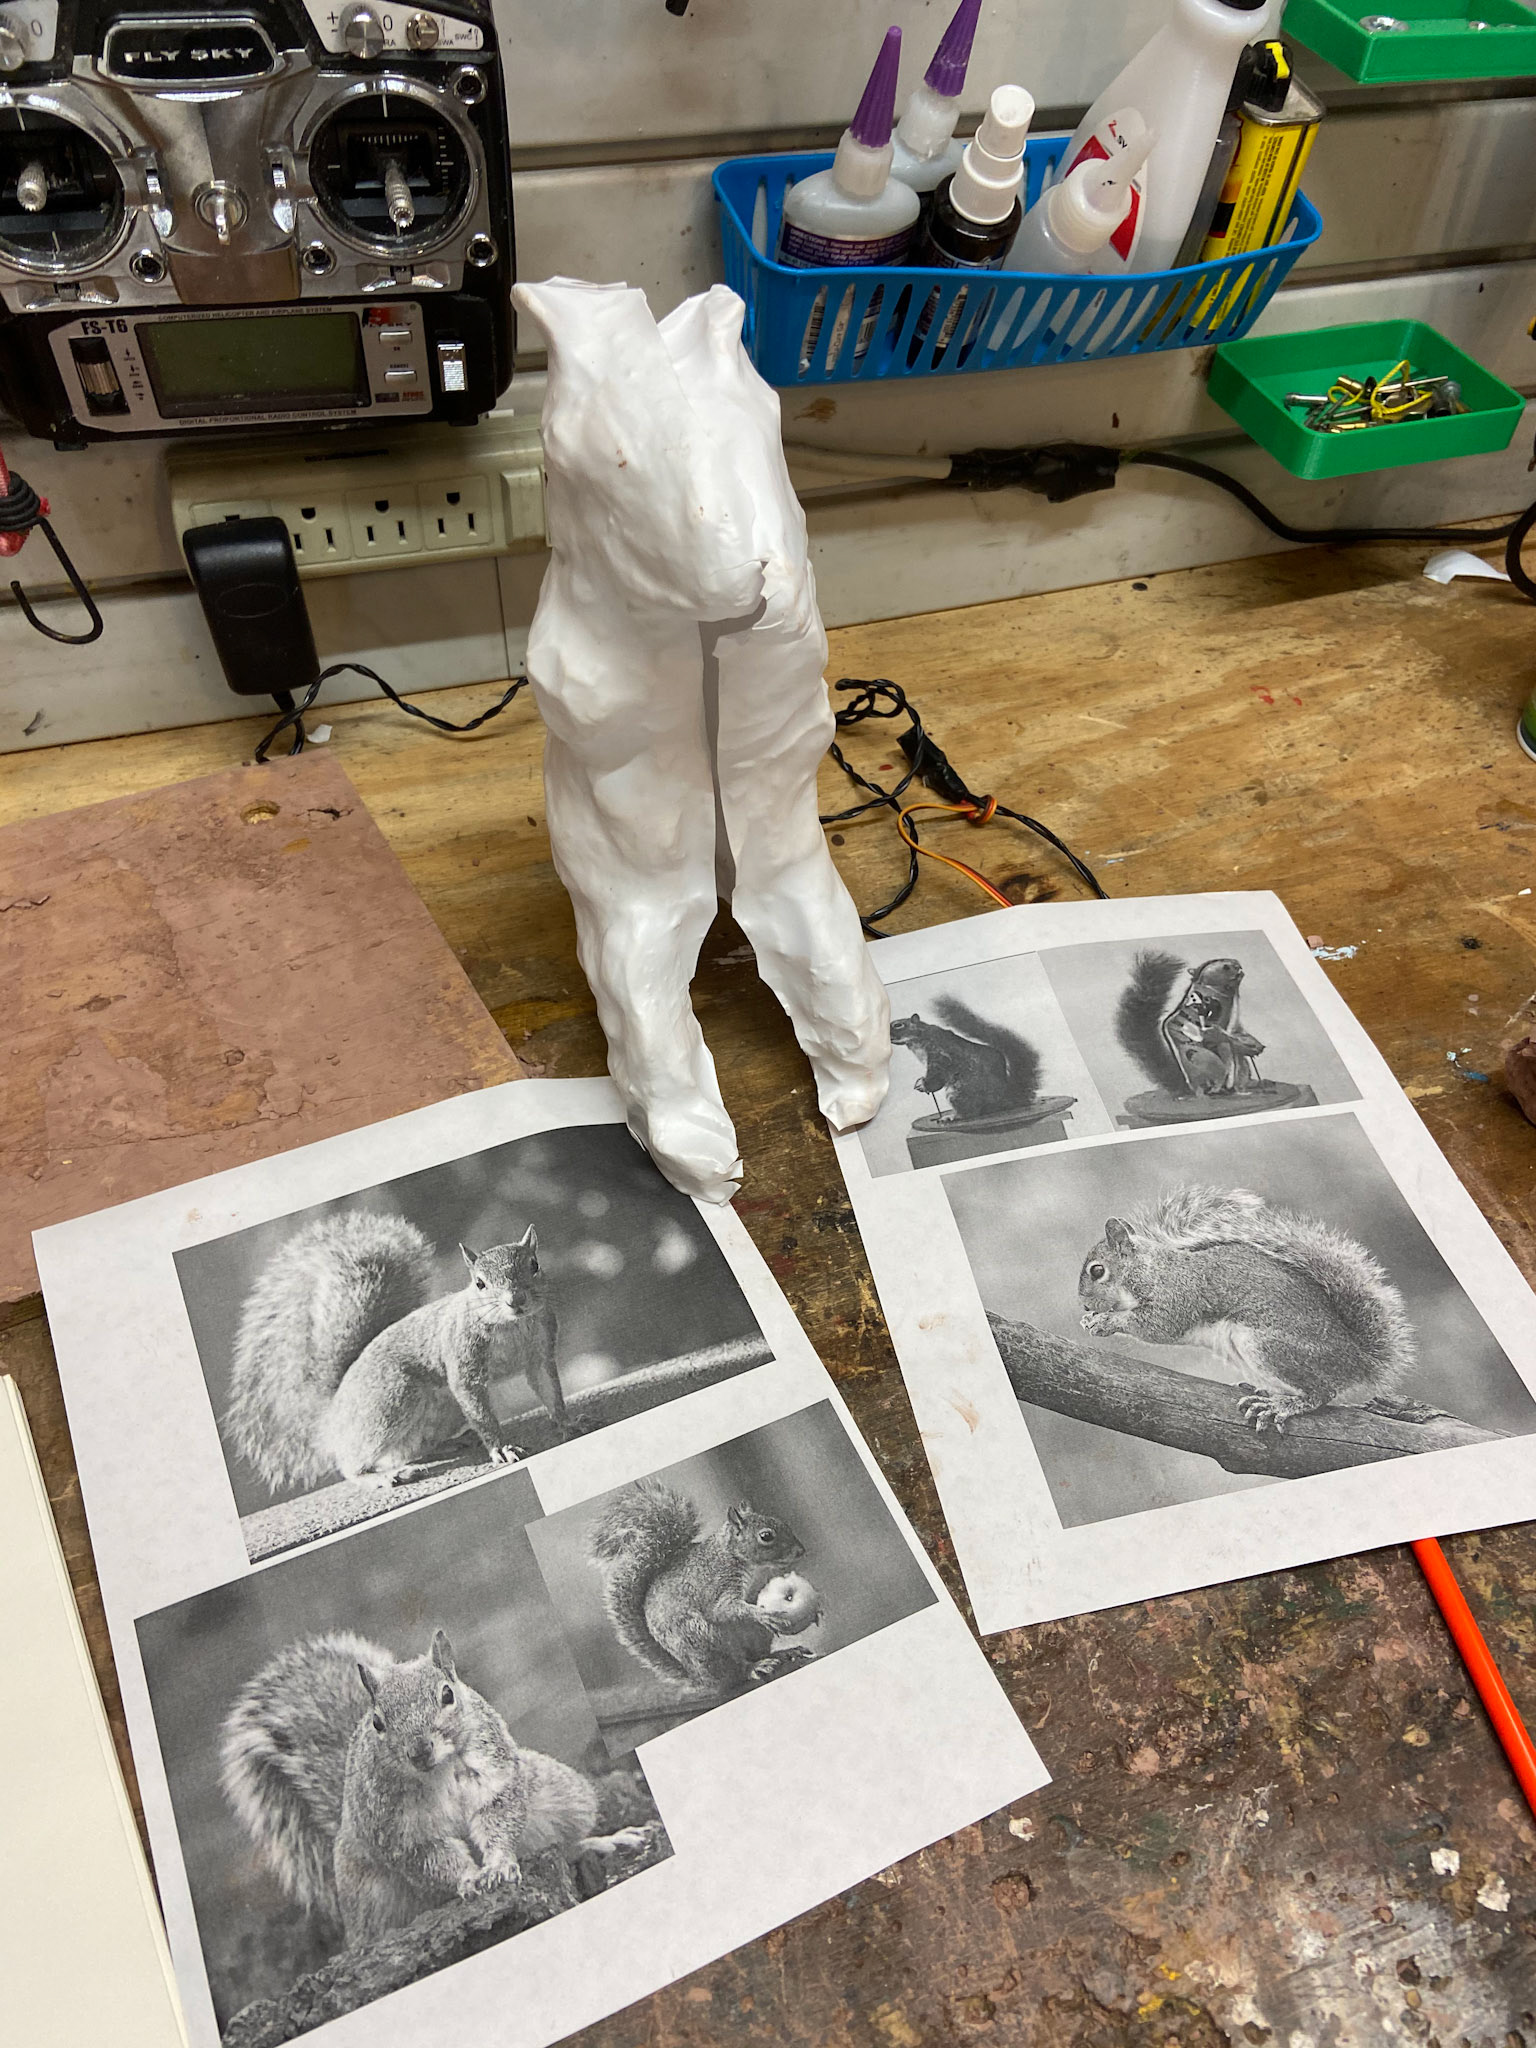
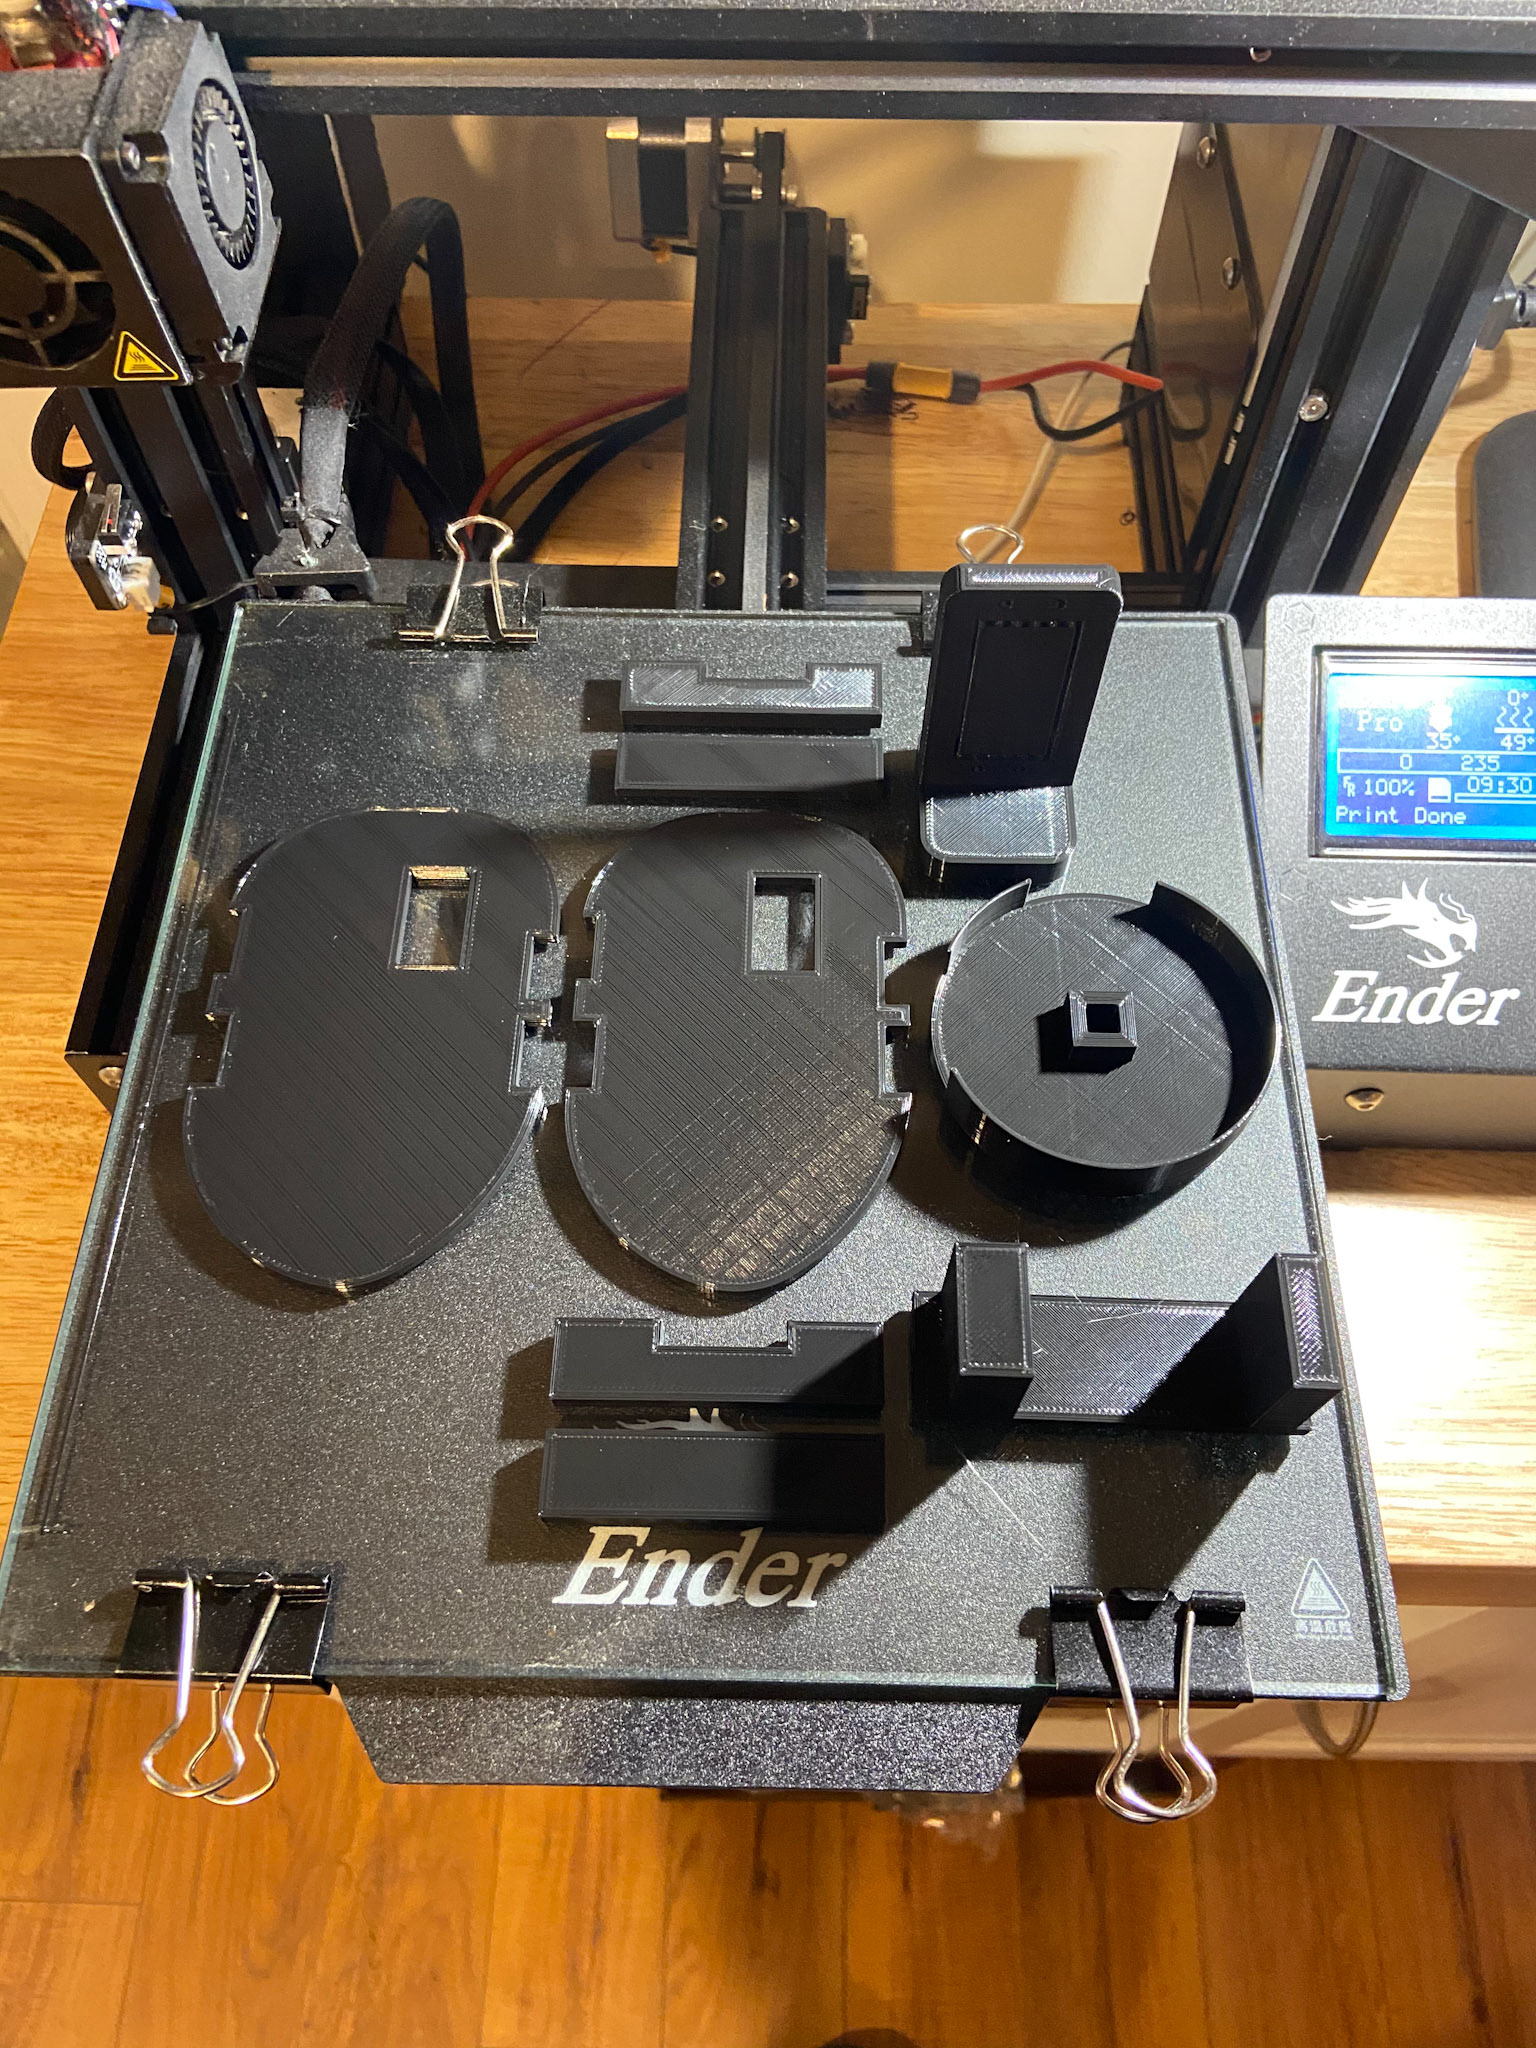
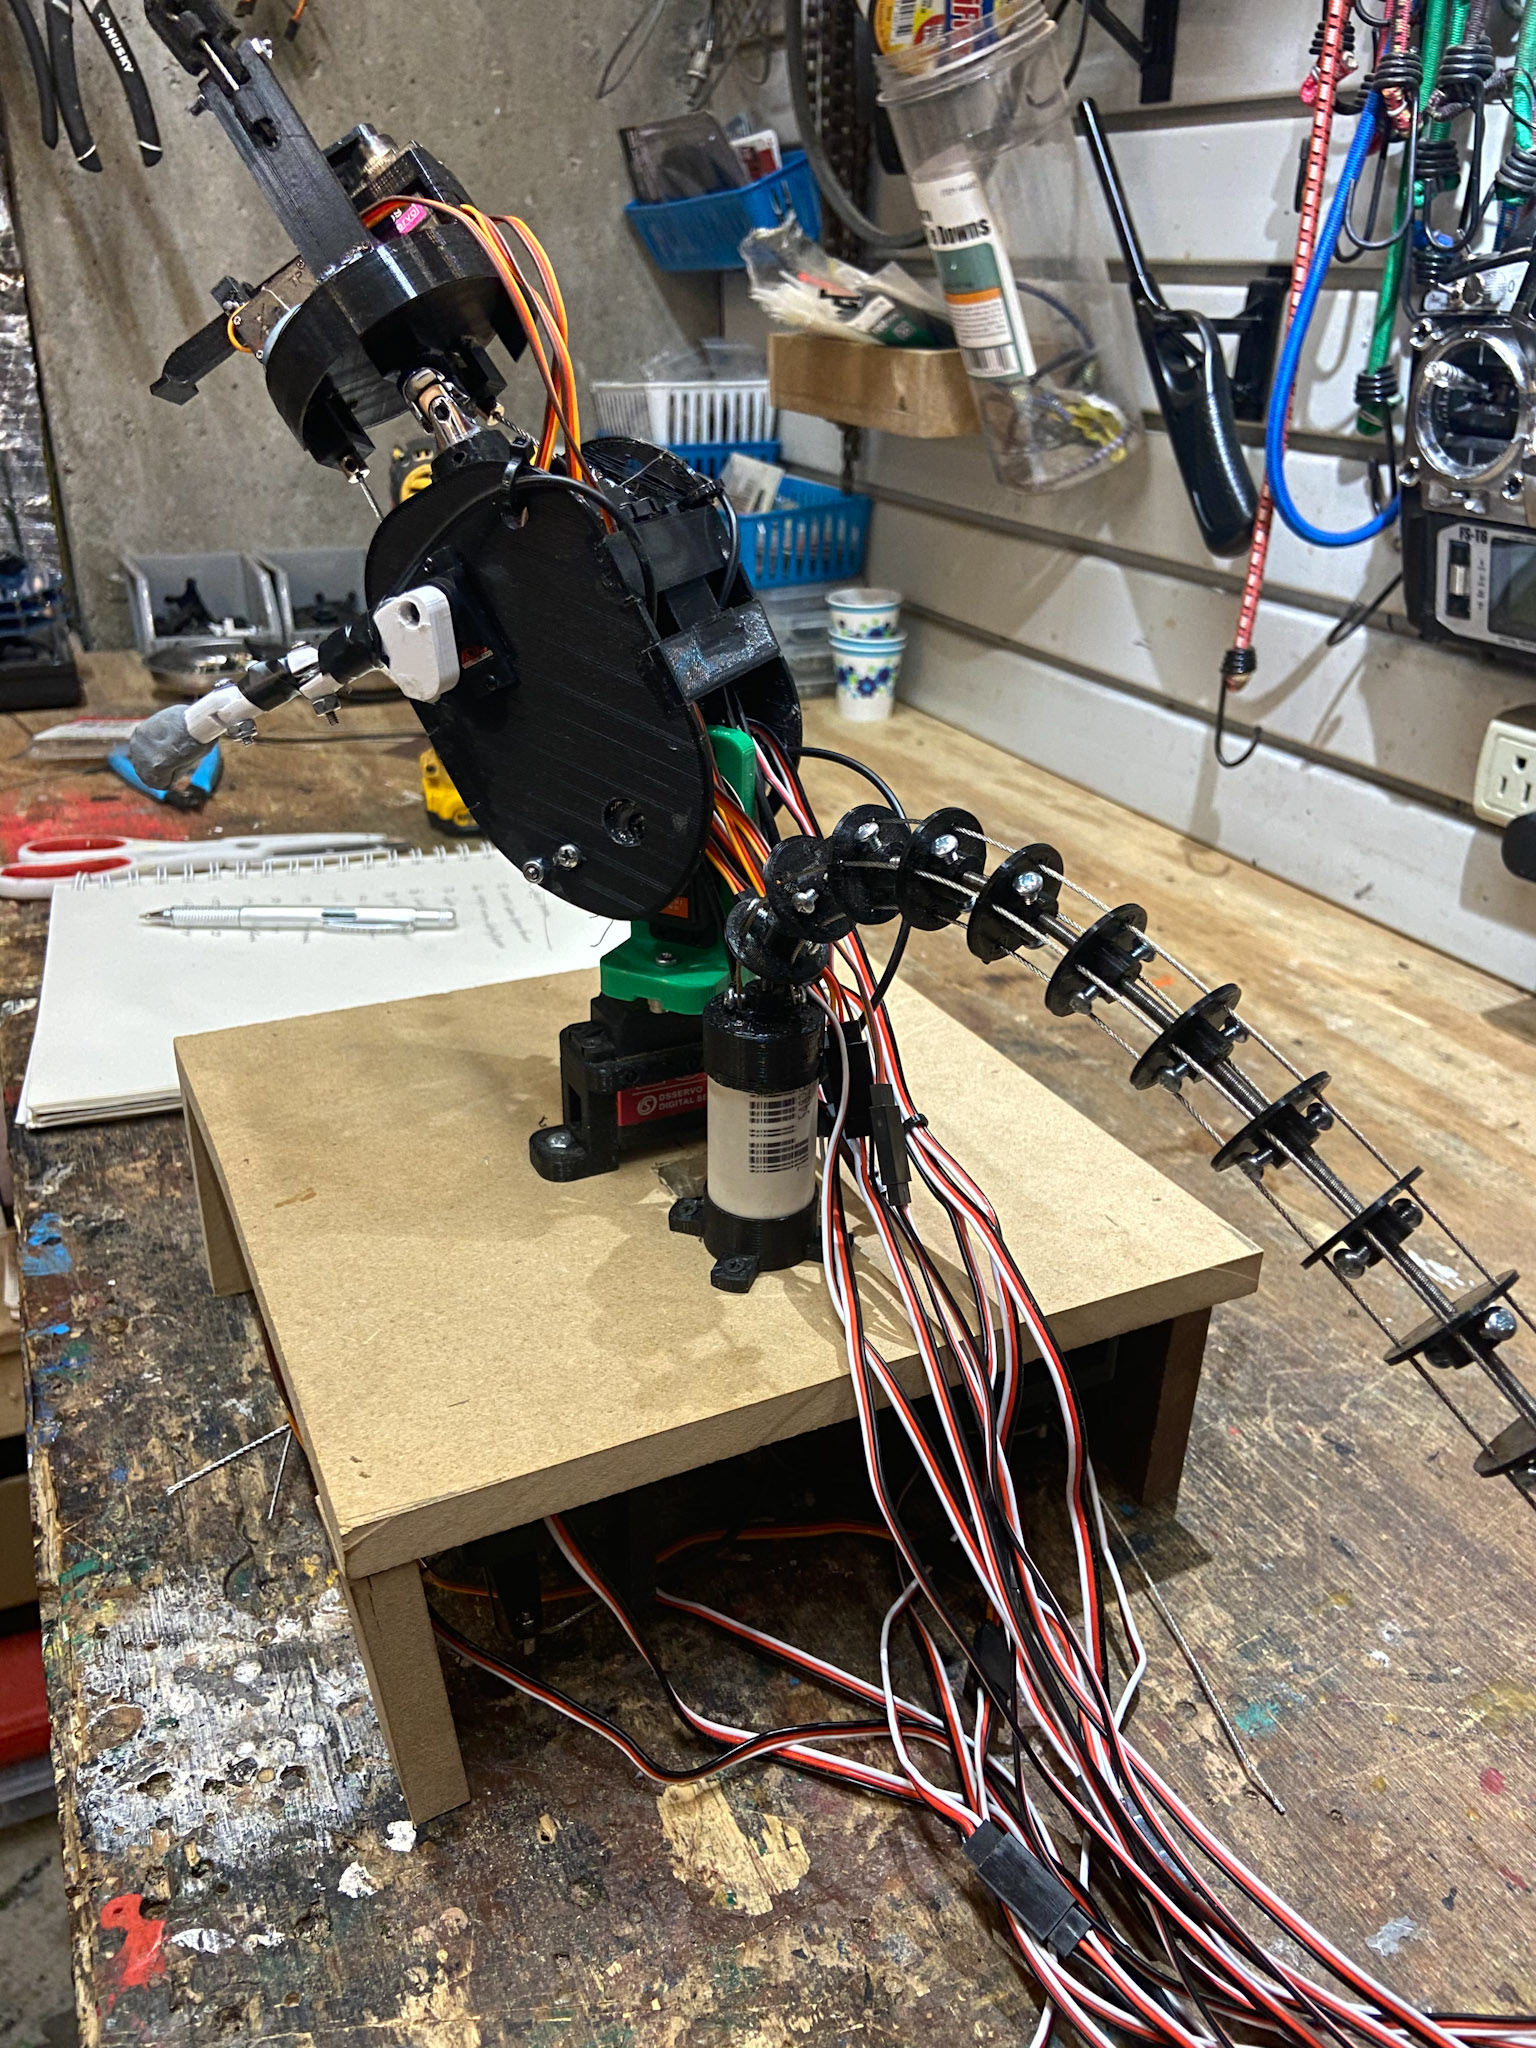
The movements were proven through rapid prototyping using wood, aluminum, cardboard, etc. With a general idea of the movements, Fusion 360 was used to design the parts, and then each part was 3D printed.
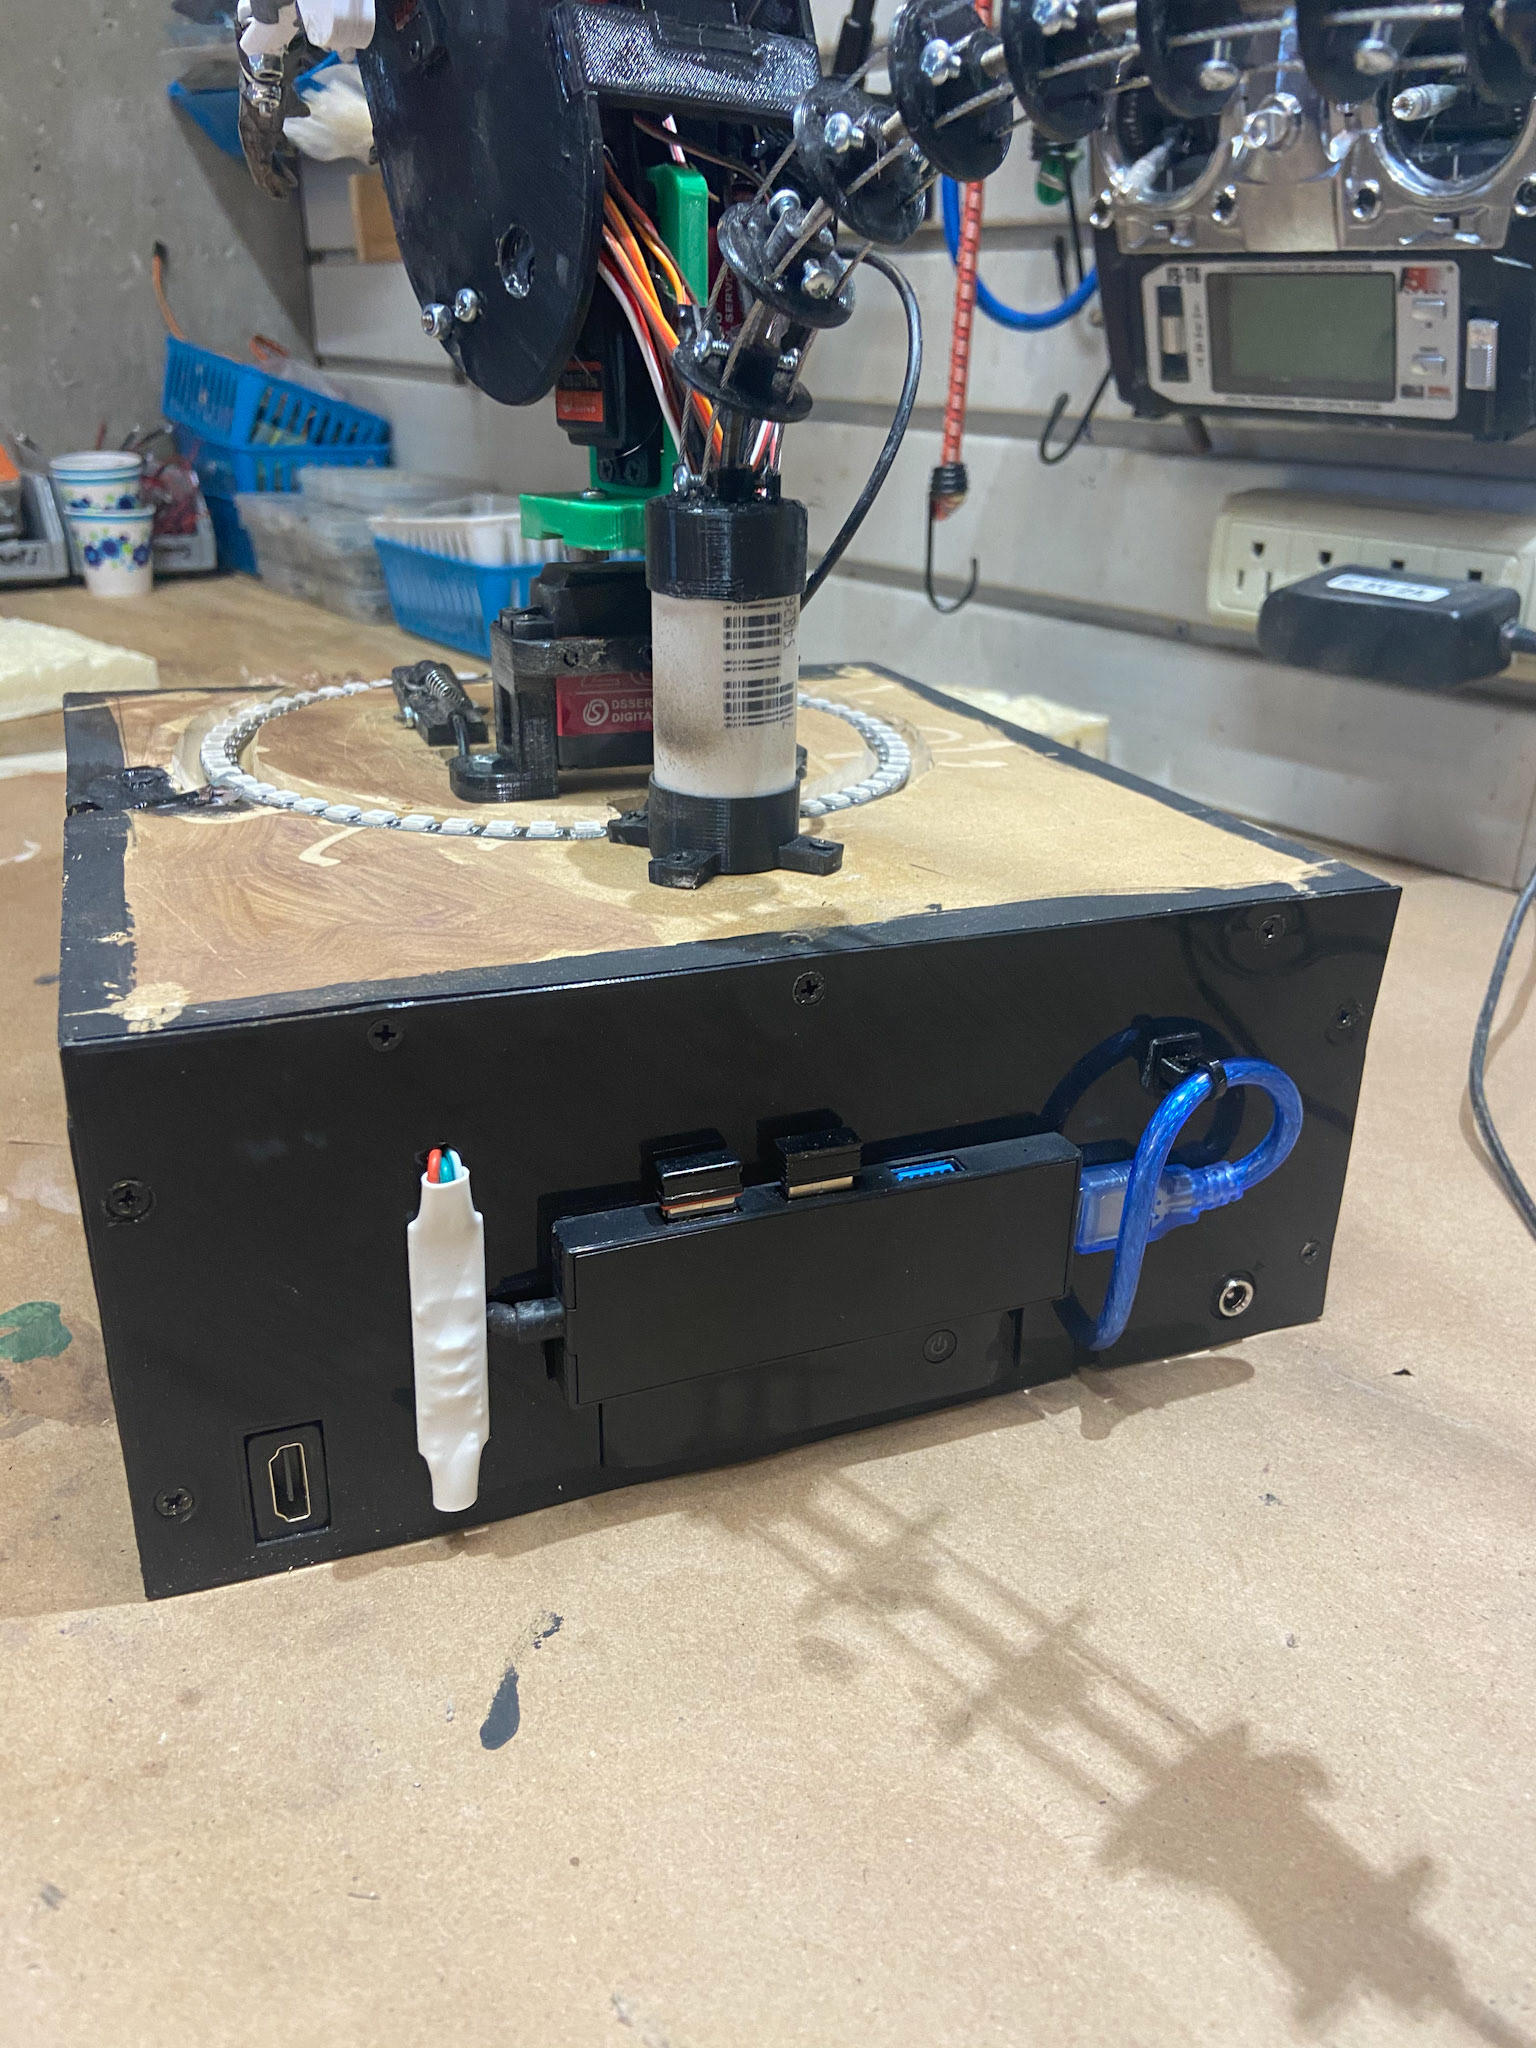
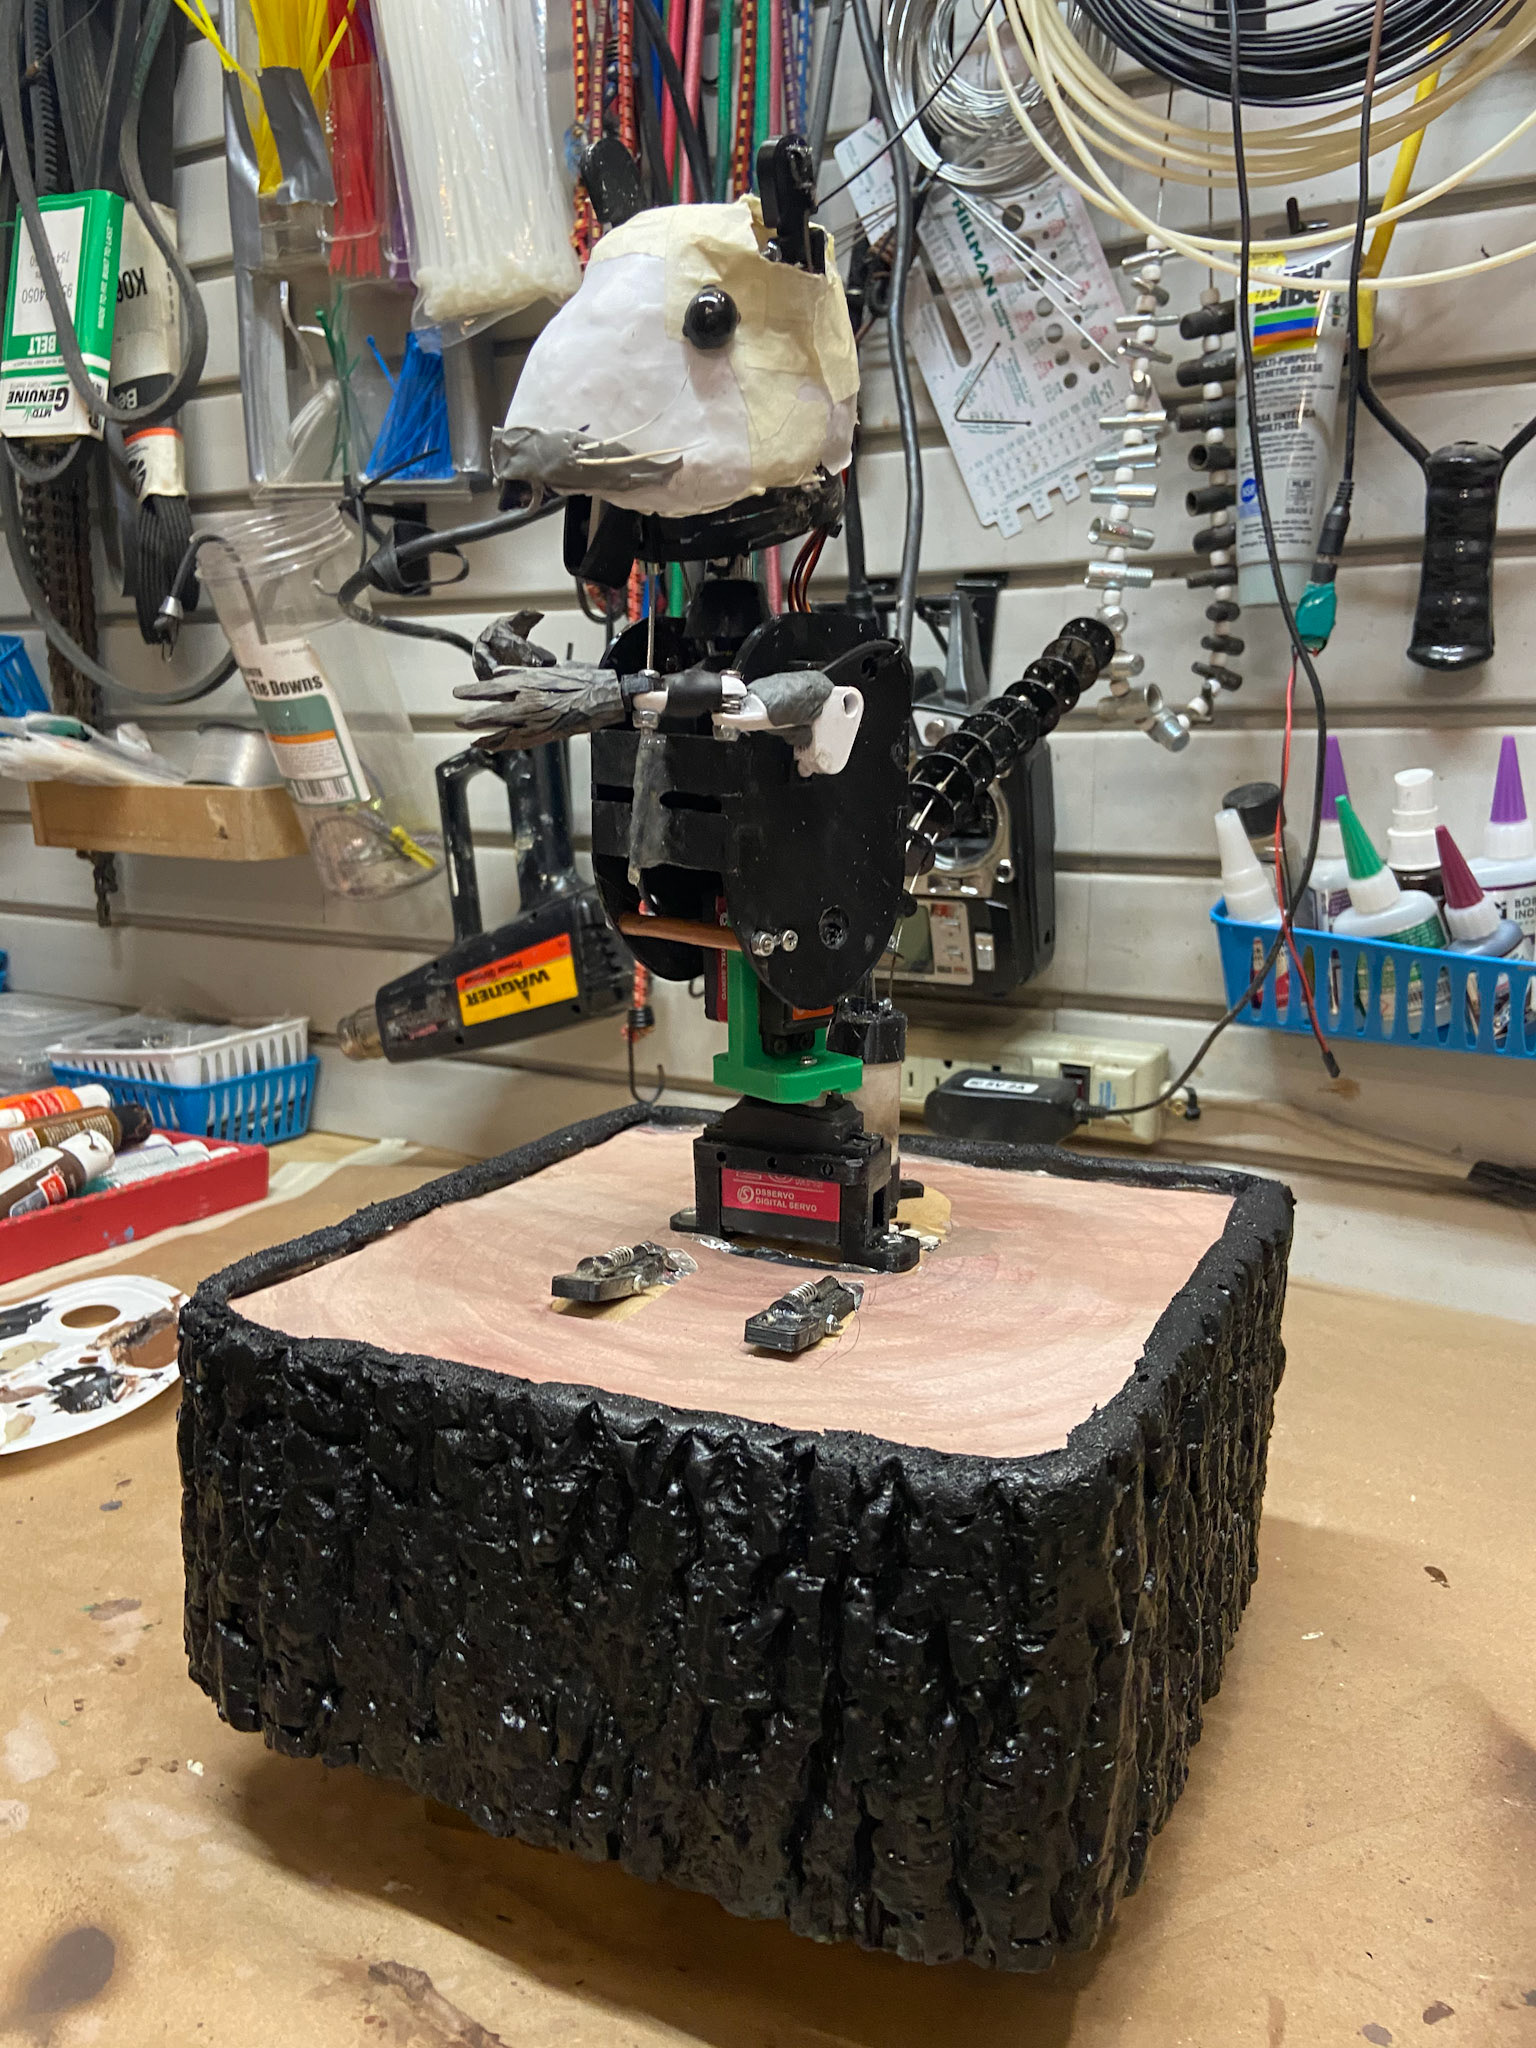
The printed body parts were assembled and an MDF base was constructed. The base acts as a structure to hold the electronics, cable mechanisms, and servos, as well as a platform for the squirrel.
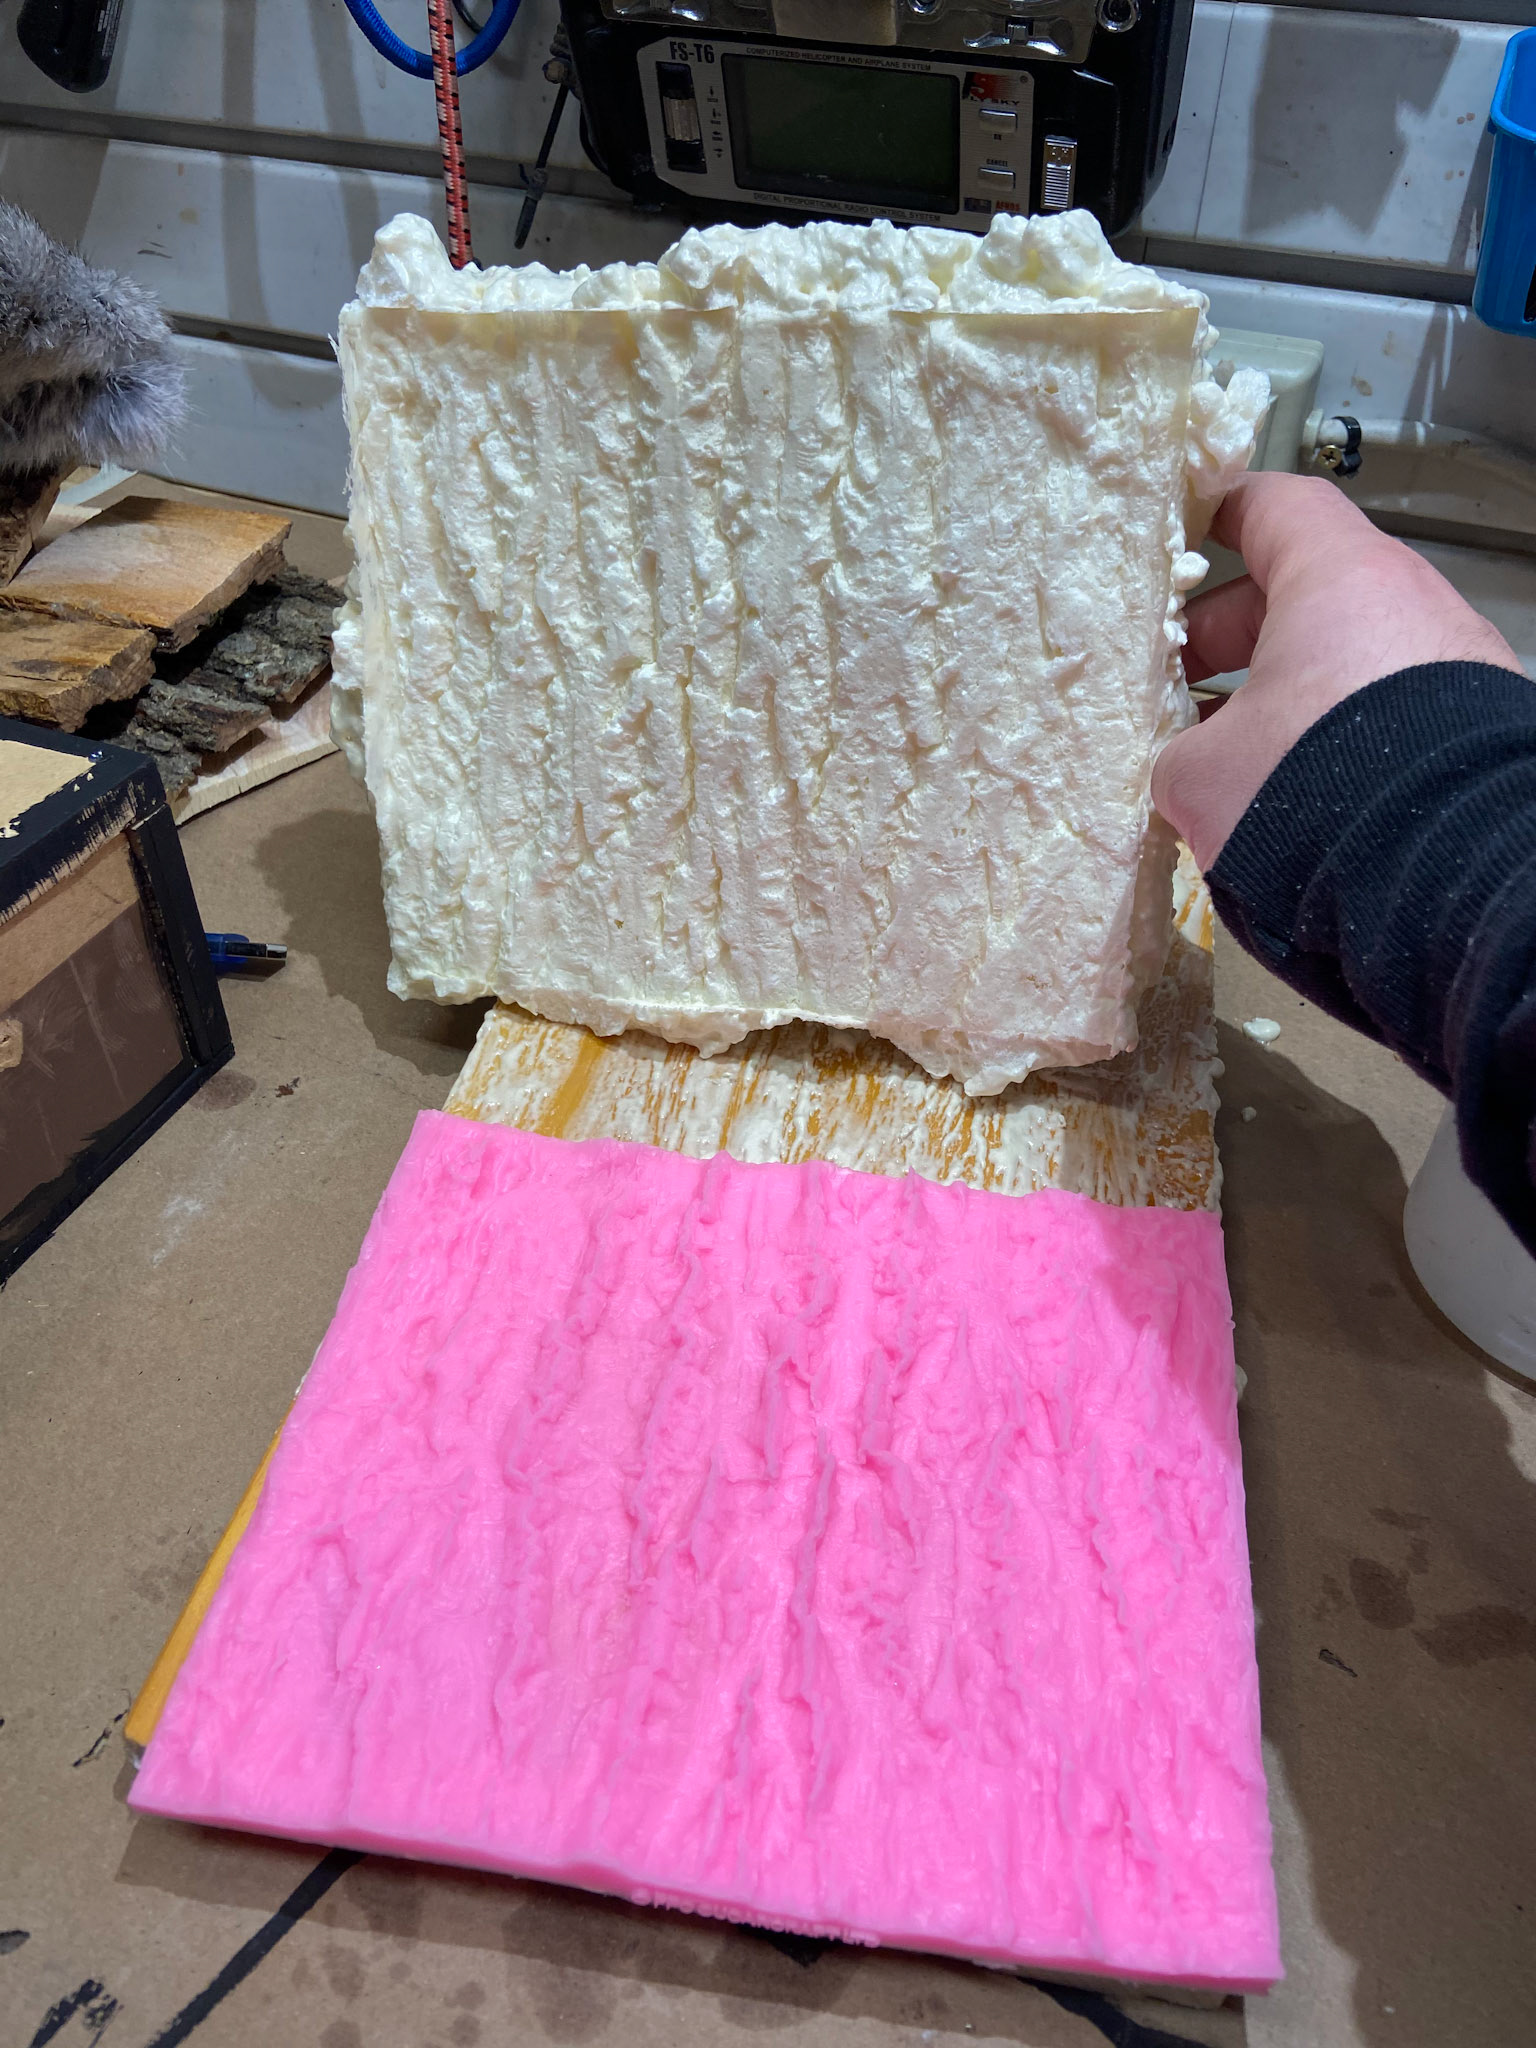
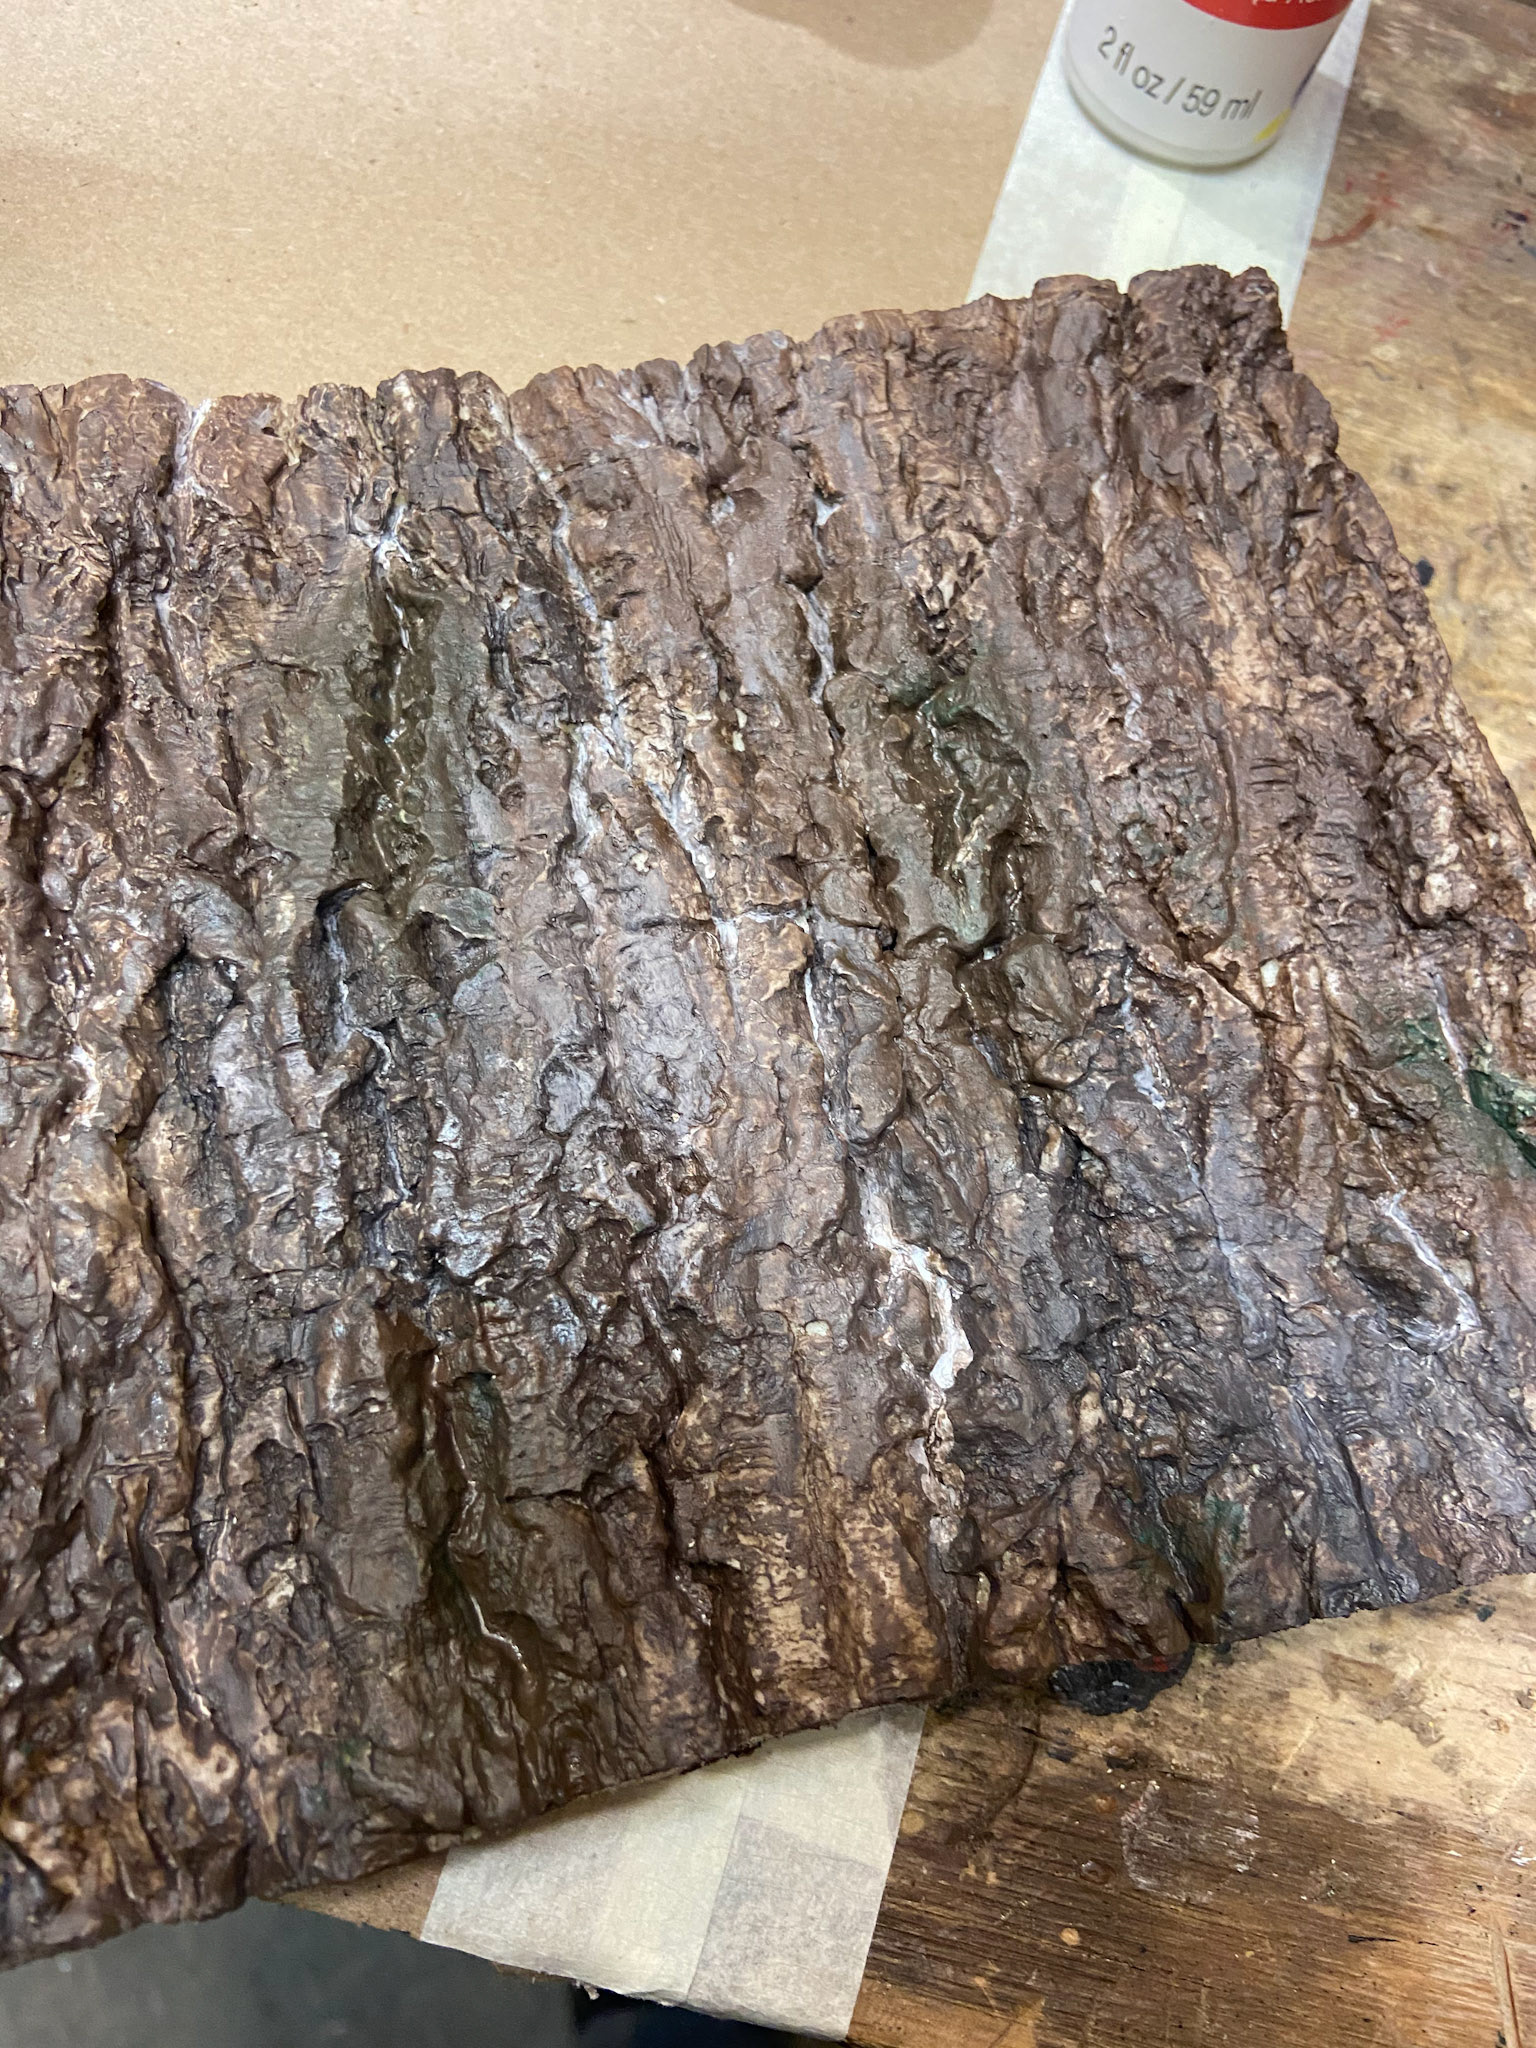
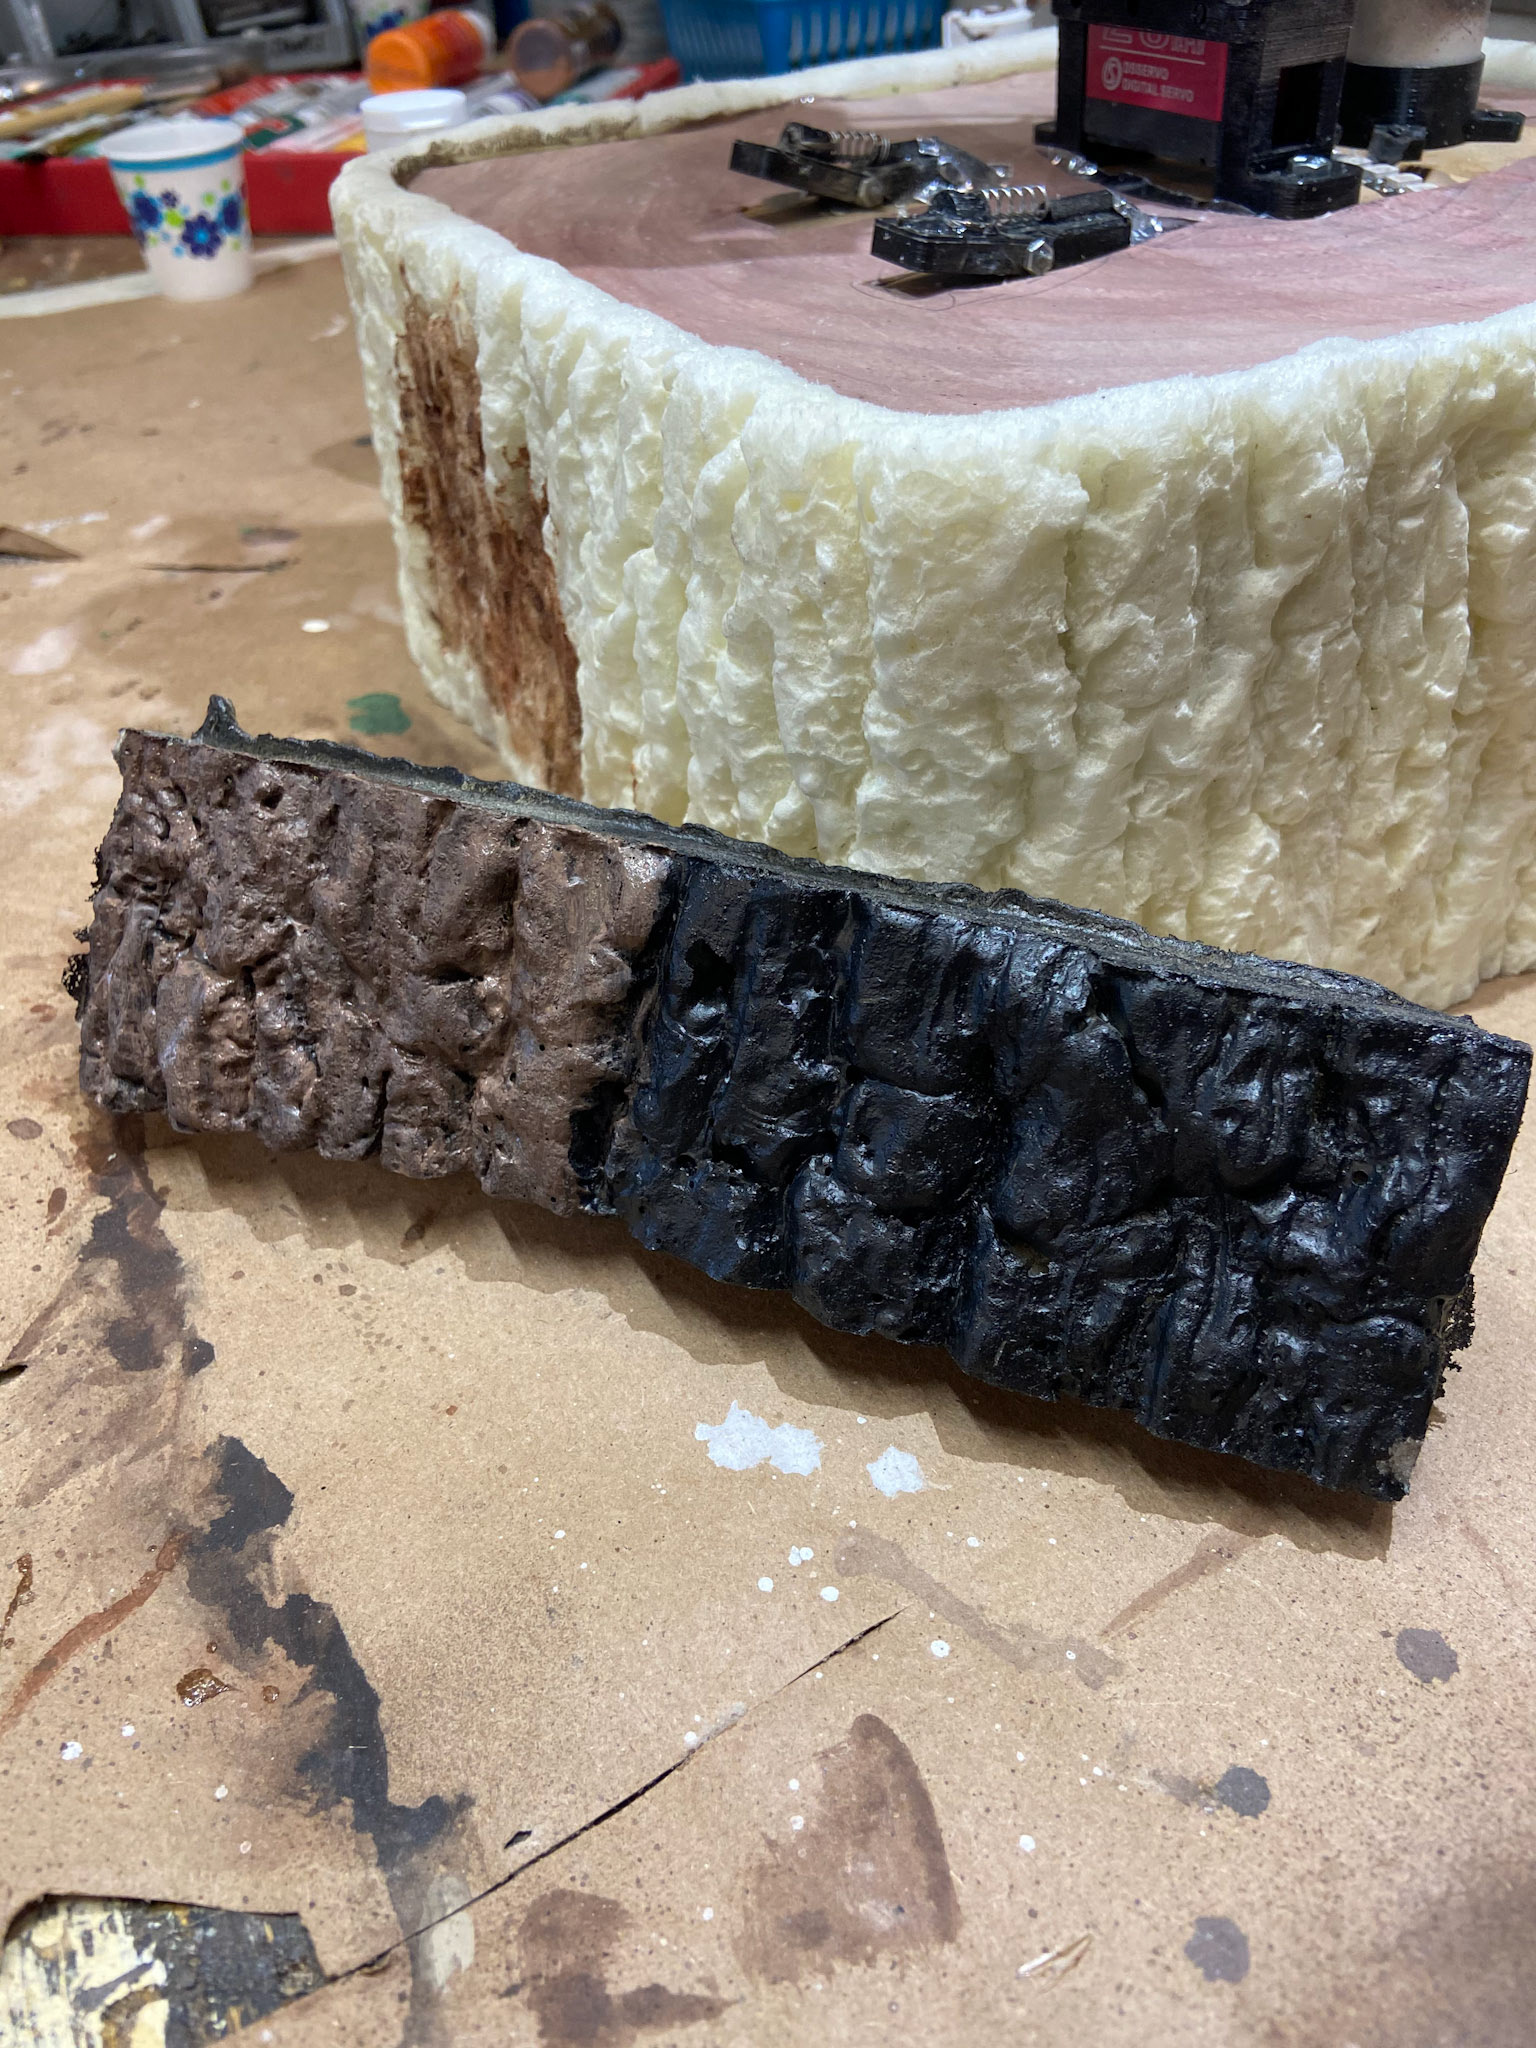
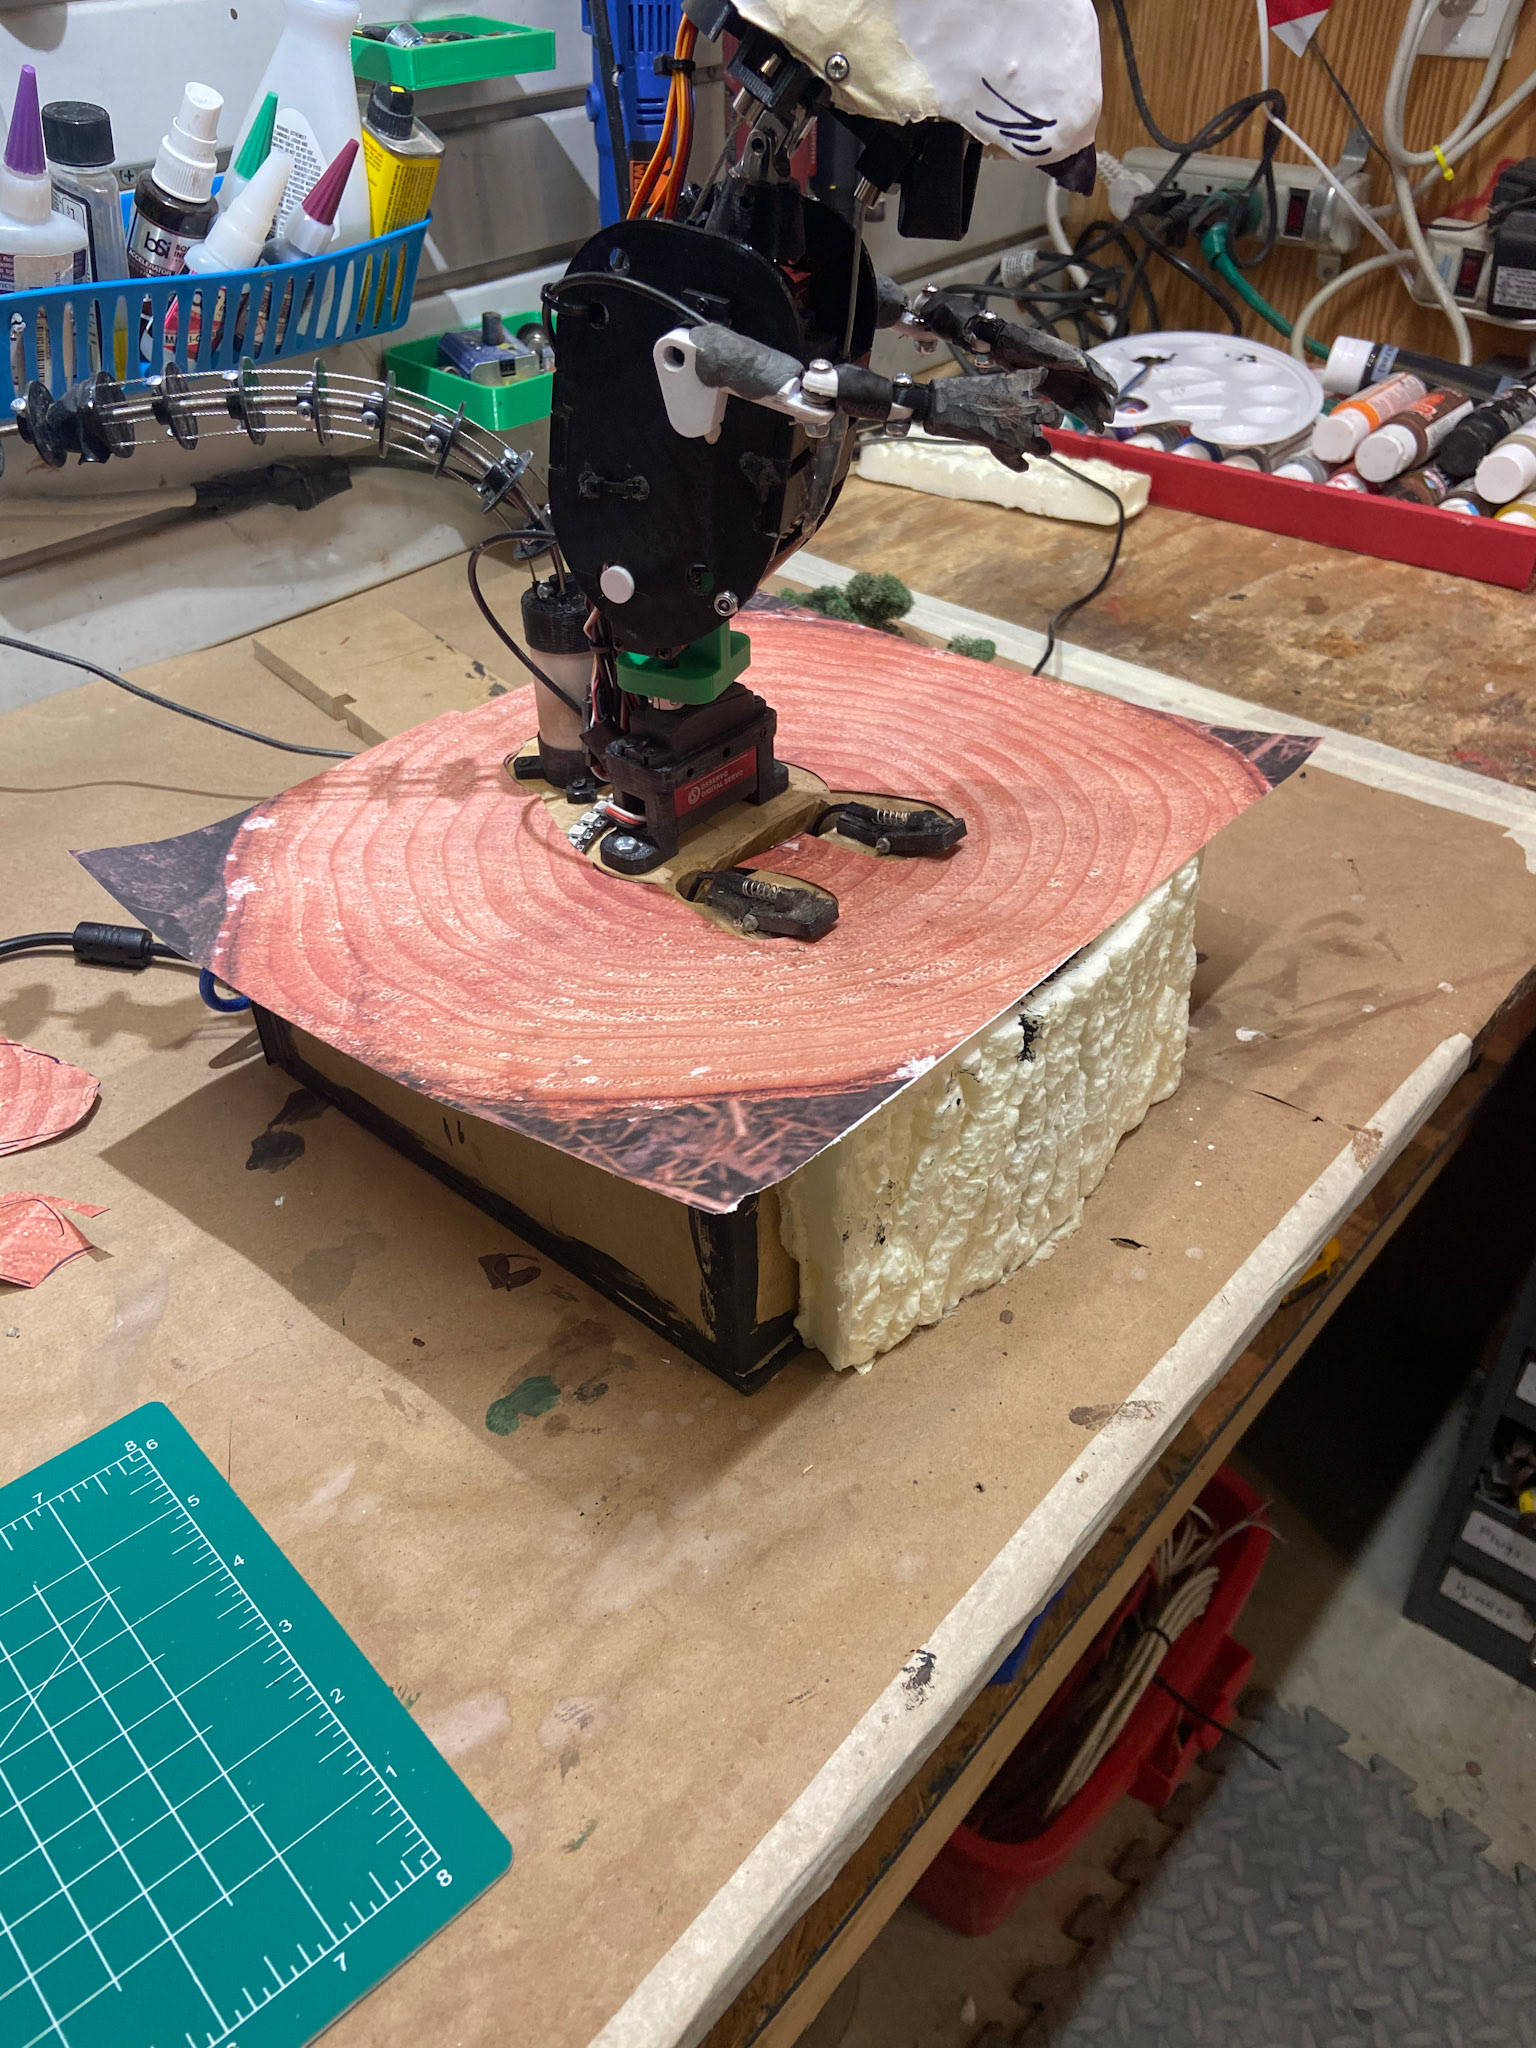
Spray foam insulation was used to create the bark by spraying the foam into a silicon cake mold. Once molded the foam was applied to the base, coated with a flexible rubber, and painted. Before applying the end grain overlay to top of the base, LED lights were embedded into the top; when off the lights are invisible.
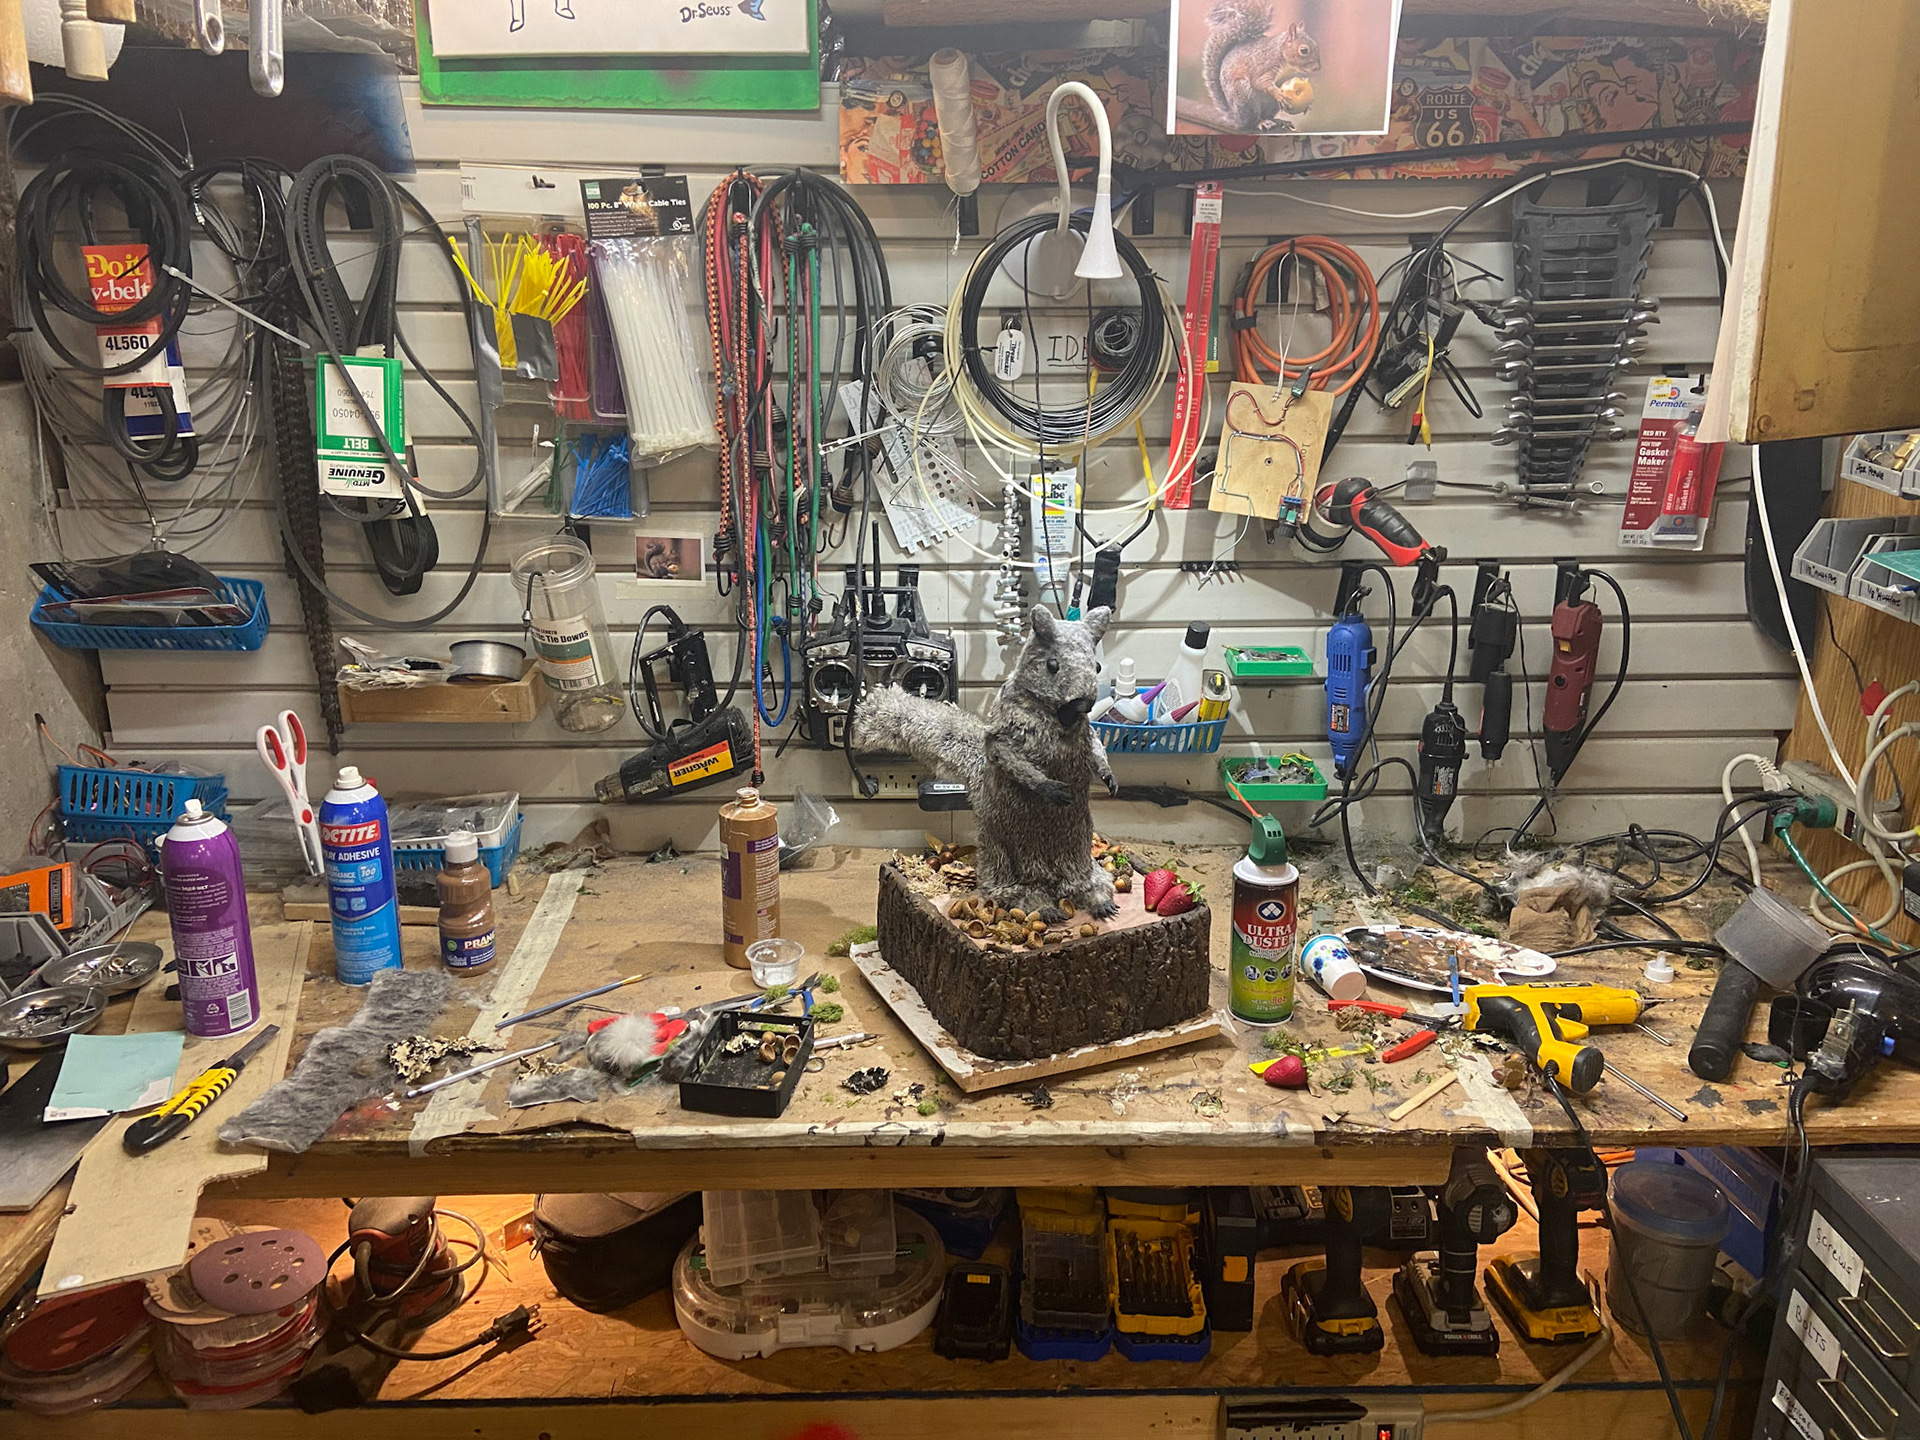
Finally the skeleton was covered in nylon and the fur was adhered. The nylon allowed the squirrel to maintain its movement while creating a surface to apply the hair and fur to. Hands and feet were sculpted and the eyes were 3D printed and attached. Magnets embedded in the hands allow the squirrel to hold his microphone and strawberry.
Once dressed, decorations were added and prepped for programming. Scripts were developed and sent off to a professional voice actor to be recorded.


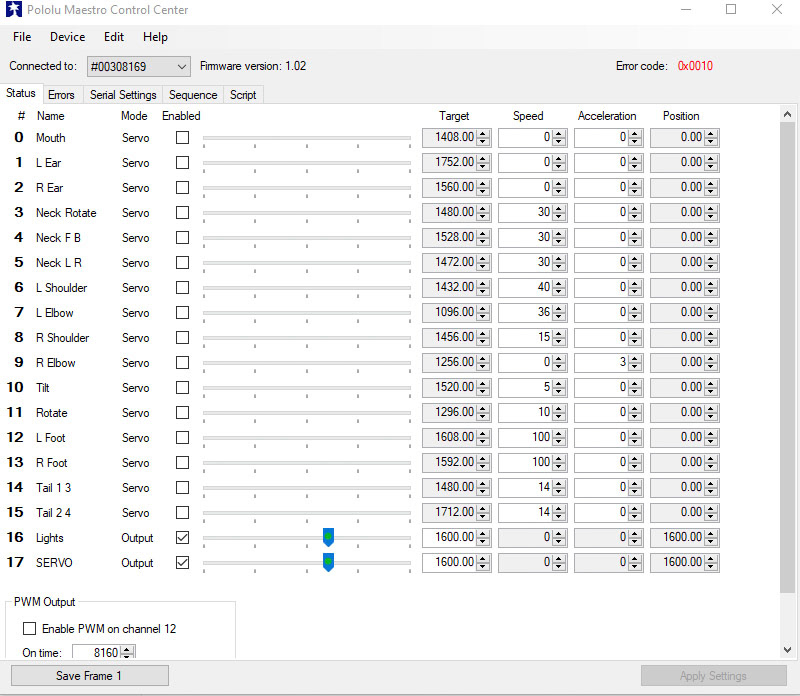
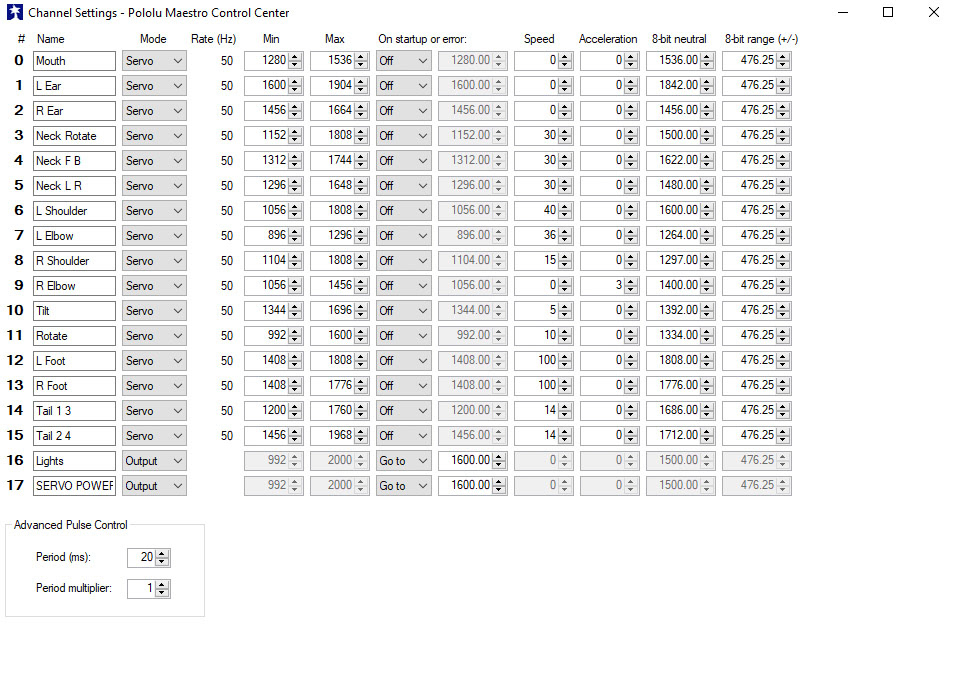
Screen shots (above) from the programming process. The images to the top right show the Pololu Maestro Control Center where servo limits were applied as well as speed and acceleration settings. The squirrel uses an 18 channel Pololu Maestro servo board. The board controls the 16 servos, as well as two relays: one for the lights, and another for the main power to the servos, extending the longevity of the motors.
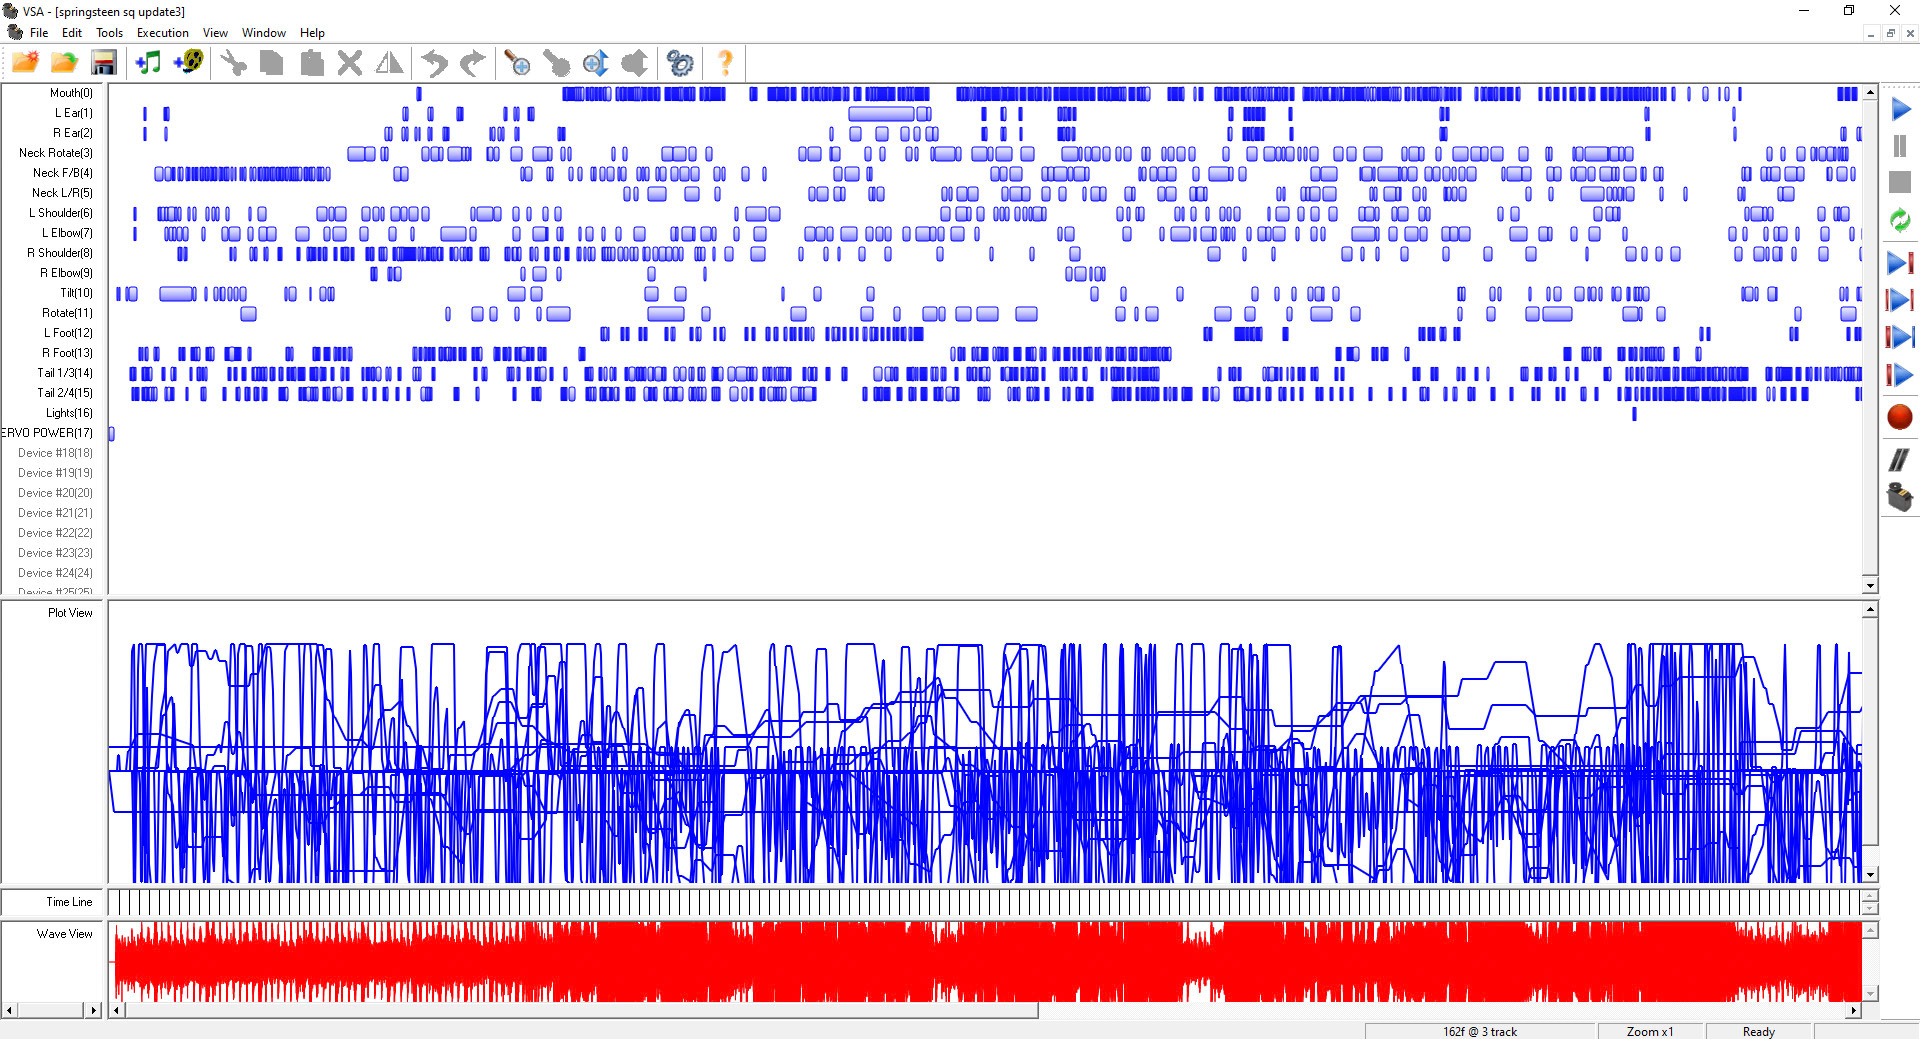
The image on the top left shows a scene being programmed in VSA. The audio track is in red and servo movements in blue. Each movement was individually programmed using a joystick in real-time. After programmed, sequences were exported to the mini PC mounted in the base and programmed to trigger when the corresponding button is pressed on the Animation Controller (right).
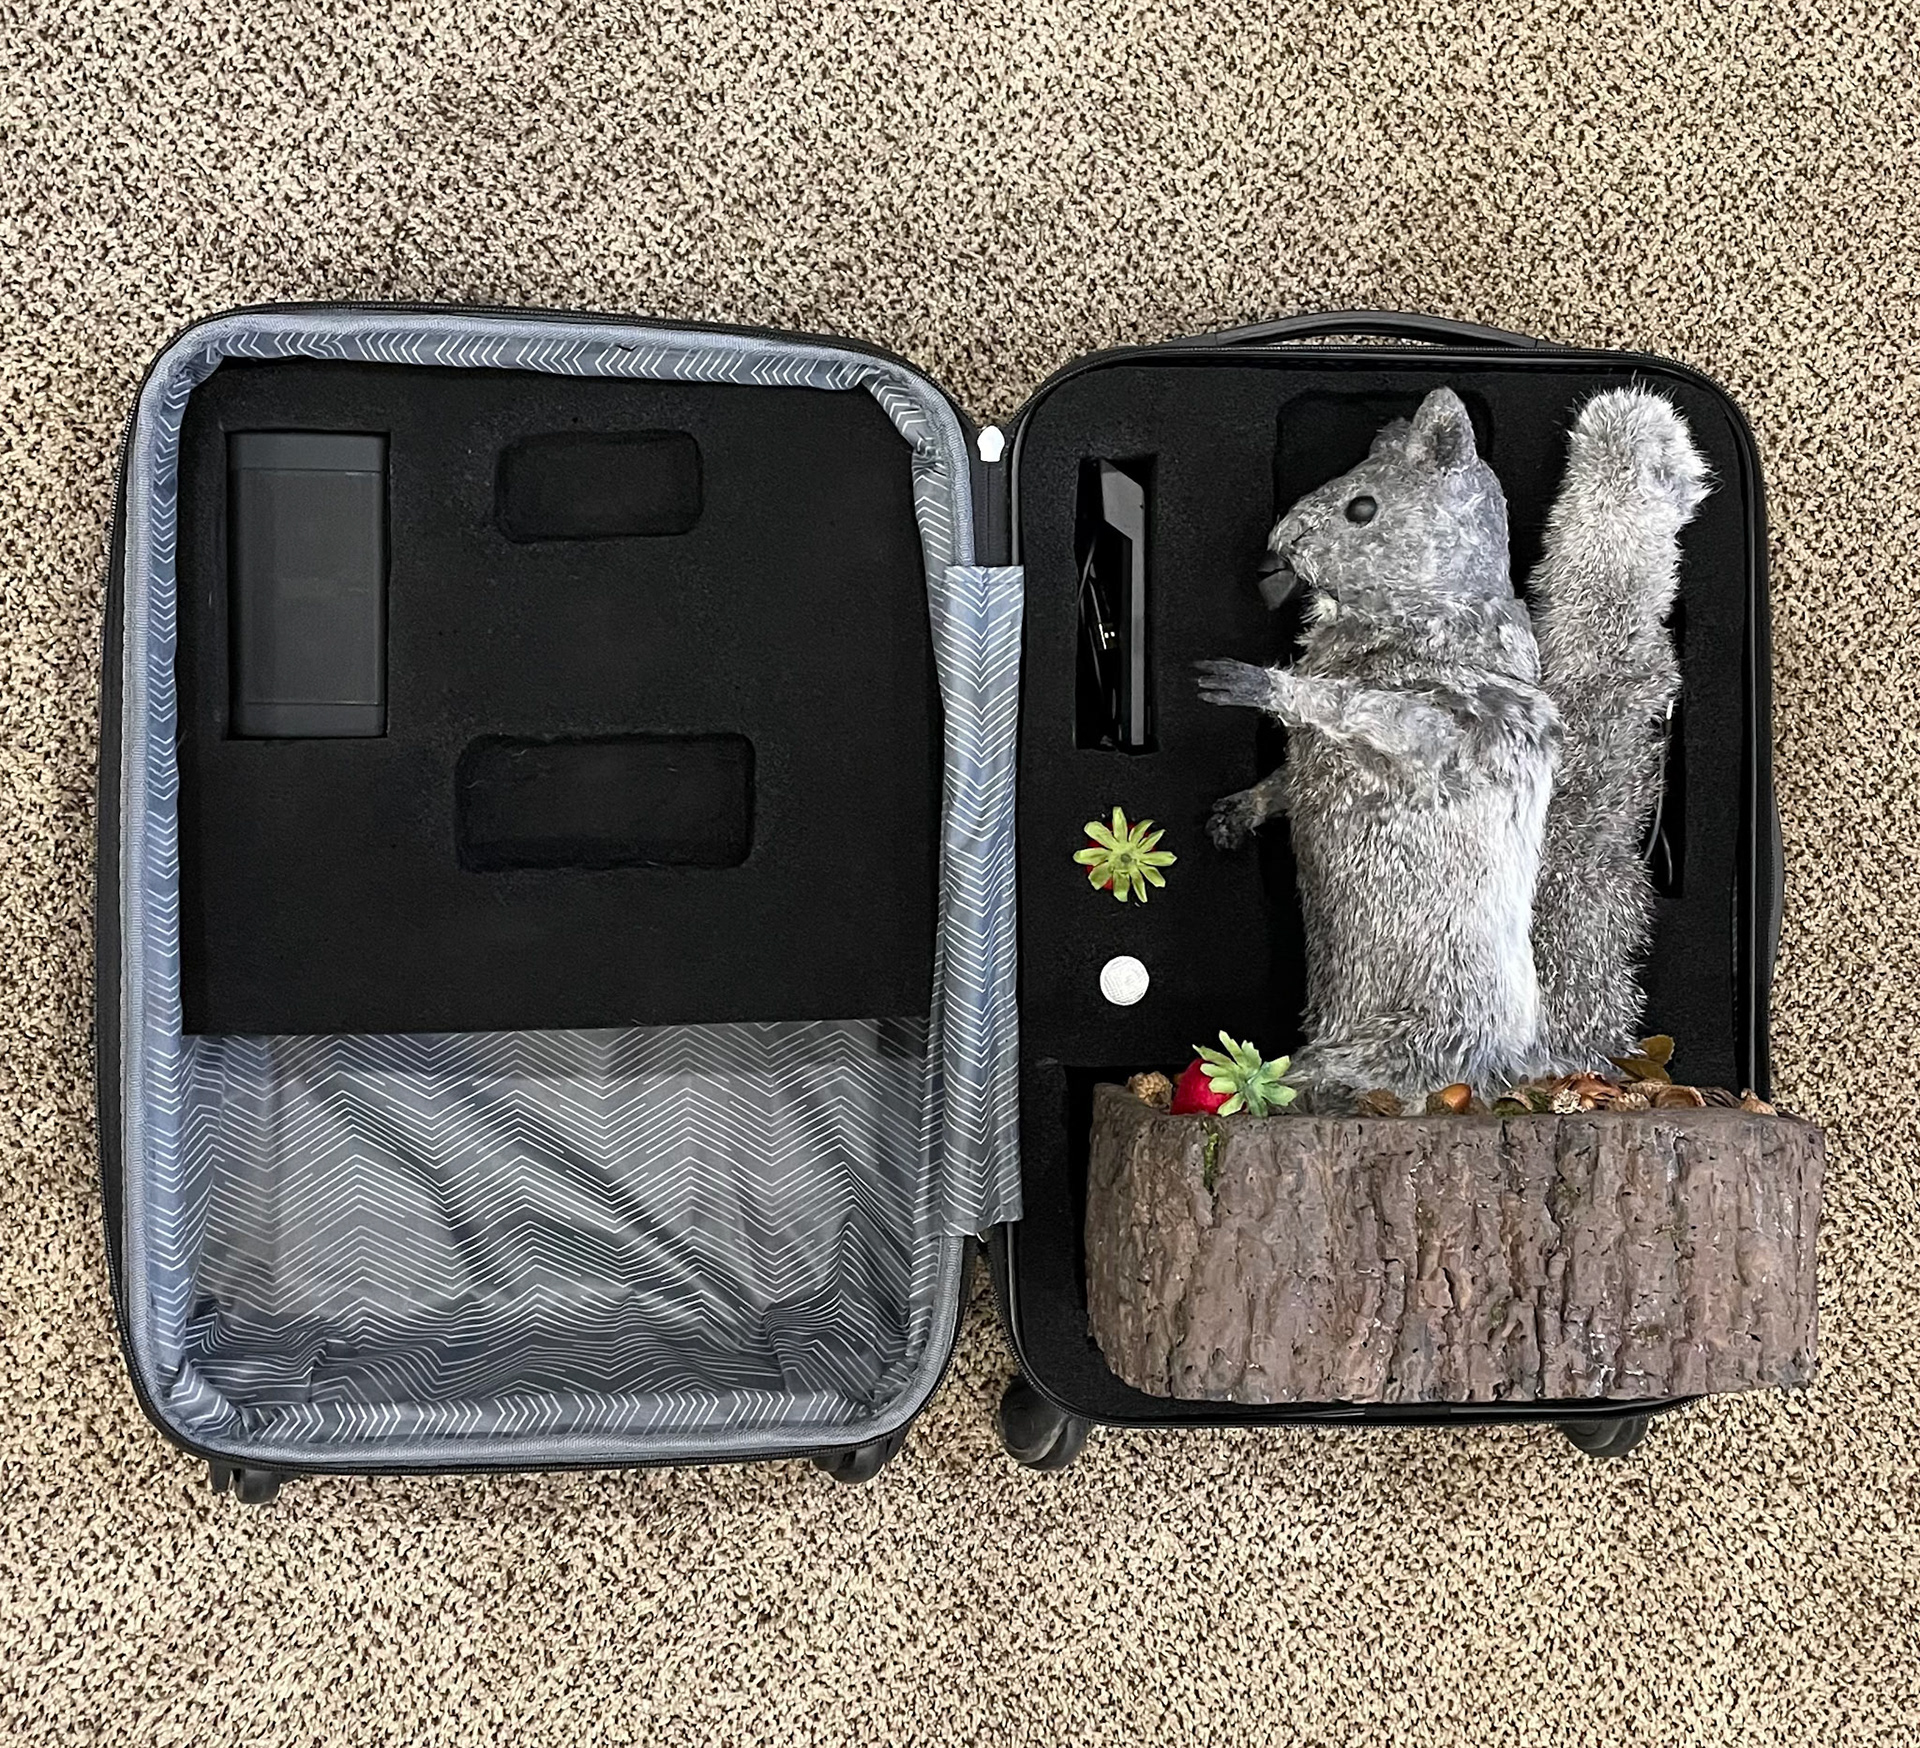
The squirrel was fit for his carrying case. Foam was cut to shape and painted black. Slots were cut to keep all cords and accessories neatly in place during travel. When arriving on location, set up is easy, just plug in the power supply and press the power button. After booting up, the squirrel is ready to put on a show!
By far the most complex and challenging projects I have worked on but along the way I learned an incredible amount, remaining resilient to failure being the most important.
This project was entered in the 2021 Stan Winston School of Character Arts Contest: Click Here for info!